Velvet can be touchy to clean. We’ll divulge the safest way to clean your box with minimal harmful effects. These simple steps can go a long way in maintaining your velvet jewelry box in beauty for a long time.
First Things First: Understanding and Preparing Your Velvet
Before you begin cleaning anything, you should know what velvet actually is. Velvet has a unique texture due to its “pile” — thousands of tiny fibers sticking up from the backing.
Think of these hair as fibers. If you brush them in the wrong direction or scrub too vigorously, you can disfigure them for good. The fibers can snap or flatten, resulting in ugly bald patches where the texture is ruined.
The majority of velvet jewelry boxes require the same special handling. Our cleaning techniques are suitable for all mellifluent velvets, but knowing about the material will prevent blunders.
We know that experts in fabric care, like those at Martha Stewart, emphasize that avoiding excess moisture and harsh chemicals is key to preserving the fabric’s texture. Let’s look at what you should never do when cleaning velvet.
The Golden Rules: What NOT to Do When Cleaning Velvet
| Mistake | Why It’s Harmful | Do This Instead |
| Using Harsh Chemicals | Bleach, ammonia, or strong stain removers will damage the delicate fibers. | Use a very diluted mixture of mild dish soap and distilled water. |
| Scrubbing Vigorously | Hard rubbing breaks the fibers and creates permanent bald spots. | Always dab gently with a soft cloth. Use light strokes with a brush. |
| Soaking the Fabric | Too much water damages the fibers and can warp the box structure. | Use very little moisture. The cloth should be barely damp, never wet. |
| Using High Heat to Dry | A hairdryer or sunlight will shrink and harden the fibers. | Always air dry away from heat and direct sunlight. |
Your Essential Cleaning Toolkit: Gather These Simple Supplies
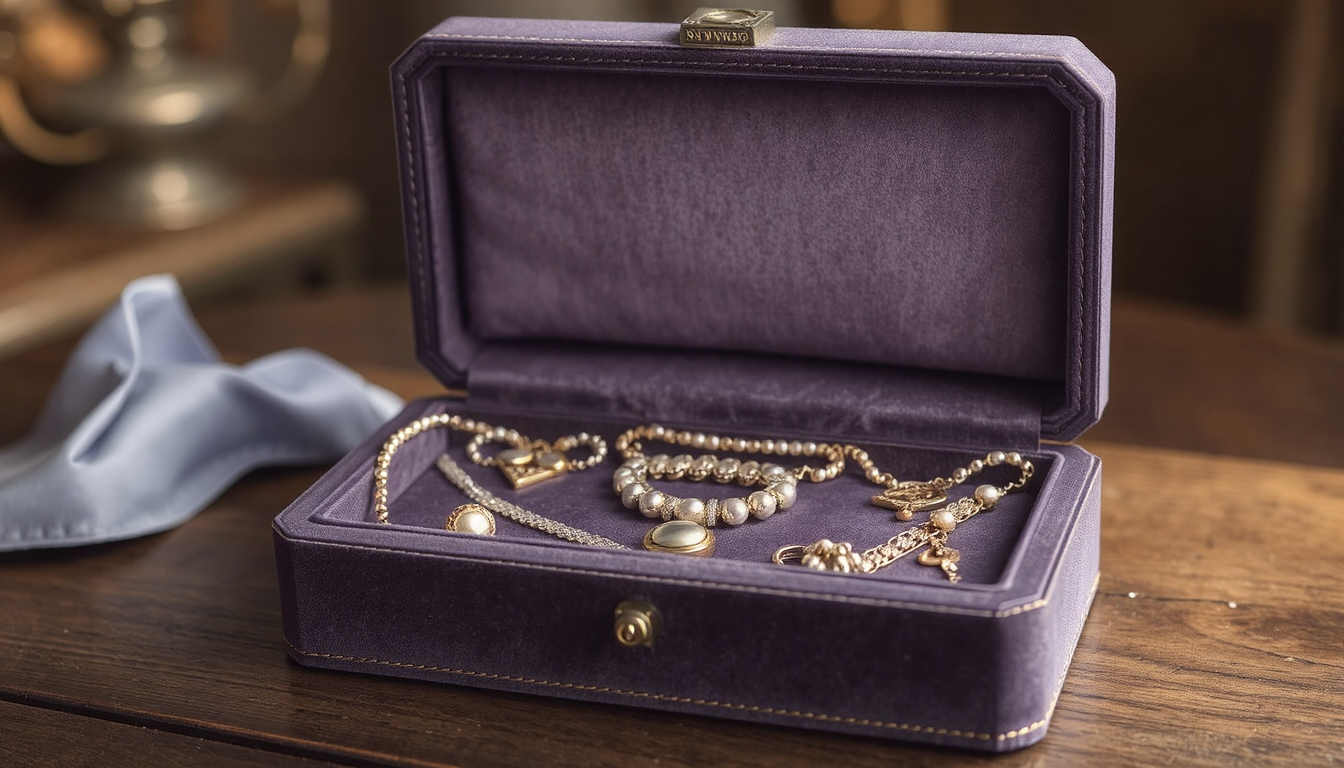
Having the right tools ready makes cleaning much easier. You’ll need different items depending on how dirty your box is.
-
For General Dusting (The 5-Minute Refresh):
-
Soft-bristled brush: A mushroom brush, a new soft toothbrush, or a velvet brush works great.
-
Microfiber cloth: This cloth catches tiny dust particles.
-
Lint roller: This sticky tool is perfect for grabbing lint and pet hair.
-
For Deeper Cleaning (Stains and Grime):
-
Distilled water: This prevents mineral spots from forming on the velvet.
-
Mild, clear dish soap: Choose one without dyes or fragrances.
-
Two light-colored microfiber cloths: Use one for cleaning and one for drying.
-
A small bowl: For mixing your cleaning solution.
-
For Restoration (Optional, for Vintage or Neglected Boxes):
-
Garment steamer or kettle: For lifting crushed fibers.
-
Baking soda or activated charcoal: For removing bad smells.
Method 1: The 5-Minute Refresh for Dust and Surface Debris
This method is great for everyday maintenance. Should be your first step when cleaning a gravel jewelry box that’s not horribly stained.
Step 1: Empty the Box
Remove all of your jewelry and any detachable accessories. Set them aside in a safe place away from your cleaning area.
Step 2: Brush with the Nap
Now use your soft brush to brush the velvet in the direction that the pile lays. You’re going to see some of the dust just coming right off of the surface. Do not brush against the grain for it may damage the fibers.
Step 3: Lift Remaining Debris
Take a lint roller to any remaining dust or hair. Roll over the surface of the box very lightly. Brid’s lint roller is more effective than a brush at getting into corners and edges.
Step 4: A Final Wipe-Down
Cautiously wipe the entire side with a dry microfiber cloth to capture any remaining dust. Now you may return it all to the box.
Method 2: Tackling Stains and Grime with a Deep Clean
If a quick dusting is not doing the trick, you will have to do a wet-cleaning job. That works fine, but you have to be careful and patient. You are aiming to clean without leaving any water marks.
As home design authorities at Architectural Digest note, using very little moisture is the key to cleaning velvet safely. Here’s exactly how to do it.
Step 1: Create Your Gentle Cleaning Solution
Combine one cup of distilled water that is warm1 together with a couple of drops of mild dish soap clear soap in your bowl. Stir gently until you have some bubbles, but don’t overdo it and form a lot of foam.
By using distilled water, you avoid mineral stains on the velvet. This easy fix will work wonders on most stains.
Step 2: The All-Important Spot Test
Never skip this step. It can also protect your jewelry box.
And locate an “out of sight, “out of mind” spot on your box (we like the bottom, or an inside corner). Wet a small section of your cloth with the cleaning solution and dot it on this test area. Let it dry completely.
See if it’s changed color, or if the texture is completely altered. If the spot appears normal, you can clean the rest of the box without issue.
Step 3: The Blotting Technique for Stain Removal
Now you’re ready to wash the stained sections. Do not pour the solution onto the velvet.
Get only a corner of your cloth wet with the soapy solution. Wring the cloth out, squeezing out additional water so the cloth is only slightly damp.
Carefully blot the stain outwards then in from the edges. Never rub or scrub. Pat, do not rub with the cloth and, pick the cloth up between pats.
Then, slightly moisten your second clean cloth with plain distilled water. Blot the area again to absorb any soap.
Finally, blot the spot with a dry cloth with a little pressure to help lift out any remaining liquid. Overhydration can ruin the velvet and distort the box’s shape.
Allow the box to air dry fully before reusing. Do not ever let a moist jewelry box.
Advanced Restoration: Reviving Vintage and Neglected Boxes
Some jewelry boxes require more than a simple cleaning. Old boxes may smell musty or have compressed velvet. These subtle techniques may help them to recover.
Banishing Musty and Vintage Odors
Do not spray sprays or use air fresheners on smelly velvet boxes. They may stain the fabric, and they only camouflage the odor.
Put a small dish of baking soda or some activated charcoal in the box. Close the lid and let it sit for 24-48 hours, or even a week if it’s very stinky.
The baking soda or charcoal will absorb the bad smell without touching the velvet. This gentle method is what professional textile conservators often recommend for delicate fabrics.
Restoring a Crushed or Matted Pile with Steam
Old boxes frequently display squeezed velvet. Flinging on some steam can bring the fibers to life — but you must proceed with caution.
Place a garment steamer or a steaming kettle not less than 12 inches from the velvet. Never closer, and don’t drip water onto the fabric.
Slowly drag the steamer across the wrinkled section. Some 10 seconds of steam will suffice.
As soon as you steam a small area, brush the surface with your soft brush. Brush first lightly against the natural direction to fluff them up a bit, and then with the direction to smooth them down. You’re going to watch the velvet be revived.
What About Tough Stains like Makeup or Ink?
If any stains remaining after applying soap and water, you may need to take a stronger tack. This is your last option.
For oily stains, like those left behind by makeup or lotion, consider dabbing a small amount of rubbing alcohol onto a cotton swab. Try it on a hidden area first, then gently tap (don’t rub) the stain.
For small ink marks, the same method could work, but it would depend on the type of ink and how long it has been there. Always work slowly and carefully.
Aftercare and Prevention: Keeping Your Velvet Box Pristine
After you’ve cleaned your jewelry box, a few simple steps will help keep it beautiful longer. With a little care you can keep your tent in good condition.
-
Location, Location, Location: Store your velvet ring box away from direct sunlight. Velvet colors will lighten over time due to UV exposure.
-
The Routine Refresh: Dust the box with a soft brush or lint roller every few weeks. This keeps dirt from being pushed deeper into the fibers.
-
Protect the Interior:Ensure your jewelry is fully dry before returning to the box. Water can ruin the velvet on the bag and tarnish your jewelry.
-
Handle with Care: Don’t touch the velvet with lotion or oils on your hands. These spores can cause dark stains in the material.
A Beautiful Box for Your Beautiful Treasures
Wiping down a velvet jewelry box doesn’t have to be a pain. The above and beyond velvet brush makes it a breeze. However, by knowing how fragile velvet is and utilizing soft cleaning techniques, its beauty can be easily be brought back.
Your attention is what helps keep that special object looking beautiful and fitting to safekeep your precious jewelry. With these easy methods, you can have your velvet jewelry box looking new for years.
FAQ About How to Clean Velvet Jewelry Box
-
What household items can I use to safely clean my velvet jewelry box?
Soft-bristled brushes, microfiber cloths, lint rollers, and a mild soap solution mixed with distilled water are ideal for cleaning velvet jewelry boxes safely. -
How often should I clean my velvet jewelry box?
Brush down your velvet jewelry box with a soft brush or lint roller every few weeks, and use the wet cloth method to deep clean 2-3 times a year or when stains are noticeable. -
Can I use a vacuum cleaner to clean my velvet jewelry box?
Nope, vacuum cleaners can be too abrasive on delicate velvet fibers. Dust Particles For dust removal,soft brushes and lint rollers should be used instead of vacuum to avoid permanent pile damage. -
What’s the best way to remove makeup stains from a velvet jewelry box?
For makeup stains, first test a small amount of rubbing alcohol on a hidden area; if you don’t see any damage, then gently dab (don’t rub) the stain with a cotton swab. -
How can I restore the pile on an old velvet jewelry box that looks flat?
Take a garment steamer or kettle, and steam the dent from twelve inches away and gently, and then immediately brush the fibers, lifting and resetting them back in the proper direction.


