Introduction: Crafting More Than Just a Box
Building a wooden jewelry box is more than a simple DIY task. It’s a chance to create something both useful and beautiful. This guide helps anyone who wants to turn wood into a special keepsake. We’ll walk you through every step to make sure you succeed.
Why Build Your Own Wooden Jewelry Box?
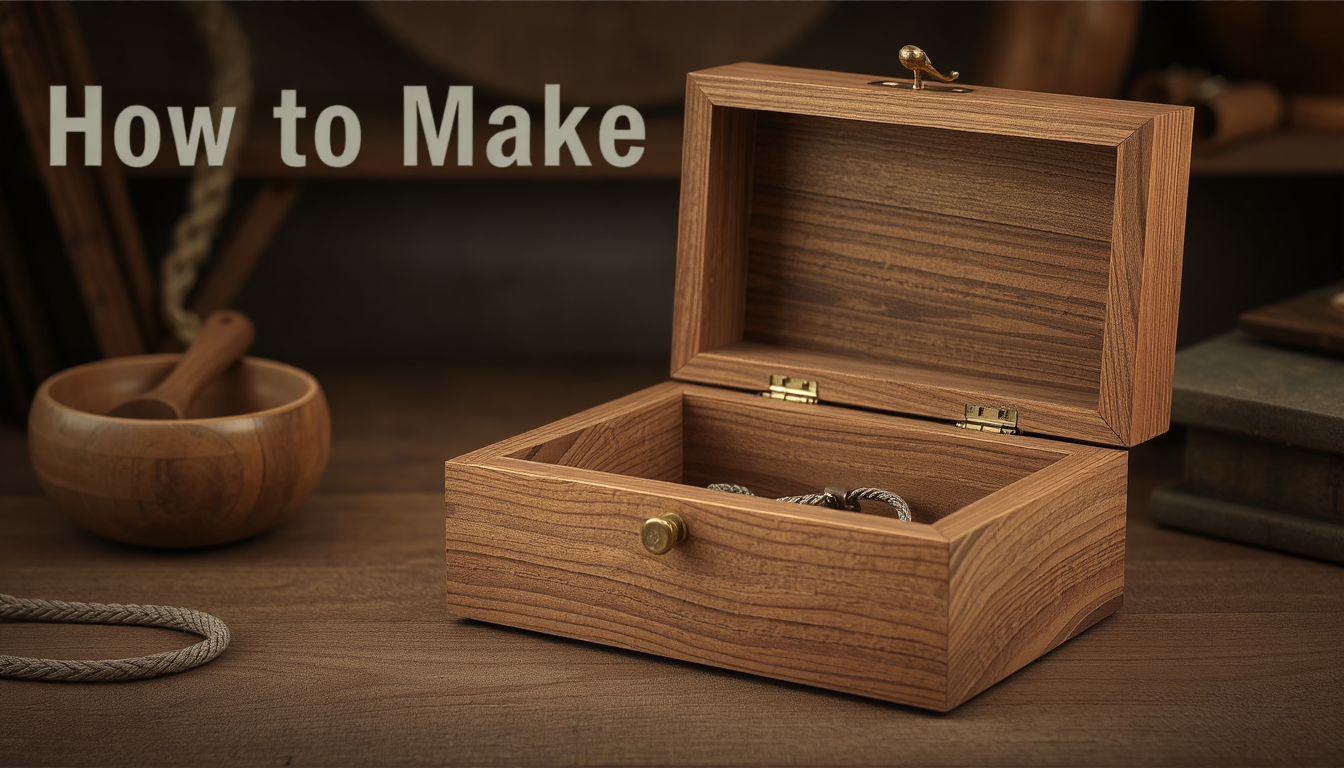
You create something personal that can last for generations when you build a jewelry box. Whether it’s for yourself or as a gift, a handmade box shows how much you care. The value goes far beyond just the materials.
What This Guide Covers
This is a complete tutorial that covers everything. We’ll guide you through the whole process in four clear phases:
-
Phase 1: Planning Your Perfect Project
-
Phase 2: Gathering Your Arsenal
-
Phase 3: The Build: Step-by-Step Assembly
-
Phase 4: Finishing Touches That Elevate
Phase 1: Planning Your Perfect Project
The most significant step in woodworking is good planning. It’s the difference between a box you love and one that gives you stress. A lot of guides go right into cutting, but we believe that cutting is more likely to be successful if you have a good plan. This approach helps prevent mistakes.
Before You Cut: Key Design Questions
This simple question should be addressed before you begin any measurements. Use this as your checklist.
-
Who is this box for? This will influence style, size and WHICH wood to use. Should it be modern, or should it be classic-powered?
-
What will it hold? Rings require a different form of storage than necklaces. This determines whether you need dividers or trays.
-
What is my skill level and what tools do I have? Be honest about what you can do. Beginners should choose simpler designs.
Sizing and Proportions for a Beautiful Box
The size of your box greatly affects how it looks. Try to create balanced proportions.
If you’re not sure where to start, a helpful tip is using the golden ratio (about 1:1.618) as a guide. For example, a 10-inch long box looks good with a width around 6 inches. This isn’t a strict rule, but it helps create pleasing objects.
Sketching a Simple Plan
You don’t need to be an artist. A simple free-hand drawing can help create order in your mind.
Sketch a “blown apart” view of all 6 sides of the box; all 6 sides are not touching/connected. Write your measurement on each piece. This no-frills sketch will serve as your blueprint for the cutting and building process.
Phase 2: Gathering Your Arsenal: Tools & Materials
So, with your plans set, the next step is to get all the tools and materials. All of this preparation keeps you now from working in the moment. We have organized the list to display what is needed and what would be nice to have.
Essential Tools vs. ‘Nice-to-Haves’
Substantial workshop not required for making a sweet box. Here’s what you absolutely need and what simply makes life easier.
| Essential Tools | ‘Nice-to-Have’ Tools |
| Tape Measure | Router (for decorative edges) |
| Safety Glasses | Drill Press (for precision holes) |
| Pencil | Dovetail Jig (for advanced joinery) |
| Saw (Hand, Jigsaw, or Table Saw) | Block Plane (for fine-tuning joints) |
| Wood Glue | Thickness Planer or Drum Sander |
| Clamps (Bar, F-style, or Band) | |
| Sander (Orbital or Sanding Block) | |
| Sandpaper (various grits) |
How to Choose the Right Wood for Your Jewelry Box
The wood you choose determines the voice of your box. Your decision will be based on look, workability and price. Oak, as a hardwood, is going to be a material that can last longer, whereas pine, a soft wood, is easier to work with but easier to damage.
Here’s a comparison of common woods:
| Wood Type | Appearance/Grain | Workability | Relative Cost | Best For… |
| Pine | Light color, visible knots | Easy | $ | Beginners, rustic look, can be painted |
| Poplar | Light, greenish tint, uniform grain | Easy | $ | Painting, good practice wood |
| Oak | Prominent grain, classic look | Medium | $$ | Sturdy, traditional, heirloom-quality boxes |
| Walnut | Rich, dark brown, elegant grain | Medium | $$$ | High-end projects, beautiful contrast |
| Cherry | Pinkish-red, darkens with age | Medium | $$$ | Fine furniture look, ages beautifully |
| Maple | Very light, subtle grain | Hard | $$ | Modern look, durable, good for accent pieces |
Don’t Forget the Hardware and Supplies
These smaller items complete your project. Gather them in advance.
-
Hinges: Tiny butt hinges are the best. Quadrant hinges provide concealment.
-
Latch or lock (optional):I included a small brass clasp for a little something extra.
-
Sandpaper: Buy coarse (120), medium (180) and fine (220) grits.
-
Wood Finish: Citing the look you are trying to achieve, select oil, varnish, wax, or paint.
-
Lining Material (optional): Felt or velvet provide a softer inside.
-
Applicators: Lint-free rags for oil or Foam or bristle brushes for varnish.
Phase 3: The Build: A Step-by-Step Guide to Assembling Your Box
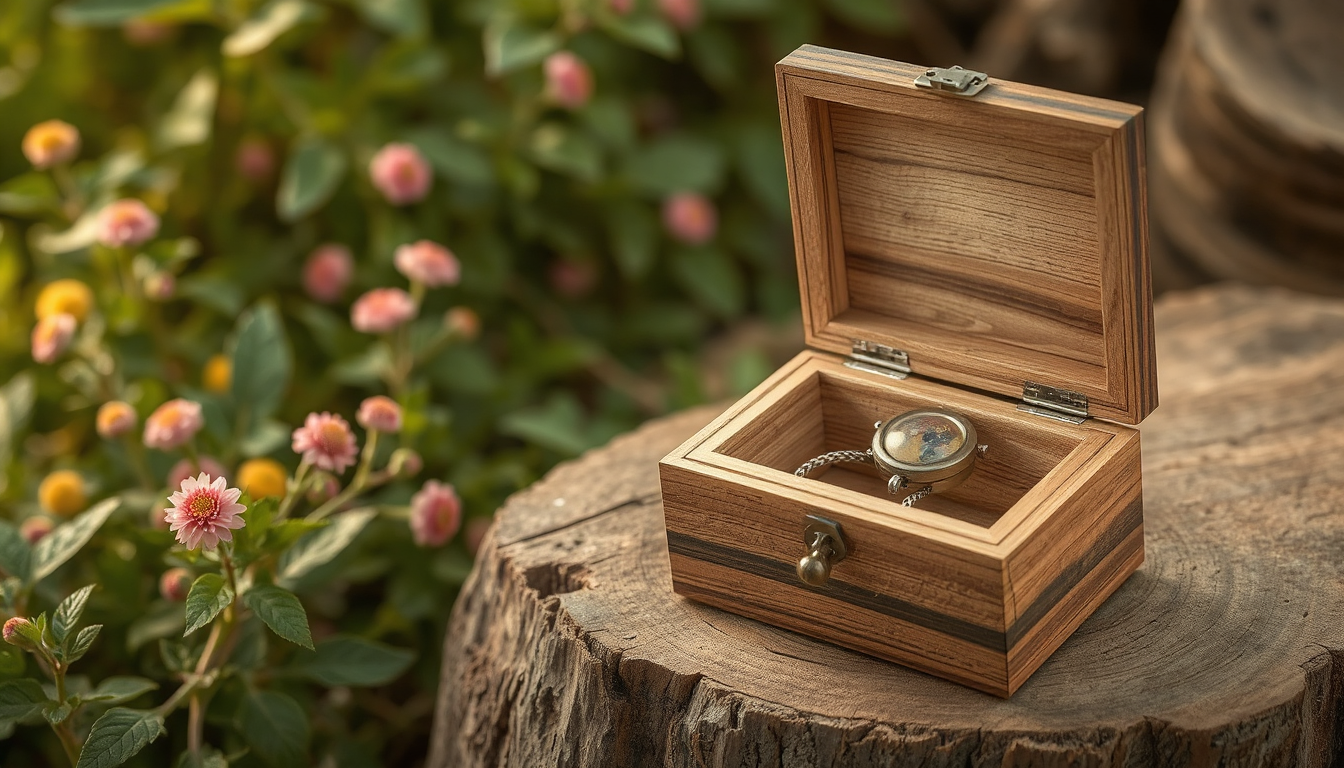
Now your planning pays off. We’ll walk you through each step of construction, from lumber to finished box. Concentrate and take it slow, Step through and be careful.
Step 1: Measure Twice, Cut Once
This timeless adage is critical to good woodworking. Consulting your sketch for reference, clearly mark your cut lines in pencil.
Cut the bottom, two sides, top, and two sides out of your wood of choice. Good to get it as accurate as you can.
Pro-Tip: To keep opposite sides matching, clamp them together and cut them at the same time. This little trick can ensure a perfect square box.
Step 2: Choosing Your Joinery (From Simple to Stunning)
Joinery is how you join the corners of your box together. Your decision impacts strength and aesthetics.
-
Butt Joints: This is the most basic way of joining things. A board attached on the face of another, either by nailing or gluing. It’s fast for a beginner, but not very strong.
-
Miter Joints: Miter each end at a 45 degree angle will give you clean corners with the grain wrapping around the box. This requires a more precise cut and careful clamping together of the pieces.
-
Dovetail or Box Joints: These joints that lock together indicate that some real good work has been done on the sonofabitch. They are really sturdy and quite impressive. This is high-end stuff that sometimes requires special tools.
While we’ve covered the basics, there are a variety of woodworking joinery techniques to explore. Learning them is a skill worth developing.
Step 3: The Dry Fit and Glue-Up
Don’t glue until you’ve done a “dry fit.” Assemble the box without adding glue first, to make sure everything fits exactly as they should. Seek out any gaps and ensure that the corners are square.
This is the secret to avoiding a wobbly box:Squaring the inside corners during the dry fit. If it’s not precisely 90 degrees, your box isn’t square. Fit your piece to perfection until you apply any adhesive.
After you’re satisfied with the fit, use these procedures:
-
Coat the joining surfaces with a layer of wood glue. Too little doesn’t hold, but too much just gets messy.
-
Assemble and clamp the pieces together. Apply enough pressure to close the joints, but not so much that the wood buckles.
-
Again, make certain that everything is square.
-
Clean up any excess glue that squeezes out with a damp cloth. Dry glue will not allow finish to penetrate evenly.
Step 4: Creating and Attaching the Lid
There are two primary methods for making a lid, and each has its pluses.
-
The Separate Lid:This one is simpler. Cut a top panel that’s a little larger than the box and mount it to the box with hinges. This is great for beginners.
-
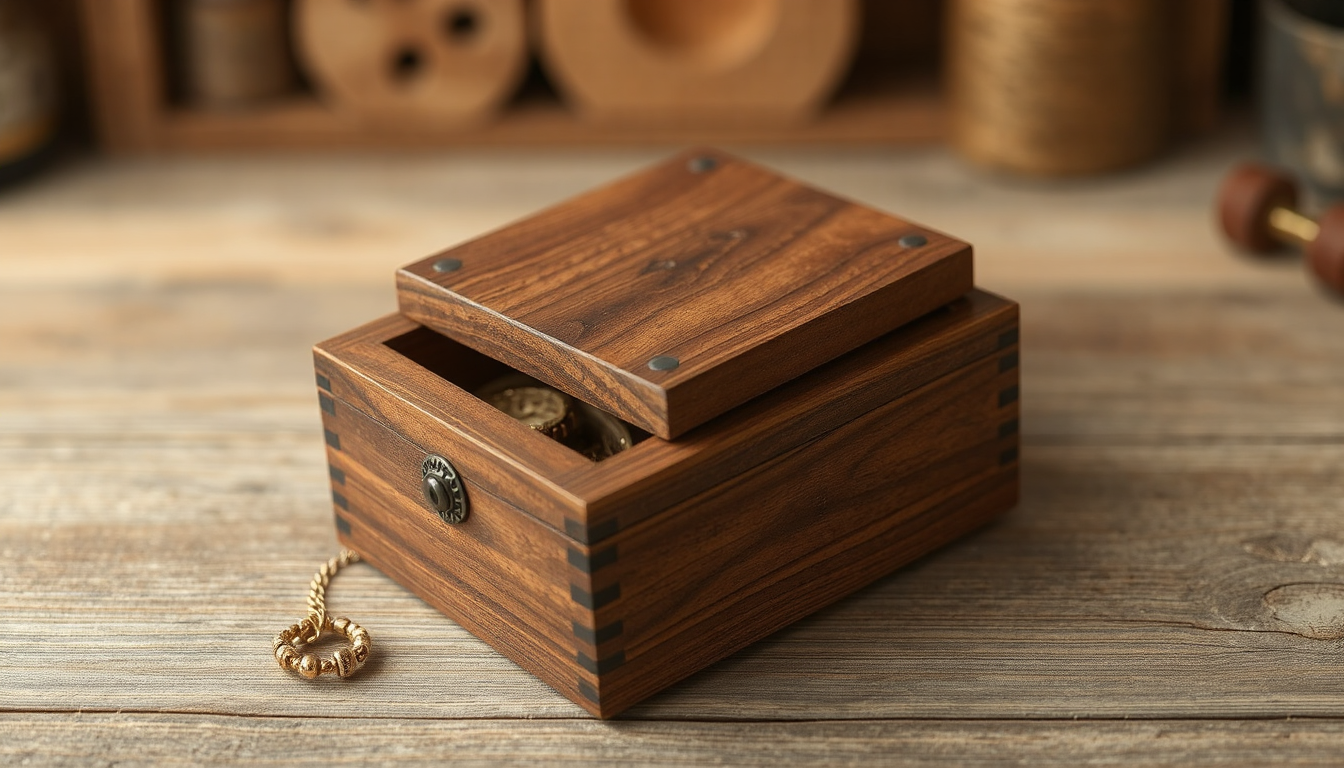
The Cut-Off Lid: This advanced method gives better results. First, build a complete six-sided box. Then, using a table saw, carefully cut the top section off. The big advantage is perfect grain matching between the lid and body, creating a professional look.
Phase 4: Finishing Touches That Elevate Your Creation
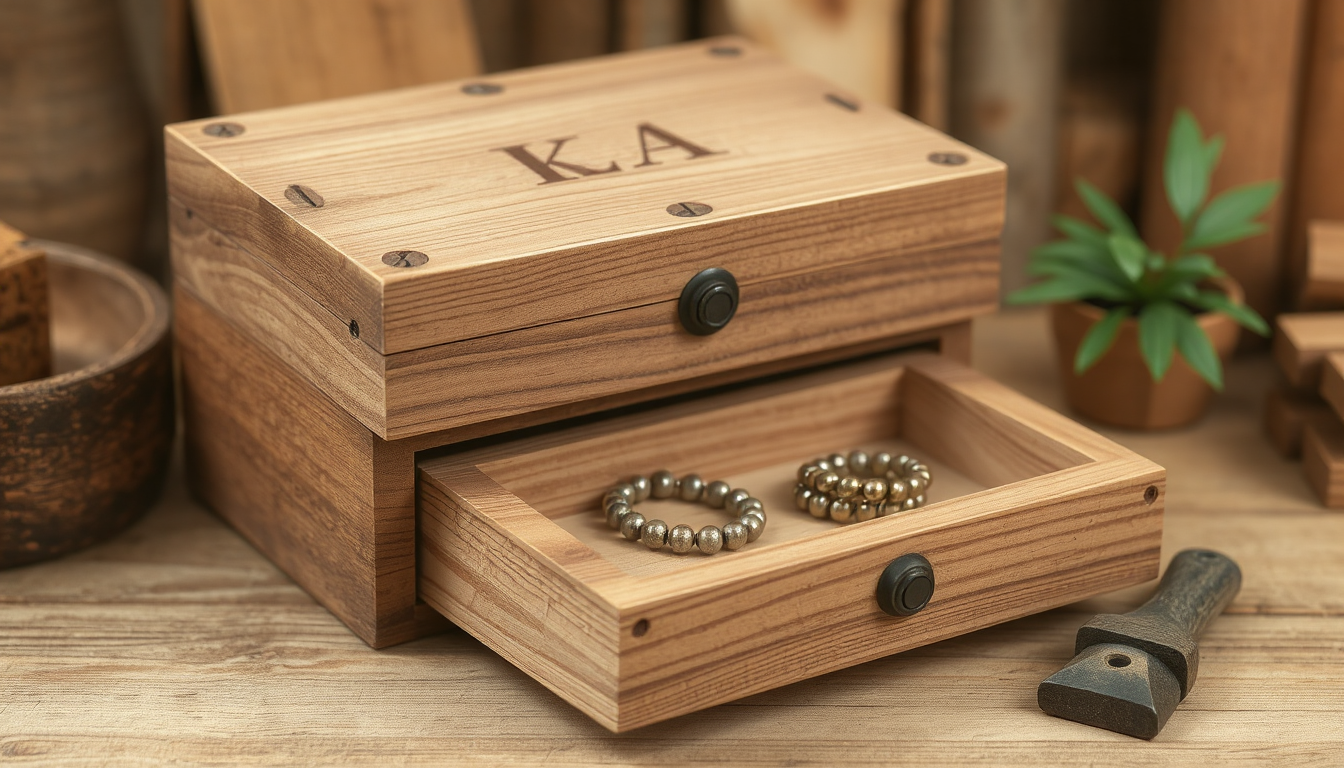
A solid box is just the beginning. The finishing steps — sanding, finishing, adding hardware — take your project from homemade to handcrafted. Here is your finishing touch.
The Art of Sanding
Sanding well is time-consuming but necessary for a job that will look professional. What you’re trying to do is take them out and have a smooth surface.
Sand through the grits. To start with, use 120-grit paper for rounded areas and bumped surfaces, then 180-grit, and finally 220-grit.
Pro-Tip: Always sand along the wood grain. Sanding against the grain produces scratches that stand out when you apply finish. To further smoothen the surface, you can wipe the box clean with a damp cloth after the final sanding too. This raises the grain. Let it dry another 24 hours and lightly sand again with the 220-grit.
Applying a Protective and Beautiful Finish
Finish protects the wood and enhances its beauty. There are many options, and choosing the right wood finish depends on what you want.
-
Oil Finish (Tung, Danish, Linseed):Easy to apply with a cloth. It’s designed to be absorbed into the wood, allowing an organic feel and revealing the grain. Gives decent protection.
-
Varnish/Polyurethane:Makes a hard coating on the wood. It provides excellent protection from wear and moisture and is available in matte to glossy finishes.
-
Paint: Provides endless color options and strong protection, but masks the natural wood grain.
Installing Hardware with Precision
Careless installation of hardware can spoil all your hard work. Take your time.
Be sure to mark the locations of the sheath screws when fitting hinges. Put a light dimple at each mark with a nail or punch. This guides the drill bit. Always drill a pilot hole slightly smaller than your screw. This provides something for the screw to grab onto and keeps the wood from splitting.
Lining the Interior (The Professional Touch)
They a luxury having added some felt or velvet to your box they also are great for protecting jewelry. This is simple and appears clean.
-
Cut thin cardboard to fit the bottom and sides of your box exactly.
-
Cut fabric about one inch larger than each cardboard piece.
-
Use spray adhesive to glue fabric to the front of the cardboard. Wrap extra fabric around the edges and glue it to the back.
-
Press the fabric-covered panels into the box. They should fit snugly without needing glue, creating a perfect, removable lining.
Conclusion: Your Handcrafted Treasure Awaits
You have the full plan now. You now know how to touch a simple thought and a set of raw sticks and make a lovely, functional, meaningful thing. You’ve seen this thing from design to construction to the final polish.
You’ve Got the Plan, Now Bring It to Life
The true pleasure in woodworking comes from building things. Every step of the process, from the initial sketch to the final coat of finish, feels fulfilling. The techniques you’ve learned constructing this jewelry box will serve you well in countless other pieces. Put that in your workshop and make something you’ll value for decades.
FAQ
-
What tools do I need to make a wooden jewelry box?
All you’ll need for tools are a tape measure, safety glasses, pencil, saw, wood glue, clamps, sander and sandpaper. Good-to-have tools include router, drill press, dovetail jig, and block plane. -
What’s the best wood to use for a wooden jewelry box?
Common woods include pine (for those learning the game), oak (for durability) and walnut and cherry (for style). Appearance, workability and your budget are going to determine your version. -
How do I create a proper finish on my wooden jewelry box?
Sand tighter with grits (120, 180, 220) always with the grain. Unique, special and beautiful, oil finish will really show off the natural colour and grain of the ash or oak, varnish to protect, paint to add colour. -
What’s the difference between different joinery methods for a wooden jewelry box?
Butt joints are the easiest but weakest, miter joints form tidy corners across the flow of grain, and dovetail or box joints demonstrate skill and maximize strength. -
How can I line my wooden jewelry box professionally?
Cut lightweight cardboard to size of interior of box, cover with felt or velvet using spray adhesive (wear mask over nose and mouth), wrap edges around to back and press into place for a removable, professional-looking inner lining.


