Introduction: Your First Step to a Handcrafted Heirloom
In this guide, I’ll show you how to build a jewelry box. You can make something gorgeous and functional even if you are just beginning to accumulate experience.
We walk you through everything from planning your design to finishing touches that make your box look professional.
This project is ideal for the woodworking rookie, yet the final jewelry box will become a cherished heirloom that will last for years.
Here is the plan for your project:
-
Planning: Designing a box that fits your needs and choosing the right materials.
-
Building: The step-by-step construction process, from cutting to assembly.
-
Finishing: Applying a protective finish and installing hardware.
-
Customizing: Adding personal touches and troubleshooting common issues.
Phase 1: Planning Your Perfect Jewelry Box
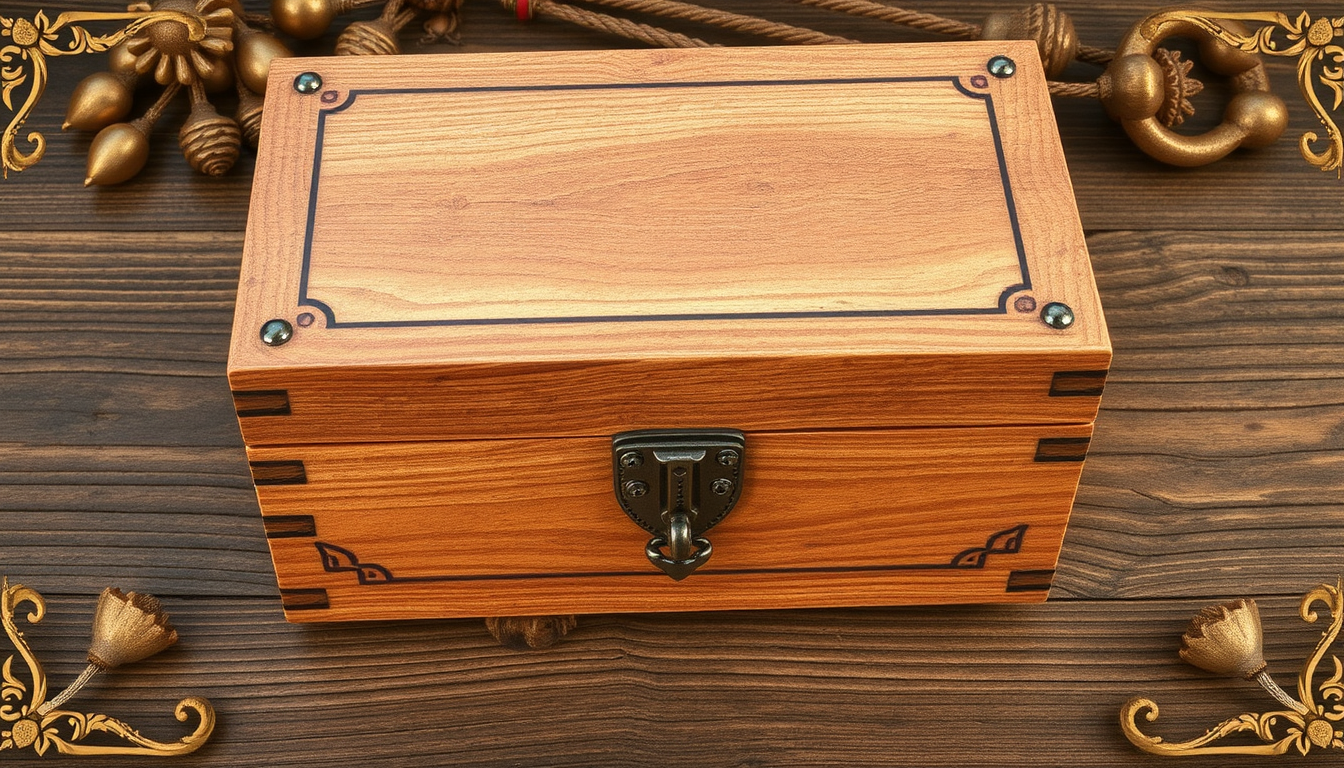
Just like any other project, good woodworking starts with a solid plan. Investing time in planning, upfront, will save headaches later and help ensure your final box looks like what you imagined. We will help you think like a designer.
Before You Build: Key Design Considerations
First, consider what’s inside the box. What will go inside it should dictate how a jewelry box is designed.
-
Function first: Plan the interior spaces based on the jewelry collection. Small trays work best for rings and earrings so they don’t get lost.
-
Use deeper sections for bigger items like bracelets or watches.
-
For necklaces, you’ll need taller, open areas or small brass hooks to keep them from tangling.
Now, consider how large your box should be. Think about where the jewellery box will be once it is done. A large, heavy box might function best on a dresser; a small, light design is best for a nightstand.
This simple table can help you plan the inside of your box.
| Jewelry Type | Recommended Storage | Design Tip |
| Rings/Studs | Slotted foam or velvet rolls | Keep section shallow (1-1.5 inches deep) |
| Necklaces | Hooks or deep, open wells | Ensure enough height (5+ inches) to prevent tangling |
| Bracelets/Watches | Open compartments or pillows | Make compartments wide enough for items to lie flat |
Choosing Your Materials: Wood, Hardware, and Lining
The things you choose will help shape your box’s personality. Here are some of the best ones to get started with.
Wood Selection for Beginners:
There are two kinds of wood: hardwoods and softwoods. Hardwoods such as Oak and Walnut are heavy and hard, while softwoods such as Pine are relatively lightweight and easy to work with.
We suggest one of these for your first project:
-
Poplar:A nice and relatively inexpensive hardwood that is easy to work with and has a fine, smooth grain, which is perfect if you are planning on painting your box.
-
Pine: The cheapest option. It’s a softwood, so it’s easy to cut and sand, but it can be dinged up more readily.
-
Cherry:A more expensive option that’s ideal for beginners and far more forgiving than you might expect. It machines well, sands very smooth, and ages into a lovely reddish-brown.
Woodworkers use the Janka hardness scale to quantify the toughness of wood. This is a dense hardwood, at around 1360 lbf, so dent resistance is also quite good. Pine will be much softer at about 380-420 lbf.
Hardware and Lining:
Don’t forget the small details. Quality hardware takes your project from “homemade” to “better than nothing. Go with strong, correctly sized hinges and a clasp that’s appropriate for the wood you choose.
There’s a soft inside lining that is gentle and won’t scratch up your jewelry. Felt is inexpensive and easy to put in place. Velvet up the luxe, thin leather down for the classic, time-resilient surface.
For more ideas, try exploring different jewelry box plans and styles to see what’s possible before making your final design choice.
Phase 2: Gathering Your Tools & The Step-by-Step Build
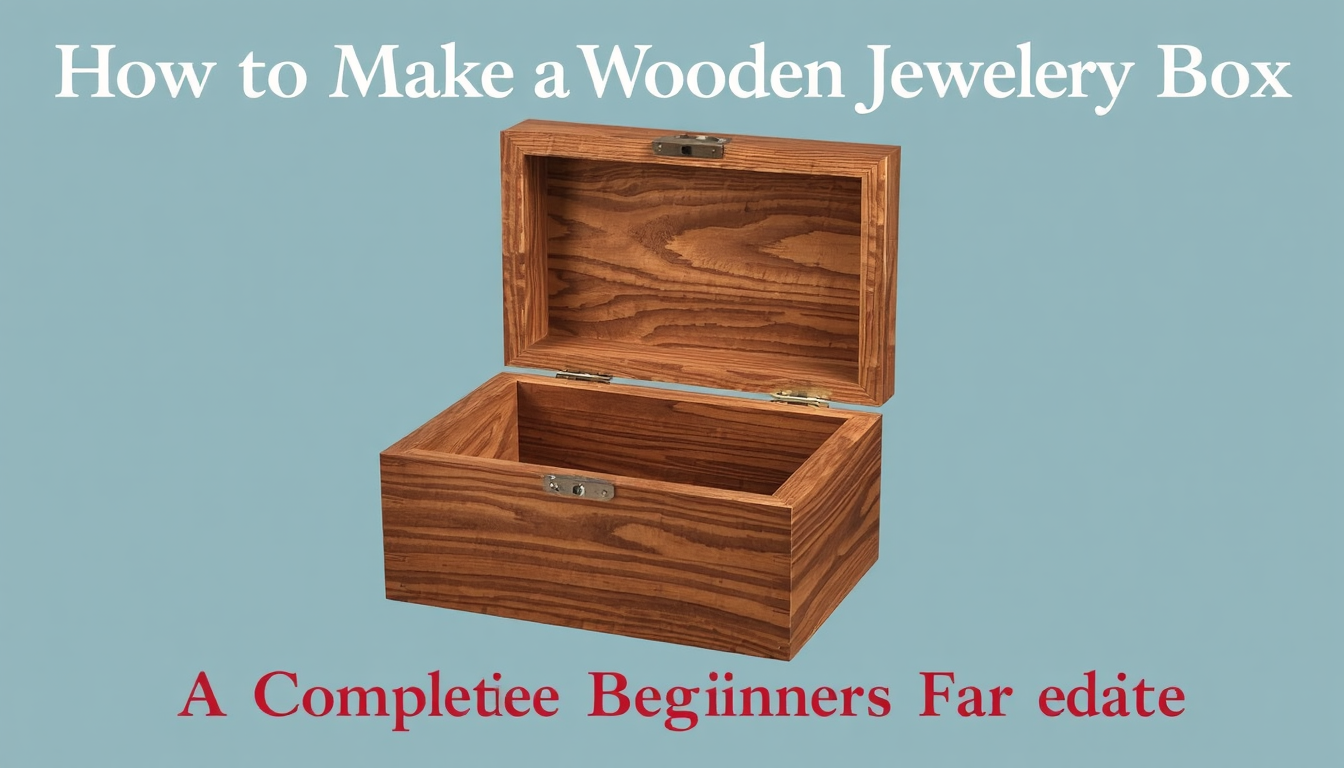
You’ve got your plan, now it’s time to gather your tools and start building. This step offers you a detailed plan for turning raw wood into a completed box.
Essential Tools and Materials List
This project doesn’t require a large workshop. You only need a couple of basic tools that will get the job done.
-
Essential Tools:
-
Tape Measure & Pencil
-
Safety Glasses
-
Hand Saw (a Japanese “pull saw” is great for beginners) or a Miter/Table Saw
-
Quality Wood Glue
-
Clamps (at least four corner clamps or a band clamp)
-
Sandpaper (various grits from 120 to 220)
-
Optional but Helpful Tools:
-
Combination Square
-
Random Orbit Sander
-
Block Plane
-
Materials:
-
Your chosen wood (about 4-6 board feet for a medium-sized box)
-
Your chosen lining fabric
-
Wood finish (e.g., Danish oil, wipe-on polyurethane)
The 7-Step Building Process: A Beginner-Friendly Wooden Box
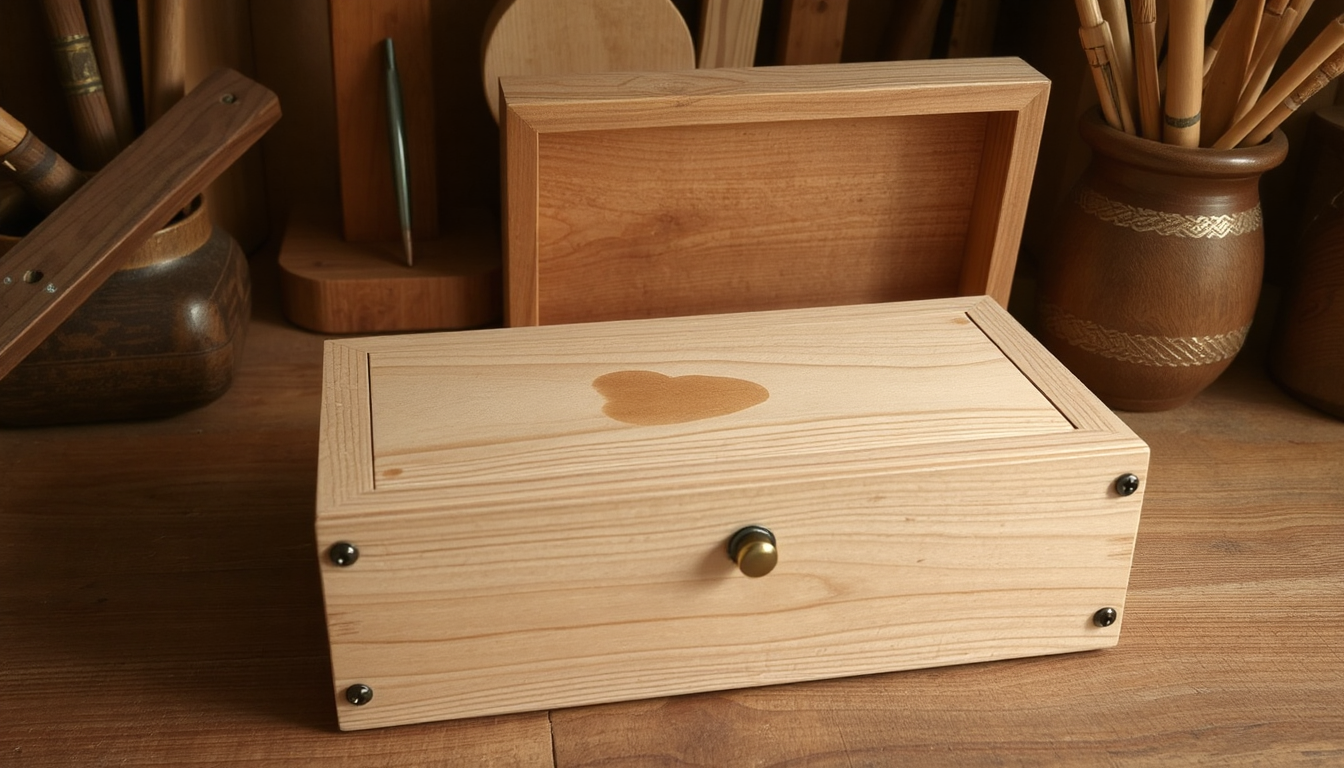
We’ve simplified this process as much as we can. If you follow the instructions carefully, then these don’t appear too bad, but will I be wanting to hide a box like that in a project?
Step 1: Cut the Box Panels
Accuracy starts here. Measure your pieces for the four sides, top, and bottom and mark with a pencil. Just never forget the number one rule of woodworking: “Measure twice, cut once.
For a simple box, you will have two long side pieces and two short side pieces of the same lengths. Cut the top and bottom panels slightly larger than they should be; after the box is assembled, you’ll cut them to size.
Step 2: Cut the Miter Joints
In order for those beautiful, seamless corners to be achieved, you’ll have to cut a 45-degree angle (also know as a miter) on all four side pieces.
When you cut with a hand saw, a miter box will ensure that your saw stays true to your desired 45-degree angle. (If you are using a power saw, be sure to set the blade angle with a few quick, careful cuts through some scrap wood.)
Getting perfect corners is a skill, and a key part is achieving perfect miter cuts by making sure your saw is properly adjusted.
Step 3: Assemble the Box Frame (Dry Fit First!)
Always do a “dry fit” before using any glue. Fit four mitered sides together without glue to make sure the corners come together tightly.
Use masking tape on the outside of the joints to hold them together for the time being. This will reveal if there are bugs that need to be fixed before the final gluing.
Step 4: Glue and Clamp the Frame
Take apart your dry fit. Apply a thin, even layer of wood glue to each mitered edge. Too much glue will cause messy squeeze-out that can be hard to clean up.
Quickly put the four sides back together and apply your clamps. Use a corner clamp on each corner or wrap a band clamp around the entire box. Make sure the assembly is square by measuring diagonally from corner to corner; both measurements should be the same. Let the glue dry for the time recommended on the bottle (usually at least a few hours).
Step 5: Attach the Top and Bottom
Once the frame is dry, it’s time to attach the top and bottom panels you cut earlier. Run a line of glue along the top and bottom edges of the frame.
Place the panels on the frame, making sure they stick out slightly on all sides. Put weight (like heavy books) on top or use clamps to press the panels down firmly while the glue dries. This will give you a solid, fully enclosed box.
Step 6: Separate the Lid from the Box
I like that this method results in a perfectly fitting lid. You are going to cut the one box into two parts the body and the lid.
Safety First: For this the best tool I edged with a table saw fence set at about the height of your lids. I set mine at 1″. Raise the blade a fraction of an inch to slice through the wall of the box. Gently move the box around the blade in all four places.
For hand tools, carefully mark a straight line all around the box. Carefully cut along the line with a sharp handsaw. This is more waiting but a lot safer.
Step 7: Sanding for a Smooth Finish
Good sanding is what separates the so-so from the sublime. Begin with a low-grit sandpaper — 120-grit — to smooth out any saw marks to and square the edges of the lid and top/bottom cleats/panels.
Then, once those surfaces are smooth and even, switch to a higher grit, like 180 or 220, to erase the scratches you left with the initial sanding. Always sand along the wood grain to eliminate any visible scratches. The box should have a silk to the touch feel when you fondle it.
Phase 3: Finishing and Customization
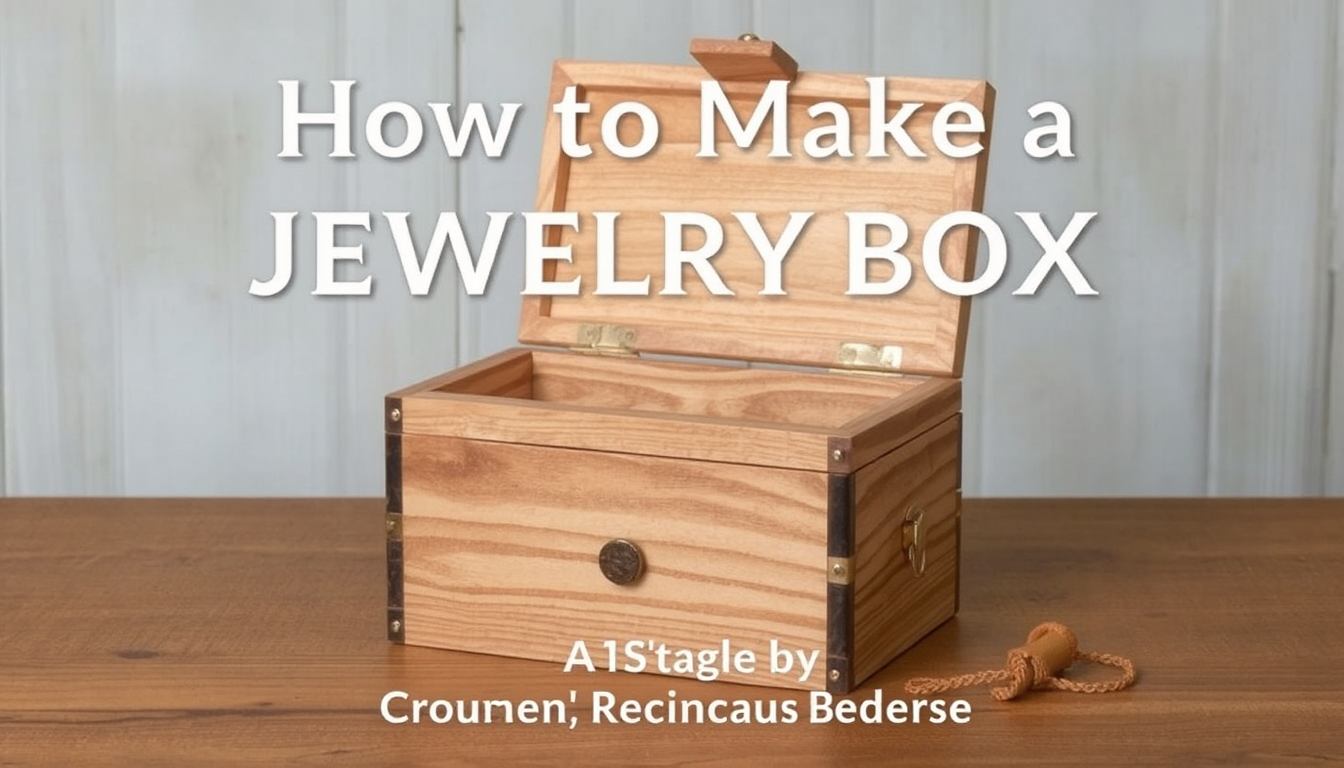
The box is constructed, but you’re not finished. The finishing details help to protect the wood and provide finishing touches to your project that really make it pop.
Applying a Protective and Beautiful Finish
More than adding a fine finish to wood, a finish protects it against moisture and dirt.
-
Oil Finishes (Tung, Danish Oil): These are simple and suitable for beginners. They penetrate the wood, exposing the grain and color, and offer a low-luster, natural appearance. Just wipe on, let it soak in, and wipe off the excess.
-
Polyurethane: Polyurethane is the best defense you can provide. It forms a barrier on the surface of the wood. Wipe-on poly is less likely to drip or show brush marks than its brush-on cousin.
-
Paint: If you used Poplar or another wood, throw any color you like on there.Paint: If you used a wood like Poplar, paint gives you endless color choices for a very personalized look. For best result, always start with your primer.
Use a dust free and clean environment for any finish. How to Use: Apply thin, even coats with a lint-free cloth or quality brush. Between coats, lightly sand with very-fine (320-grit) sandpapers for a super-smooth finish.
Installing Hardware and Lining
It’s the final assembly that is often the best part.
Installing Hinges:
Put your hinges on the back of the box (the lid and body should be flush). Using the pencil, mark the spots where there are screw holes.
Pilot holes for the little screws are very important. It prevent the wood from splintering. Pick a drill bit that’s just a teensy-weensy bit smaller than the threads on the screw. Screw gently then a little harder.
Lining the box:
Adding a soft fabric lining is a simple final touch.
-
Cut pieces of cardstock or thin cardboard to fit the bottom and sides of the box interior.
-
Cut your fabric (felt or velvet) slightly larger than the cardboard pieces.
-
Use spray adhesive or fabric glue to wrap the fabric around each cardboard piece, folding the extra neatly around the back.
-
Once dry, glue the fabric-covered pieces into the box. This creates a clean, professional interior with no raw fabric edges showing.
Pro Tips and Troubleshooting Common Issues
Every woodworker is a good mistake-maker, particularly early on. The trick is to know how to solve them. We’ve all been there. Here’s how to avoid common mistakes when building a jewelry box.
Expert Advice for a Flawless Project
This table covers common problems and how to solve or avoid them.
| Common Problem | Why It Happens | How to Fix or Avoid It |
| Gaps in Miter Joints | Inaccurate 45-degree cuts or wood movement. | Avoid: Always make test cuts on scrap wood to fine-tune your saw’s angle. Fix: For tiny gaps, mix wood glue with fine sawdust from your project to create a matching filler. Use it before applying the final finish. |
| Glue Squeeze-Out Stains | Excess glue leaks from the joint and soaks into the wood grain, preventing the finish from absorbing evenly. | Avoid: Apply a thin, even layer of glue. Fix: Wipe up wet squeeze-out right away with a damp cloth. For dried glue, carefully scrape it off with a sharp chisel or cabinet scraper, then sand the area smooth. |
| Lid Doesn’t Align Perfectly | The box wasn’t clamped perfectly square, or the cut to separate the lid wasn’t perfectly straight. | Avoid: Make sure clamps apply even pressure during glue-up and use a reliable guide for your saw. Fix: Place sandpaper on a flat surface and carefully sand the meeting edges of the lid and box until they sit flush. |
| Splotchy Wood Finish | Uneven absorption of stain or oil, especially on porous woods like pine or cherry. | Avoid: Apply a coat of pre-stain wood conditioner before your stain or oil. This helps the wood absorb the finish evenly, preventing a blotchy appearance. |
FAQ:
-
What tools do I need to make a wooden jewelry box?
Essential Tools Tape measure Pencil Safety Glases Hand saw or Pneumatic jigsaw or Miter/Table Saw Wood glue Clamps Sandpaper of various grits (110-220) Optional tools are combination square, random orbit sander and block plane. -
What’s the best wood for beginners to use when making a jewelry box?
For beginners, Sheppard recommends poplar (it’s easy to work with, and it’s one of the all-time greats for painting), pine (inexpensive and soft) or cherry (a bit pricier, but forgiving and aging to a lovely color). -
How do I ensure my jewelry box corners fit together perfectly?
Then cut accurately fitting 45-degree miter joints; Dry fit before gluing, and use corner clamps to get perfect 90-degree square corners. (and after) C. If the distance from corner to corner is equal, your box is square. -
What’s the best finish to protect a handmade jewelry box?
Oil-based finishes such as Danish or Tung oil are user-friendly and will bring out the natural wood grain. Polyurethane gives you the most protection, while paint gives you the most color options (unlimited, especially when working with poplar). -
How do I line my DIY jewelry box to protect the contents?
Cut cardstock or thin cardboard to the cards’ size and wrap with a slightly larger piece of fabric of your choice: felt, velvet, leather, etc., and glue them inside the box for a finished look Your Questions May or May Not be Answered Below: what is included in – 14 PACK grey pack of 14/30/40/60/80 this container 14/30/40/60/80 packs (L/H/W): 23 x 30 x 35 (cm)/(9.06 x 11.8 x 13.8 (inch) 16 x 23 x 1(cm/form-(6.3 9.06 x 0.1 then in with the package to let me When OF THEM, will?


