Creating a jewelry box by hand is an exciting task. It is something to keep your jewelry in. Besides, it is also a wonderful gift to a special person. This guide will show you how to create a jewelry box. We will discuss your choice of materials and designing the box yourself. Also, we will supply you with the step-by-step instructions.

We have projects for all skill levels. You could either be a beginner in woodworking. Or you could be a seasoned pro. You will certainly find a plan that suits you. Let’s get started and make a piece that is both beautiful and functional.
Before You Begin: Planning Your Perfect Jewelry Box
Proper planning is the first and most crucial step. Having a clear plan is the best way to avoid errors. It also makes building much easier. A little time spent on planning will lead to your project being exactly what you had in mind. We will help you design a box that fits your needs perfectly.
Choosing Your Material: A Quick Comparison
The material you choose dictates the appearance and feel of your project. It is also important for the construction difficulty. Wood has been traditionally used for various craftsmen. But there are additional options, as well. This quick guide will help you figure out what is the best choice for your DIY jewelry box.
| Material | Best For | Pros | Cons |
|---|---|---|---|
| Pine | Beginners | Cheap, easy to cut and sand | Soft, can dent easily |
| Oak | Durability | Good strength, attractive grain pattern | Hard to cut, expensive |
| Walnut | Premium Look | Dark brown color, classy appearance | Expensive, needs special tools |
| MDF/Plywood | Budget Projects | Very stable, won’t warp, cheap | Edges look bad, needs paint |
| Bookboard | Non-Woodworkers | Knife-cut, lightweight | Less sturdy than wood |
Essential Tools and Supplies Checklist
You don’t need a large woodworking shop to get started. Here is a list of the basic tools and supplies you will require to create a jewelry box.
-
For a Wooden Box:
- Measuring & Marking: Tape measure, pencil, combo square.
- Cutting: A table saw or a miter saw for straight cuts. A handsaw and a miter box are ideal for novices.
- Assembly: Strong wood glue, clamps (F-clamps or a web clamp), and painter’s tape.
- Finishing: Sandpaper of different grits (such as 120 and 220), any finish you like (oil, varnish, or paint), and clean cloths.
-
For Lining the Box:
- Felt or velvet fabric.
- Spray glue or craft glue.
- Thin cardboard or poster board for inserts.
Designing Your Box: Key Questions to Answer
Before you make a single cut, answer these simple questions. This will help you create a design that is both pretty and useful.

- Size & Scale: What are the dimensions of the box? Consider how many pieces of jewelry it should accommodate. You should also consider where in the room it will be placed.
- Compartments: Do you need special sections for rings, earrings, or necklaces? A simple sketch of the inside layout can help a lot.
- Style: What style would you like it to convey? For instance, a rustic box may use untreated wood. A modern-looking box may be painted and have sleek hardware. Your style choice gives direction to your materials and finishes.
The Classic DIY Wooden Jewelry Box: A Step-by-Step Guide
This section provides you with the detailed steps on how to make a jewelry box with wood. We will use a traditional method. Initially, you construct a solid box. Then you cut the top away. This methodology results in a perfect grain alignment between the top and the body.
Step 1: Measuring and Cutting the Pieces
This step requires utmost precision. Take your time to measure and cut carefully.
First, we will cut the four side pieces for the box. For clean, professional ends, cut each end of the side pieces at a 45-degree angle. These are the mitered corners. A mitered saw or a miter box with a handsaw are the best tools for achieving optimal cuts.
Next, cut the top and bottom panels. These pieces need to be square. They should fit perfectly on the sides. Here is a pro tip: Cut your pieces a bit bigger than you need. Carefully, you can trim them down when they are a little long. It is always easier to remove any excess wood than it is to add it back.
Step 2: Assembling the Box Frame
Now it is time to glue the box together. We will use a basic method that will give you tight and clean joints.
Place your four side pieces on a flat surface with outside faces down. Align them end-to-end. Then, use painter’s tape across each joint to hold them together. This tape will act as a hinge.
Carefully turn the taped side pieces onto the other side. Spread a thin and even layer of wood glue on each mitered edge. Just “fold” the box up as you do this. The tape will keep the corners secure. Finally, place the top and bottom panels. Use clamps to tighten and hold everything together while the glue dries. Make sure the box is perfectly square. This simple assembly method helps to get an accurate joint with a tight fit.
Step 3: Separating the Lid from the Body

After the glue has fully dried, it will now be a closed, hard box. The following step in making a jewelry box is separating the lid from the body.
You can do this on a table saw or with a handsaw. Adjust the blade height or depth so the cut is a little more than the thickness of the wood. Mark the cut all the way around the box and choose the height you want the lid to be.
To avoid accidents, first cut the shorter sides of the box. Then the box will be more stable. After the first two cuts, insert thin wood into the cuts. This will keep the box from pinching the blade during the final cut. For safety, this guide from Bosch DIY gives detailed instructions on trimming the lid.
Step 4: Sanding for a Flawless Finish
Good sanding is an important element of a successful project. It provides silkiness to the wood surface and it prepares it for a beautiful finish.
Begin by using a coarser sandpaper, for example, 120-grit, which will help you remove any saw marks and even out the surface. You should sand all the outside and inside surfaces of the box.
When the surface is smooth, switch to a higher grit’s sandpaper, like 220-grit. It will polish the wood perfectly and will produce a flawless finish. We recommend that the sanding should be completed entirely before you add any hardware or lining. It is much easier to get to all surfaces at this stage.
Finishing and Customizing Your Jewelry Box
The final touches are what truly make the project your own. By adding the personal touch, you can create a simple box into a custom-made work of art. Acquiring these additional techniques is a great way of enhancing your talent in how to make a jewelry box.
Applying a Finish: Protecting and Beautifying the Wood
The finish forms a protective barrier on the wood that stops water and dirt from doing any harm. It is also a way to bring out the natural beauty of the grain.
- Oil Finishes: Products like Danish oil or Tung oil are easy to apply. You just wipe them on a cloth. They result in a completely natural, low-sheen finish for the wood.
- Varnish or Polyurethane: These coatings form a strong and durable layer over the wood. They give the best protection. Available in gloss, satin, and mat sheens.
- Paint: As for a modern and colorful style, paint is one of the best options. Always use a primer first. It ensures that the paint sticks well and the color is even. As this box-making tutorial mentions, it is wise to plan for your finish from the very beginning.

How to Create Custom Dividers and a Ring Roll
Organizers keep jewelry separate and neat. You can create simple interlocking dividers using thin wood or sturdy cardboard. You will cut two strips that are the height of your box. Cut a slot halfway through the middle of each strip. They then slide together to form a cross.
To make a ring roll, a piece of foam or some felt fabric will do. Roll the felt tight into tubes. Glue these tubes side-by-side into one of the compartments. The small gaps between the rolls will be suitable for holding rings upright.
Adding a Luxurious Velvet Lining
A soft lining will protect delicate jewelry along with elegance. The most effective way to line a box is to avoid gluing the fabric directly to the wood. This can lead to the creation of a messy product.
Instead of that, cut thin cardboard pieces to fit the bottom and sides of the box. Wrap your velvet or felt fabric around the cardboard inserts. Glue the fabric on the back. Now you can simply slide the finished panels inside the box, and they will fit perfectly.
Installing Hardware: Hinges and Latches
The hardware is the last piece of the functional puzzle! Place small box hinges and a decorative latch to make your furniture complete.
To insert the hinges, it helps to mark where the screws go. Drilling small pilot holes first can further help to prevent the wood from splitting. A decorative latch on the front will add a touching detail and will keep the lid securely closed.
When DIY Isn’t an Option: Finding a Professional Solution
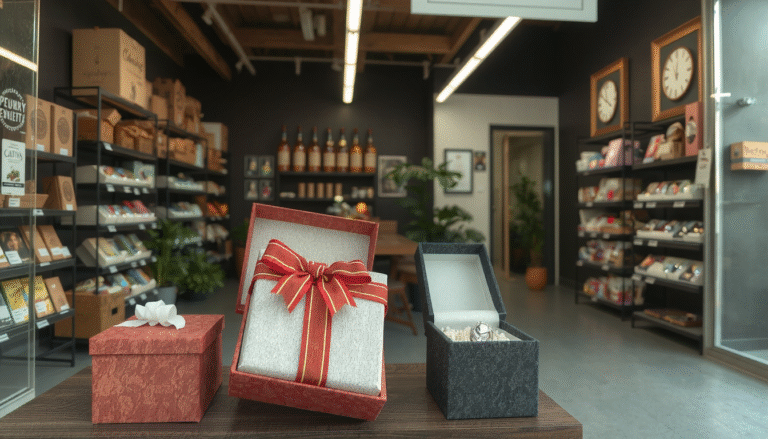
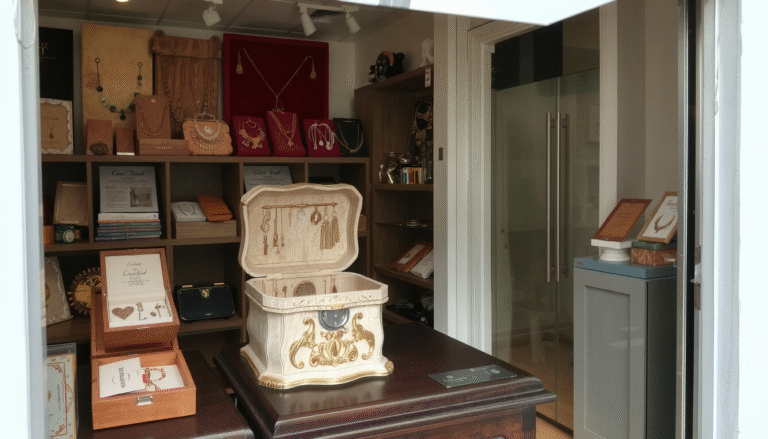
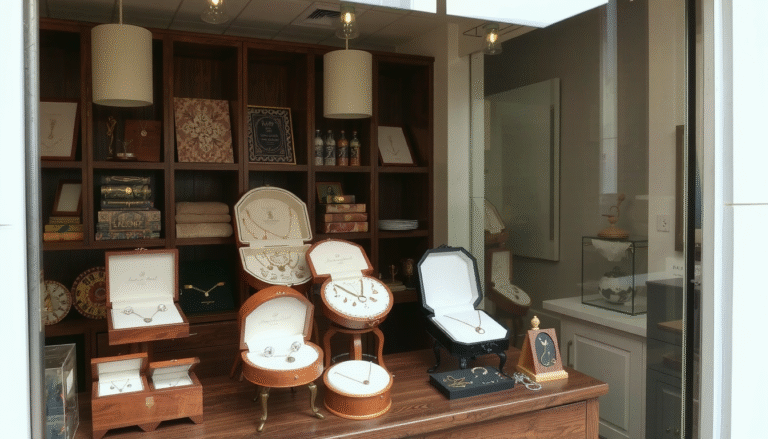
While making a jewelry box is indeed a pleasure, sometimes you need a professionally crafted piece. This might be the case for a special gift or for your company’s needs. If your aim is to find a high-quality storage option without DIYing, learning where to buy is essential. You can check a versatile storage solution with suppliers like Jewelry Box Supplier Ltd.
When looking for a finished product, the best option could be contacting a jewelry box manufacturer. This way you will access better quality, a larger selection, and more customization options. For a timeless classic and protective interior, options like velvet jewelry boxes wholesale are the right choice. They are always in fashion and will protect your delicate items from the deteriorating effect of time.
FAQ: Your Questions on How to Make a Jewelry Box Answered
Here are answers to some common questions you might have about this project.
What is the best wood for a beginner making a jewelry box?
For beginners, the best wood is either pine or poplar. They are inexpensive, easy to find, and quite soft which helps to cut and sand by hand easily. Both woods are ideal for paint and stain, which helps you to choose from various finishing options.
Do I need expensive power tools to make a jewelry box?
No, you do not. Even though power tools such as a table saw will speed things up and make the cuts more accurate, one can easily build a beauty with hand tools. A hacksaw, a miter box for angle cuts, a roll of sandpaper, and some clamps are just a few basic tools to get going.
How do you make compartments inside the box?
Simply using interlocking dividers is the best method. Cut thin strips of wood or MDF to the height of your box’s interior. Then, cut a slot halfway through the center of each piece. You can then slide the two pieces together to form a cross. This divider can be glued in place or left removable for flexibility.
How do you line a jewelry box without a mess?
The secret is to not glue the fabric directly to the box walls. You should rather cut inserts made of thin cardboard to fit in the bottom and the sides of your box. Then, with your fabric, wrap it around the insert, such as velvet or felt. You might paste it to the back. Afterward, you can insert the cardboards that are covered with fabric in the box, achieving a clean and professional fit.
How long does it take to make a simple jewelry box?
For a beginner, a simple mitered box is a great weekend project. You can expect to spend about 2-3 hours on cutting and assembly. Plus several hours for the glue to dry. The finishing steps, like sanding and applying oil or paint, might take another 1-2 hours. Spread this over a day or two to allow for drying time.