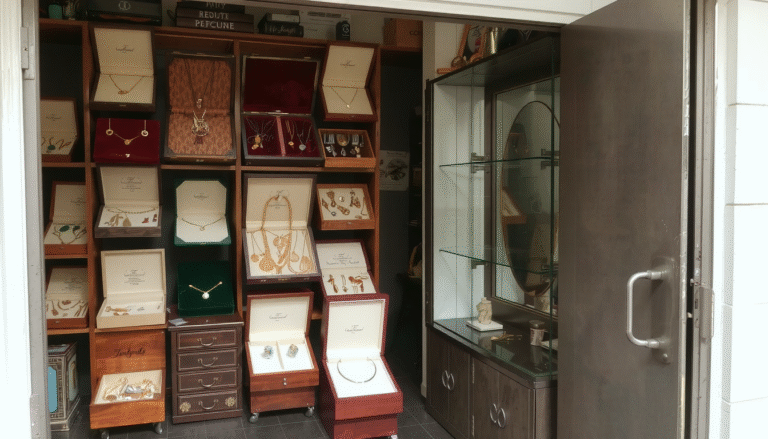
Introduction: Crafting More Than Just a Box
More than just a box, a handcrafted wooden jewelry box is an expression of its creator. It’s a personal statement piece that could be passed down through the generations and lets you showcase your handiwork.
Creating a beautiful jewelry box from some original wood pieces can be a lot of hard work, but really rewarding for wood workers. This how-to guide will teach you every step to making a wooden jewelry box of your own. Together, we’ll go through everything from choosing materials to adding special touches that make your box one of a kind.
Whether you’ve never touched a saw in your life or you’re just trying to up your woodworking game, this guide is for you. With clear directions and a little patience, pretty much anyone can make a pretty jewelry box. Let’s get to work and build something really special.
The Foundation: Planning Your Perfect Jewelry Box
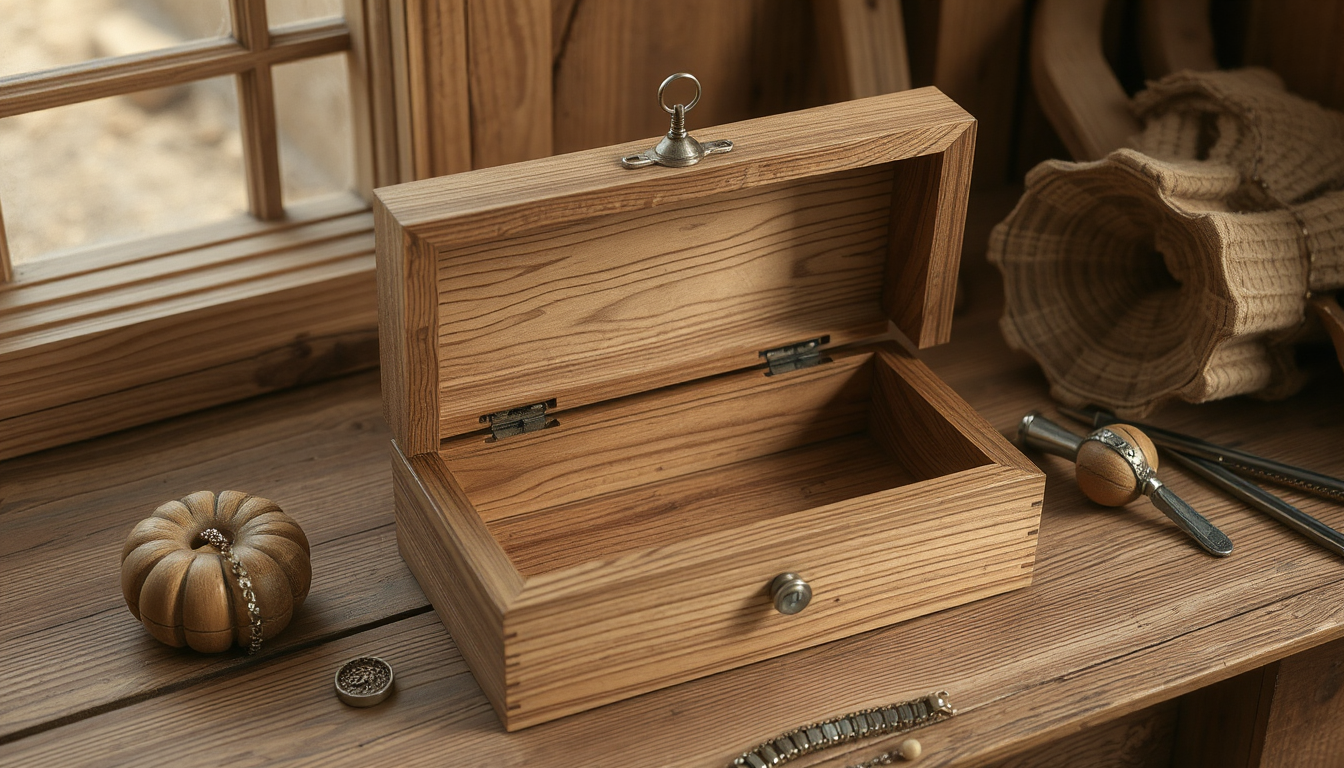
Good planning is key to success in woodworking. Taking time to plan saves hours of work later and helps prevent mistakes.
Essential Tools & Materials
You don’t need expensive tools to get started. A few good hand tools will work fine for beginners.
| Essential Toolkit for Beginners | Helpful-to-Have Tools for a Pro Finish |
| Tape Measure & Pencil | Table Saw or Miter Saw |
| Safety Glasses | Router with various bits |
| Handsaw (Japanese pull saw or panel saw) | Orbital Sander |
| Wood Glue (high-quality PVA) | Drill and Drill Bits |
| Clamps (at least 4 bar or F-style clamps) | Doweling Jig |
| Sandpaper (80, 120, and 220 grit) |
Choosing the Right Wood
The wood you pick will affect how your box looks and how long it lasts. Woods are either softwoods or hardwoods, which refers to the type of tree, not always how hard the wood feels.
Softwoods like pine come from trees with needles and are cheaper and easier to work with. Hardwoods like oak and walnut come from trees with leaves and have prettier grain patterns but cost more.
| Wood Type | Best For | Cost | Difficulty | Appearance |
| Pine | Beginners, rustic or painted finishes | Low | Easy | Light color, visible knots, soft |
| Oak | Durability, classic and traditional look | Medium | Medium | Pronounced grain, strong, heavy |
| Walnut | Elegant, high-end, and modern look | High | Medium-Hard | Rich, dark brown color, smooth texture |
| Cherry | Fine furniture and heirloom pieces | High | Medium | Reddish-brown, darkens beautifully with age |
Deciding on a Design & Joinery
How you join the corners of your box affects both its strength and style. There’s a joining method for every skill level.
For beginners, Butt Joints are the simplest option. The wood pieces just meet at the corners and are held together with glue and nails or dowels.
Miter Joints look more professional. Each piece is cut at a 45-degree angle to create smooth corners where the wood grain flows around the box. You can follow a straightforward guide to a simple mitered box to build confidence.
The Dovetail Joint is considered the best in boxmaking. This joint locks the pieces together and looks beautiful but requires practice to master.
The Step-by-Step Build: Assembling Your Box
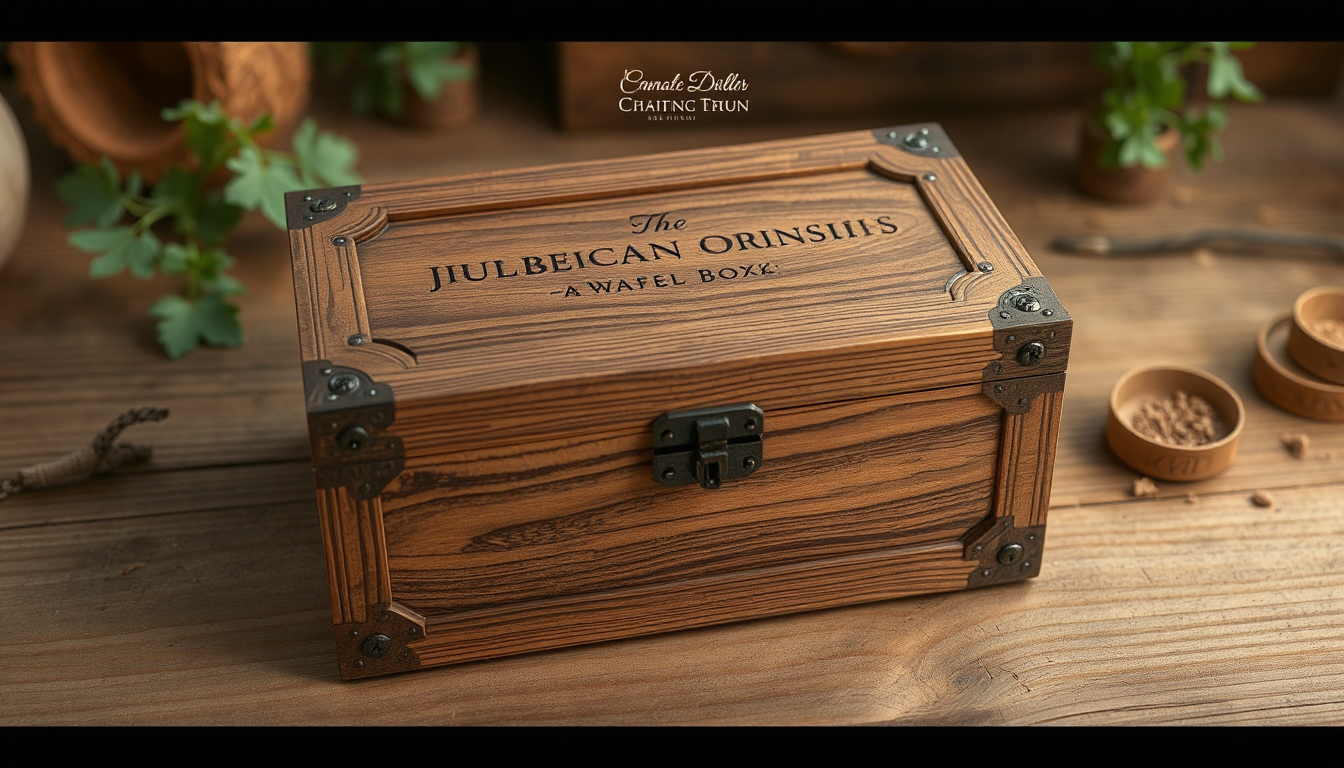
Now let’s start building our box. We’ll focus on being accurate at each step.
Step 1: Measure and Cut Your Pieces
Always measure twice before cutting. This is even more important for mitered corners.
For referencing mine (I have a small box, about 8″(l) x 6″(w) x 4″(h) using 1/2″ thick wood), I needed to cut four side pieces with an angle on each end. You will also need to cut a bottom panel to size.
Step 2: Dry Fit and Sand
Before you do any gluing, dry fit the pieces together to make sure everything fits together correctly. Use tape to temporarily secure them.
Now is going to be the best time to take a piece of sandpaper, wrap it around a small block of wood and sand the interior faces of your box. Attempting to sand the inside after you’ve assembled the box is damn near impossible.
Step 3: Glue and Clamp the Body
Take apart your test fit. Then coat each joint with a light layer of wood glue.
Realign the four sides carefully then clamp them in place. Everything should be square, so check by measuring across opposite corners of the box – lengths should be equal.
Here’s a key tip: Wipe away any excess glue immediately with a damp cloth. When it dries globs left on the wood inhibit more professional finish from soaking in.
Step 4: Attach the Bottom Panel
The base can be added after the glue on the main box is dry. Run glue along the bottom edge of the box, then set the panel in place on top of it.
Weights it down, or clamps it down, as long as you’re letting it dry. This will help the base be well adhered to the sides.
Step 5: Creating the Lid
There are essentially two ways you can form a lid.
The easiest is a Drop-in Lid – just a flat piece cut slightly smaller than the opening so it can be lifted on and off. A better method is cutting the lid from the box itself.
This can be achieved by constructing a full box, and then cutting the top part off with your saw. This makes an exact matched lid and box.
Step 6: Attach Hardware
Mark the exact location of where you will install hinges and a latch. Make with a sharp object for more accurate cuts.
Always use pilot holes when drilling screws, it prevents the wood from splitting. A self-centering bit is perfect for hinge screws.
The Finishing Touch: Protecting and Beautifying Your Work
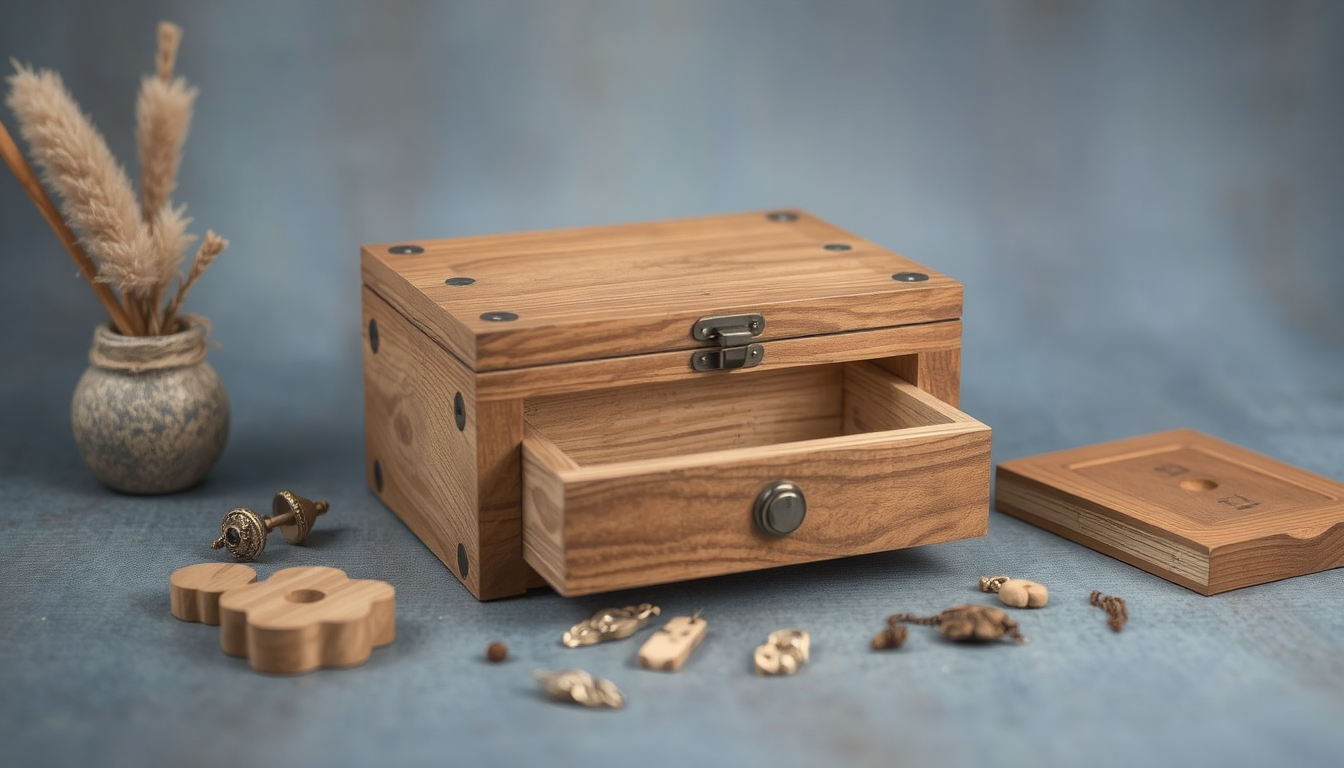
A good finish will protect your box and make your wood look gorgeous. This one step turns a well-built box into something special.
Final Sanding for a Flawless Surface
Before completing, you may want to sand the whole box well. To get rid of marks, begin with a medium sandpaper (120-grit).
For a more polished surface, switch to finer sandpaper (220-grit). When you’re sanding, be sure to always sand with the grain of the wood to avoid scratches.
Choosing Your Finish
There are many finishes that offer unique looks and protection.
-
Oil Finishes: Oil finishes are pretty straightforward – you wipe them on, then wipe them off. They enhance the wood’s natural beauty.
-
Polyurethane: This provides the best protection for scratching and water. It also gives wood a barrier that protects it.
-
Stain: If you want to alter the color of the wood, apply this. It should be applied before any protective coating.
-
Wax: Provides a soft shine and smooth feel, but does little for protection. It applies best as a topcoat over another finish.
Beyond the Basics: Customizing Your Jewelry Box
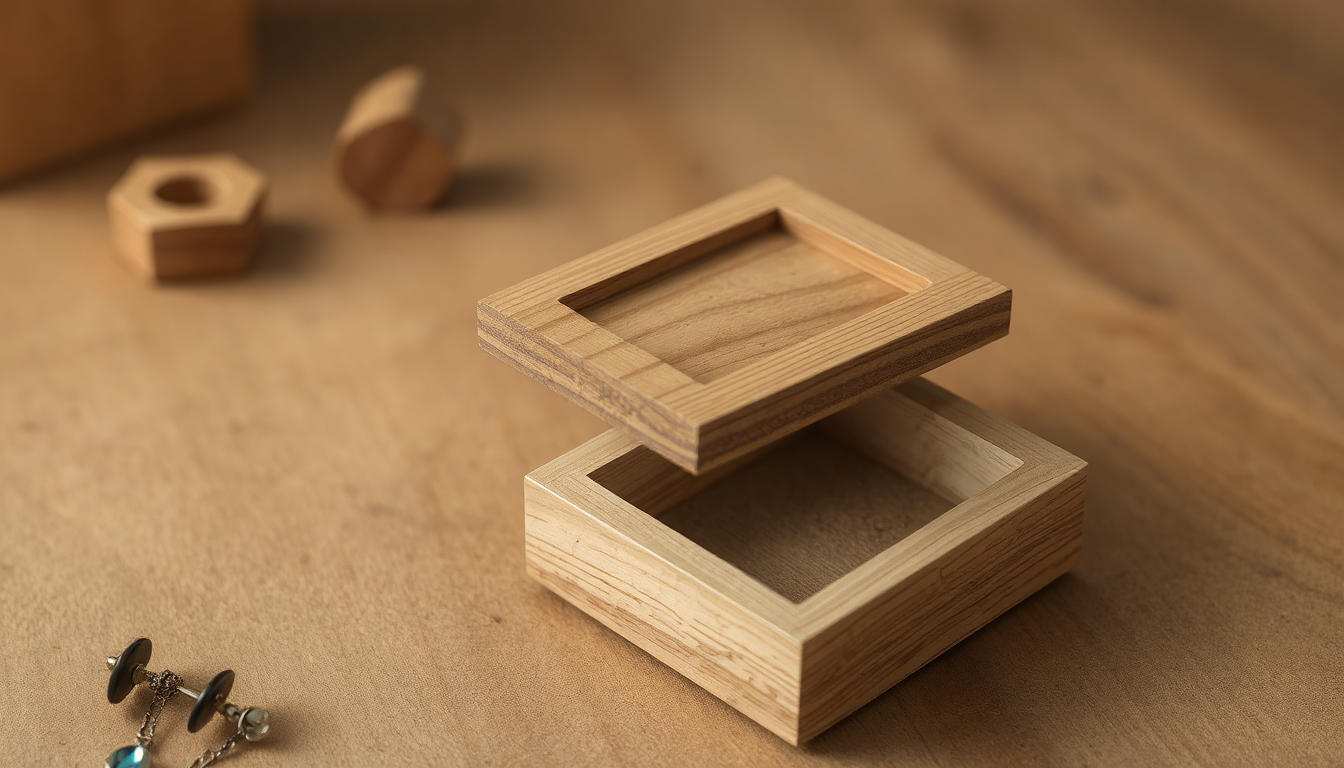
After you’ve constructed a simple box, you can customize it with special touches to make it more useful and reflective of your particular style. It’s these things that set handmade apart.
Adding Interior Dividers and Trays
A jewelry box is only as useful as its compartments. Thin wood can be fashioned into basic dividers..
Consider adding a small, removable tray for rings and earrings. This tray can sit on small rails glued inside the box. For ideas, look at a detailed build with custom trays.
Lining the Interior
For a touch of luxury that protects jewelry, line the interior with felt or velvet. When applying fabric, the best adhesive to use is a spray adhesive.
It is easy: Cut the fabric a little bigger than you need, spray adhesive on the wood, let it sit for a little bit, then press the fabric down. Trim any overhang with a knife.
Advanced Decorative Techniques
Once you are comfortable with the basics, experiment with these more artistic methods:
-
Wood Inlay: This is the process of placing pieces of different types of wood into the surface to form patterns.
-
Personalized Engraving:Use a wood-burning tool to add names or designs. If more intricate work is needed a CNC router can engrave complex designs.
FAQ
-
What tools do I need to make a basic wooden jewelry box?
You need a measuring tape, pencil, safety glasses, handsaw, wood glue, clamps and sandpaper of different grit. More advanced projects get a boost from power tools like a table saw or router. -
What type of wood is best for making a jewelry box?
Beginners ought to begin with pine because it’s cheap and easy to work with. Walnut, oak, or cherry for heirloom quality boxes offers pretty grain patterns and durability. -
How do I create a perfectly fitting lid for my wooden jewelry box?
The most professional way is to crate the entire thing, then carefully cut the top off with a saw. This results in a perfect matched lid and box with continuous grain. -
What’s the best finish to use on a wooden jewelry box?
Oil finishes accentuate the natural beauty of wood, polyurethane is durable, stains alter wood color and wax adds a soft sheen. For jewelry boxes, combined elements may be the way to go. -
How can I customize my wooden jewelry box to make it unique?
Custom touches, like interior dividers and trays, velvet or felt lining, the use of contrasting wood species or personal engravings, can also be incorporated, or special hardware can be used to turn this into a truly one-of-a-kind piece.


