Starting a new project can feel scary sometimes. That’s why we created this complete guide to help you through the whole process, no matter your skill level or what tools you have.
What We’ll Cover
We just keep it simple and easy for everyone to follow. This guide has everything you need to know, from the first designs to the final finishes.
-
Planning Your Perfect Jewelry Box: We’ll help you design a box that fits your collection just right.
-
Choosing Your Method: You’ll find three different step-by-step guides for making a wooden, cardboard, or upcycled jewelry box.
-
Step-by-Step Guides: Clear instructions that make the building process easy to follow.
-
Finishing Touches: Learn how to add nice linings, dividers, and custom details.
Before You Begin: Planning Your Perfect Jewelry Box
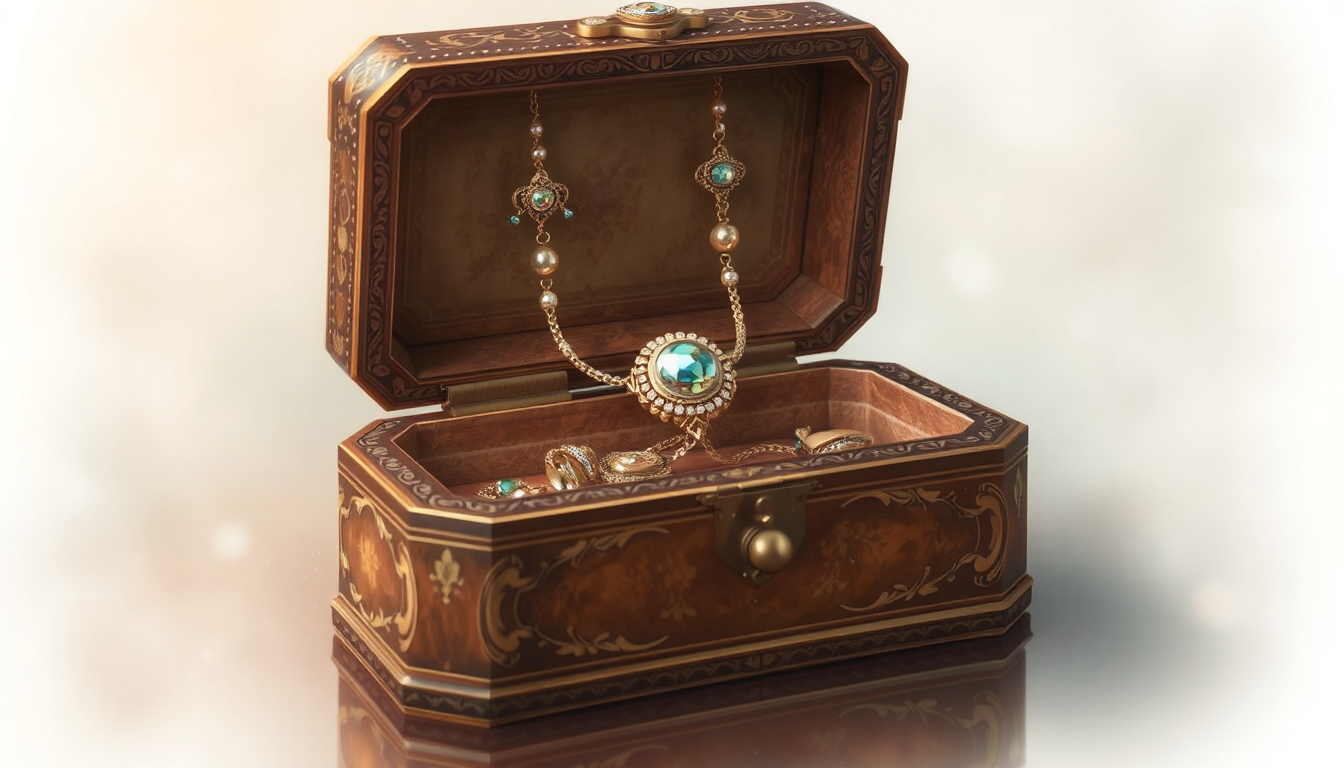
Good plans are the cornerstone of any successful project. So spending a few minutes planning will ensure your jewelry box looks great and is exactly what you need. This will save you time and grief later and prevent oopsies.
A really great jewelry box is bespoke for the items it will house. Instead of making a generic box, let¹s make one that fits share the same interests you love.
We recommend clearing all of your jewelry out first. Or maybe you have long necklaces that will require more hanging space, or a large collection of earrings that require small sections? It’s really good to figure this out for yourself first, so you can make a box that works for you!
Think about these different storage needs:
-
Ring Rolls: These slender fabric rolls are perfect for stashing rings and stud earrings.
-
Small Compartments: Ideal for pairs of earrings, brooches and apendants.
-
Open Sections:Bigger zones are great for chunky bracelets and watches.
-
Hooks or Deep Wells: You can see that hooks or wells are necessary for hanging necklaces so they don’t get tangled.
Good storage isn’t just about staying organized. According to professional jewelry organization principles, keeping items separate prevents scratches and damage that can happen when pieces rub against each other.
Choosing Your Material & Method: What’s Right for You?
Your level of ability, your budget, and your intended outcome should guide you in choosing which material to use. We’ve unpacked the three most popular options for you below.
| Material | Best For (Skill Level) | Pros | Cons | Estimated Cost |
| Wood (Hardwood/Plywood) | Intermediate | Durable, Timeless, Heirloom Quality | Requires specific tools, Higher cost | 30 – 100+ |
| Cardboard & Air-Dry Clay | Beginners | Inexpensive, Highly Creative, Accessible | Less durable, Best for lighter items | 5 – 20 |
| Upcycled Box (Cigar/Shoe) | All Levels | Eco-friendly, Quick, No cost for base | Limited by original box size, May need more decoration | 0 – 15 |
Method 1: Crafting a Classic Wooden Jewelry Box

When it comes to timeless, long-lasting quality, nothing can compete with wood. This technique takes a few common woodworking tools and some patience, but creates a structure that is both strong and beautiful enough to last for generations.
Being organized before you begin ensures that the process will be as smooth and enjoyable as possible. Let’s use some nice, easy-to-find materials to get a professional result.
Materials List:
-
1/2″ hardwood for the box body (e.g., walnut, oak, or cherry)
-
1/4″ plywood for the bottom panel and optional tray
-
High-quality wood glue
-
Sandpaper (120 and 220 grit)
-
Wipe-on finish (like Danish oil or polyurethane)
-
Felt or velvet for lining
Tools List:
-
Tape measure and pencil
-
Safety glasses
-
Table saw or miter saw for precise cuts
-
Clamps (bar or corner clamps)
-
Orbital sander (or a sanding block)
When picking wood, think about what it’s like. Oak is very strong but has a strong grain pattern, while Walnut has a rich, dark color and is a bit softer and easier to work with.
Step-by-Step Construction Guide
We have specific cutting methods and a few pro tips to get everything assembled smartly. Here are the steps you must follow to the latter for a perfect outcome.
-
Cut the Box Sides: Use your miter or other saw to cut your four side pieces to desired size. For a clean joint, angle your blade at 45 degrees for mitered corners. And don’t forget to measure twice, cut once.
-
Cut the Grooves (Dados): Make a shallow groove on the interior edge of each side piece. This is what the top and bottom panels will be attached to. The most common error is the groove being cut too wide. Test the fit using a scrap piece of your 1/4″ plywood, it should be snug but not so tight it won’t come out. The indentation should be apprx 1/4 inch deep.
-
Assemble the Box: We will use the “fold-up” method for perfect assembly without gaps. Lay your four mitered sides end-to-end, with the outside faces down, and connect the joints with painter’s tape. Flip the connected pieces over, apply wood glue to each mitered joint, and slide the 1/4″ plywood bottom panel into its groove. Then, simply “fold” the sides up, using the tape as a hinge. Secure the final corner with tape and use clamps to apply gentle pressure while the glue dries.
-
Create the Lid: For a perfect grain match, we will cut the lid directly from the assembled box body. Set your table saw fence to cut about 1″ from the top of the box. Carefully run all four sides through the saw to separate the lid from the base. This technique of separating the lid is used by experienced woodworkers because it makes sure the wood grain flows perfectly from the box to the lid.
-
Sand and Finish: Begin sanding all surfaces with 120-grit sandpaper to remove any marks and smooth the joints. Then use 220-grit sandpaper for a very smooth finish. Wipe away all dust with a tack cloth before applying your finish. Follow the manufacturer’s instructions, typically applying a thin coat, letting it soak in, and wiping off the extra for a durable, hand-rubbed look that protects the wood.
Method 2: The Accessible & Creative Cardboard Box
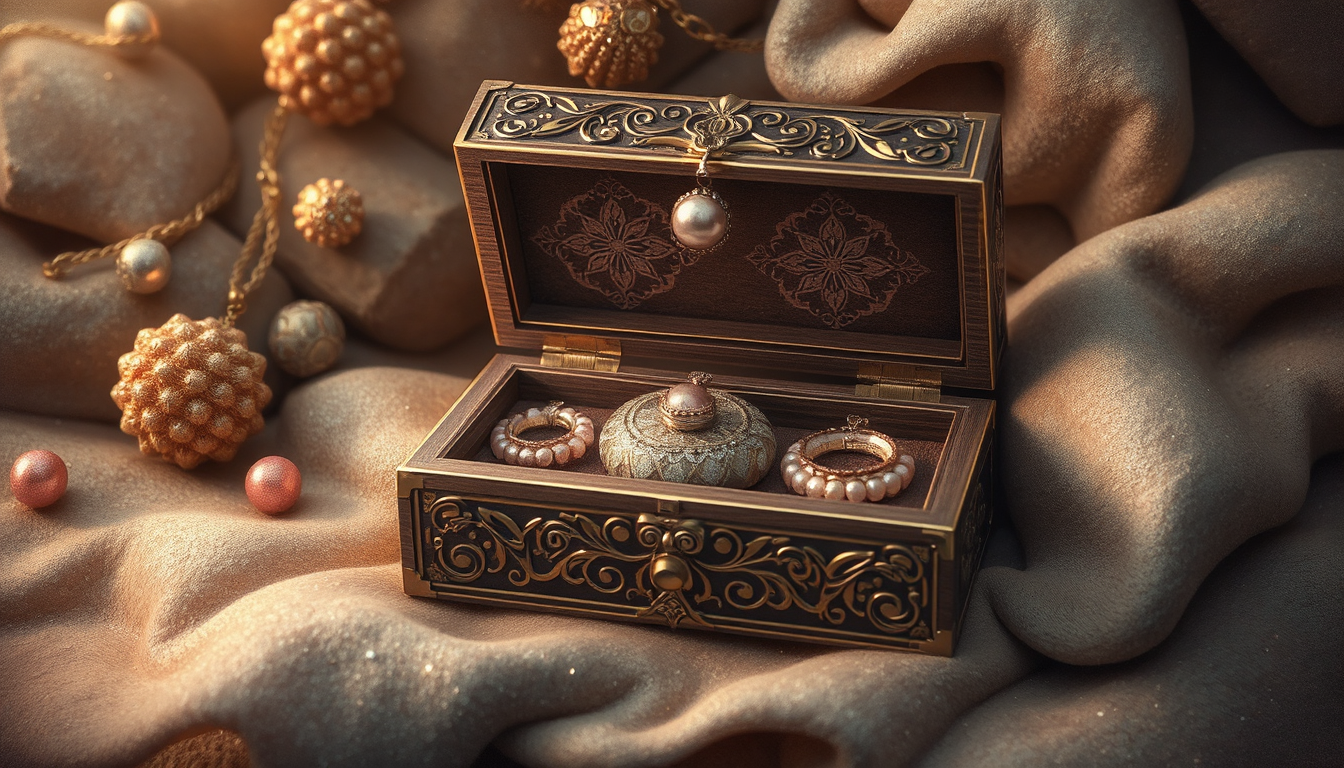
You don’t need a workshop to create a stunning jewelry box. With a few basic craft supplies, you can build a sturdy and beautiful box that’s perfect for lighter items and offers endless ways to be creative with decoration.
This project uses cheap and easy-to-find materials, making it perfect for a rainy day or a quick craft project.
-
Sturdy cardboard (thick pieces from a shipping box work best)
-
Craft knife and a self-healing cutting mat
-
Strong glue (PVA craft glue or a hot glue gun for faster assembly)
-
Decorative paper, fabric, or paint for finishing
-
Ruler and a sharp pencil
Building Your Box Frame-by-Frame
The most important thing for building a strong, neat cardboard box is to cut accurately. Don’t rush these measurements for a polished finish.
-
Cut Your Pieces: Using all the measurements from step 1, cut your box pieces on the cardboard very careful. For a really small box you could cut: 1 6″ x 4″ base 2 6″ x 2″ sides 2 3.75″ x 2″ ends (I make the ends a hair shorter to make them compensate for the thickness of the cardboard).
-
Assemble the Body: Apply a thin, even layer of glue to the bottom edge of one of the long side pieces and press it firmly onto the base. Do the same for the other sides, making sure all corners are square. Use masking tape to hold the joints while the glue dries.
-
Construct the Lid: For the lid, you’ll need a top piece that’s slightly larger than the base (e.g., 6.25″ x 4.25″). The lid’s sides should be much shorter, perhaps 1″ high, to fit nicely over the top of the box. Assemble it the same way as the main body.
-
Decorate and Reinforce: This is the fun part. Covering the box inside and out with decorative paper or fabric does more than just make it pretty; it also makes the cardboard much stronger. Apply glue to the cardboard and smooth your chosen covering over it, folding the edges neatly for a clean finish.
Method 3: Upcycling an Existing Box into a Treasure Chest
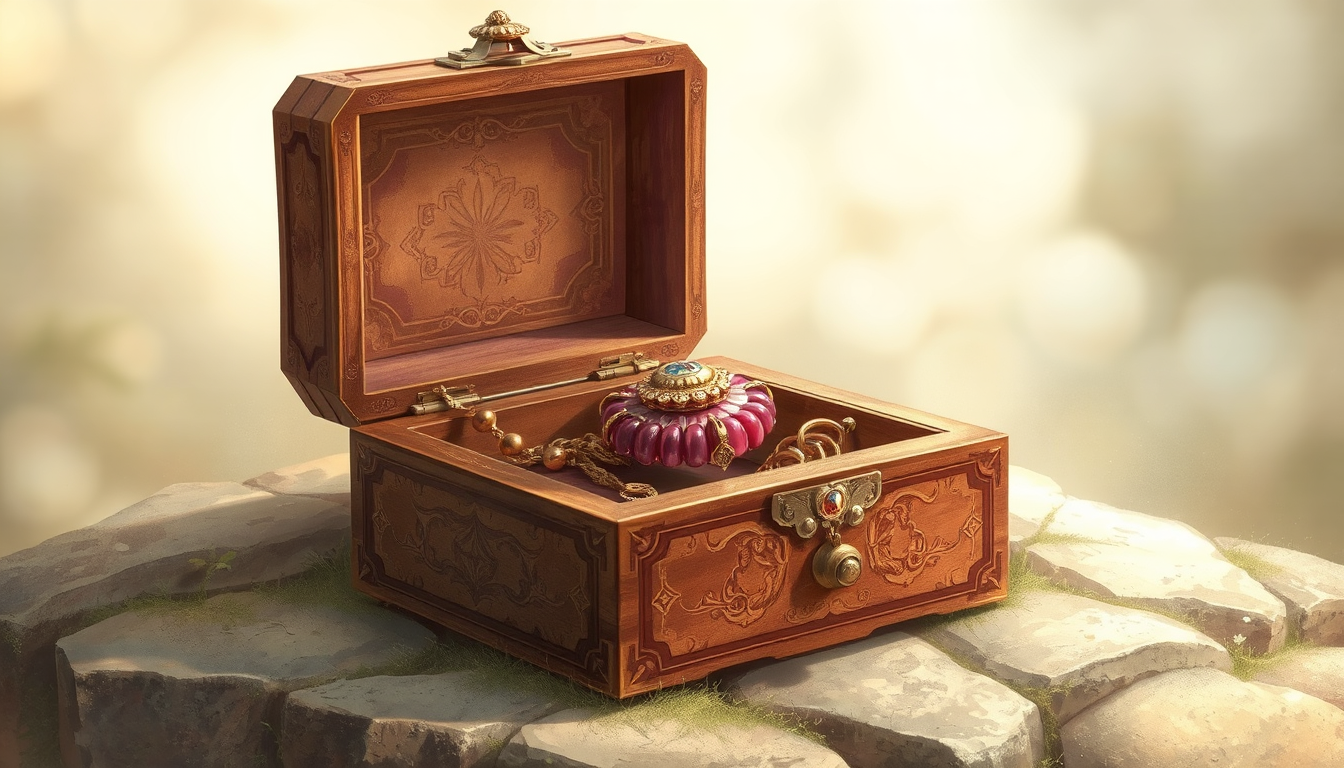
The most environmentally friendly and often quickest method is to transform something you already have. This approach is less about building from scratch and more about creative reinvention, making it accessible to everyone.
Look around your home or local thrift store for a box with good structure. The ideal box is sturdy and has a well-fitting lid.
Great options include old wooden cigar boxes, sturdy brand-name shoeboxes, gift boxes from electronics, or decorative wooden boxes from a thrift shop. The shape and size will define your project, so choose one that inspires you.
This method is all about giving something a makeover. The challenge isn’t building but transforming, which is a unique and rewarding skill.
The Transformation Process
Your objective is to convert an ordinary container into a useful and personalized jewelry organizer. The magic occurs in the details you layer on.
-
Exterior: The possibilities are endless. Paint it a bold color or use decoupage with photos or patterned paper, wrap it in luxe fabric, or put on decorative hardware (like tiny handles, corner protectors, a fancy clasp).
-
Interior: This is what turns it into a jewelry box. The interior must be soft and organized to protect your items. You can learn simple techniques for turning any box into a jewelry box that teach you how to create custom, fabric-covered inserts for rings, earrings, and other small pieces.
The Finishing Touches: Customization and Lining
The final details are what turn a simple box into a truly finished piece. A soft lining and thoughtful dividers not only look professional but are essential for protecting your jewelry.
How to Perfectly Line Your Jewelry Box
Sticking fabric into a box, particularly when the fabric has no backing, may produce wrinkles and glue marks. We have a far stronger means that will ensure a neat and professional job every time.
The secret to getting a nice, smooth felt lining is to cut inserts out of the extremely thin pressed cardboard that are slightly smaller than the inside of your box. Then wrap your desired fabric (felt, velvet, etc.) around these inserts, and glue it firmly on the back. Then it’s just a matter of push-fitting or perhaps gluing the completed inserts in the box.
-
Felt: The classic choice. It’s cheap, forgiving, flexible, and takes a beating without flinching.
-
Velvet:Brings elegance and is very soft, ideal for fragile and precious items.
-
Linen/Cotton: Modern and natural with a little texture that belongs in light-colored woods and austere designs.
Adding Dividers and Trays
Custom dividers turn your box from a simple cube of empty space to a well ordered beehive of everything you need. From 1/4-inch plywood or heavy, fabric-covered cardboard, construct lightweight, removable dividers that fit snugly. Just take a measurement of your interior and cut cross-pieces that fit together.
For an additional layer of organization, think about a lift-out tray. Sitting on a little ledge within the box is a shallow tray, which doubles the amount of storage. You can construct a basic tray in the same exact way as a wooden or cardboard box, only smaller.
Conclusion: Admire Your Handcrafted Work
You’ve done it. You’ve moved from idea to object, a project that took planning and skill and creativity. It took a while to get your creation just right, right?
You haven’t just made a box; you’ve transformed a box into a beautiful, usable hutch for your treasures that reflects your aesthetic taste and handiwork. Whether as a gift for a special someone or as something on your dresser, it shows what you are able to make with your own hands.
FAQ
-
What materials do I need to make a basic jewelry box in 2025?
To make a jewelry box jewelry, you will require hardwood 1/2″, plywood 1/4″, glue wood, sandpaper, finish, and felt. For the cardboard version, you’ll need some durable cardboard, a craft knife, glue and fancy paper or fabric. -
How long does it take to make a DIY jewelry box from scratch?
A wood box for jewelry usually takes 8-12 hours, usually over a weekend. You can make a cardboard box in 2-4 hours, an upcycled box could take only 1-2 hours. -
What’s the easiest way to make a jewelry box for beginners in 2025?
The easiest upcycling method: Use a sturdy box, like a cigar or shoe box, line it with fabric, and add dividers. The cardboard version is also newbie friendly and doesn’t require a workshop housing lots of tools. -
How can I customize my jewelry box to fit specific pieces?
The first thing is to lay out your jewelry to see how much storage you need. Include ring rolls for rings, small compartments for earrings, open compartments for bracelets, and hooks or deep wells for necklaces so they don’t get tangled. -
What are the latest trends for DIY jewelry boxes in 2025?
Popular in 2025: sustainable materials, modular designs, and tech integration (think LED lighting). Sleek wood containers are a trend favorite, with water-based finish and custom sections that accommodate smaller or older children.


