Introduction: Your Journey to a Handcrafted Treasure
Nothing is quite as satisfying as crafting your own jewelry box by yourself. It is a keepsake or a gift from the heart. While the process is available to all, it also depends on your goal, tools and experience for how to make a jewelry box.
This guide cuts through the fluff and gets to the point. We have three different options for how to make the perfect jewelry box for you!
You’ll learn how to make a beautiful container for your valuables. You can choose to upgrade an existing box, craft one from simple cardboard, or build a classic wooden heirloom that will last for years.
Choose Your Perfect Project: A Quick Comparison
Before you begin, consult this table to see which project is right for your skill level, budget and time. Such a comparison will save you much time and pain and will help you to choose a path that leads to success.
| Project Type | Skill Level | Key Tools | Est. Time | Est. Cost | Final Look & Durability |
| Upcycled Box | Beginner | Scissors, Glue Gun | 1-2 Hours | 10 – 20 | Decorative, Medium |
| Cardboard Craft | Beginner | Craft Knife, Ruler, Glue | 3-5 Hours | 15 – 25 | Handcrafted, Medium |
| Simple Wooden Box | Intermediate | Saw, Clamps, Sander | 6-8 Hours | 30 – 70+ | Heirloom-Quality, High |
Method 1: The Upcycler’s Dream – Transforming Any Box into a Jewelry Box
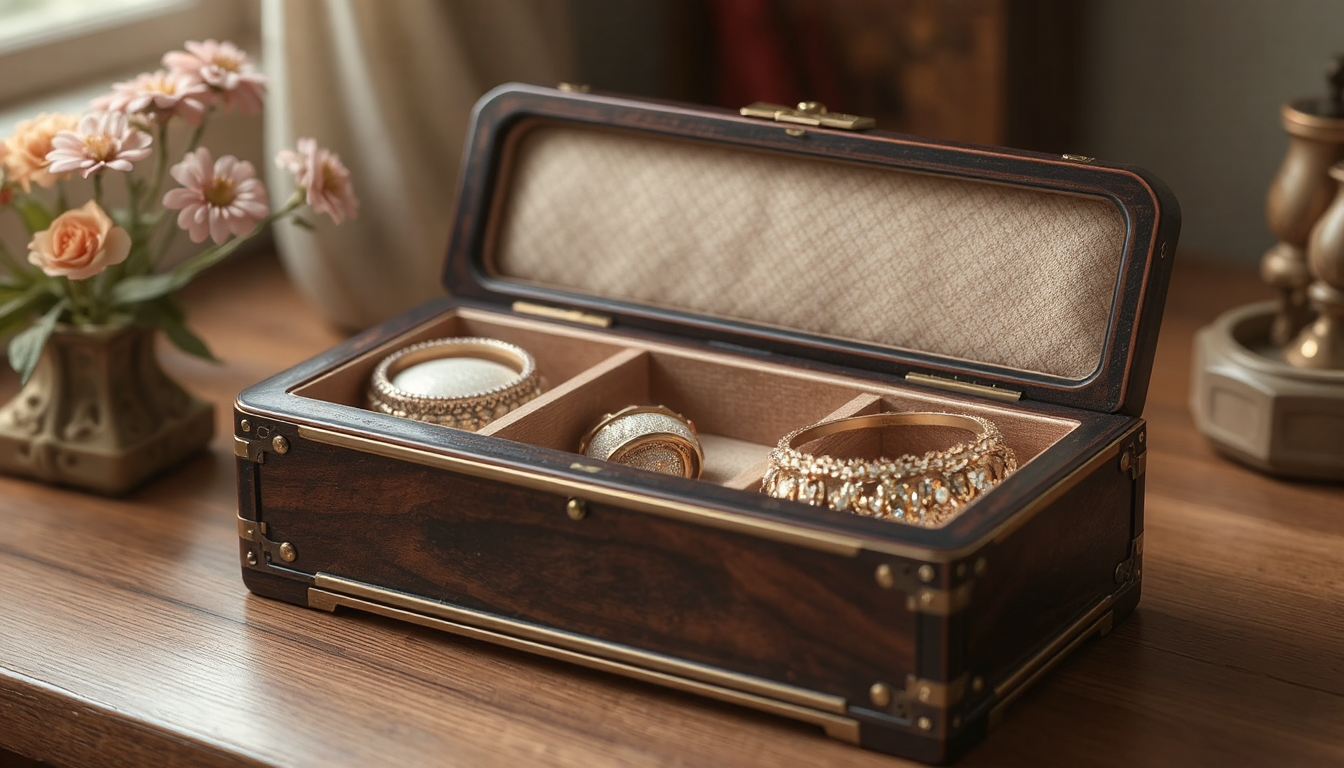
This is the quickest, easiest way to make a personalized jewelry box. It’s a lovely, personal item you can make for not much money and with no special tools, simply by upcycling some decorative box — such as a cigar box, a gift box or a plain wooden craft box). It’s fast, green and very inventive. If you learn by seeing, A Beautiful Mess has an excellent tutorial on this technique.
Materials & Tools You’ll Need
-
A sturdy decorative box with a lid
-
Fabric (velvet and felt work very well for a classic look)
-
Cotton batting or thin craft foam
-
Fabric glue or a hot glue gun
-
Sharp scissors or a rotary cutter
-
Ruler or measuring tape
Step-by-Step Instructions
-
Prepare Your Box: Ensure your box is clean and dust-free. If your box is plain, you can paint or embellish the exterior to match your taste. Let it dry fully.
-
Create the Ring Rolls: Measure the inside width of your box. Cut a strip of cotton batting that width. The length is going to determine how wide the roll is; you want a good starting point to be a length that would give you a 1-inch roll. Roll the batting up tight.
-
Cover the Rolls:Measure and cut fabric. You want a piece that is long enough to wrap around the roll of batting with just a bit of an overlap and wide enough to cover the ends. Pull the fabric taut around the batting and glue long seam.
Tip: Stretch the fabric, but not too much, as this will cause it to pucker at the ends. You want a sleek, trim fit.
-
Fit the Rolls: Fold up the fabric ends and tuck them in the roll and glue in place. Repeat this with enough rolls that they fill the box snugly side by side. They ought to be snug to hold rings well. If necessary, you can use a small strip of glue at the end of each roll to keep them in place.
-
Finishing Touches: To fill in any remaining space, cut a piece of cardboard to the size of the back, cover it in fabric, and glue it down, creating a flat area jewelry such as bracelets or earrings. You can also place a small mirror on the inside of the lid for a bit of class.
Method 2: The Crafter’s Corner – Building a Sturdy Box from Cardboard
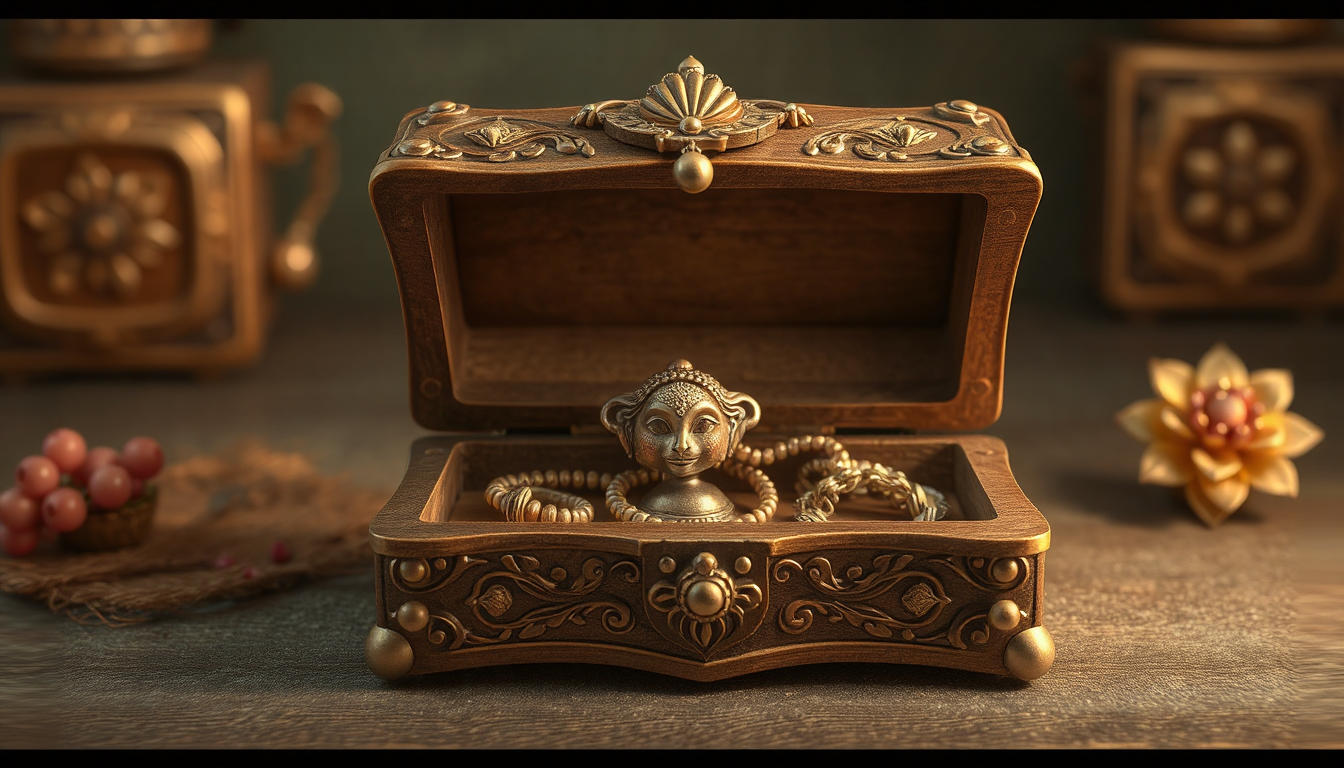
Don’t underrate cardboard. You can transform this everyday material into an elegant and durable jewelry box when you use the right techniques. This is a good project for anyone on a budget, or needing to produce unique shapes and designs without the need for
Essential Crafting Supplies
-
Thick, sturdy cardboard (shipping boxes work well)
-
Sharp craft knife or box cutter
-
Metal ruler and cutting mat
-
Strong glue like PVA or wood glue
-
Masking tape
-
Optional :Air-dry clay for embellishments, decorative paper, acrylic paints and a clear sealant.
Pro Tip:Layered pieces may require cardboard ridges running in different directions to help increase the strength of the box.
The Building Process, Step by Step
-
Design and Cut: Sketch your design to begin. Use a craft knife and metal ruler to measure and cut the base, as well as four pieces for the walls, from the cardboard. You want precision so your box will fit together tightly with no gaps.
-
Assemble the Structure: Apply a thin layer of glue to the edges of the wall pieces and attach them to the base and each other. Don’t use too much glue as it can warp the cardboard. Use masking tape on the outside corners to hold the joints firmly while the glue dries.
-
Construct the Lid: Build the lid the same way as the box. For a simple shoebox-style lid, make the top panel slightly larger than the box opening (about 1/8 inch extra on all sides) and make the lid’s sides shallow.
-
Decorate and Reinforce: This is where you can get creative. You can cover the entire box with decorative paper or fabric. For a more sculpted look, apply a thin layer of air-dry clay to the outside, creating patterns or textures.
-
Paint and Seal: When all added adornment has been left to dry, paint your box using acrylics. Once the paint is dry, apply two to three light coats of clear varnish. This last step preserves the cardboard and adds durability.
Method 3: The Woodworker’s Project – Crafting a Simple and Elegant Wooden Jewelry Box
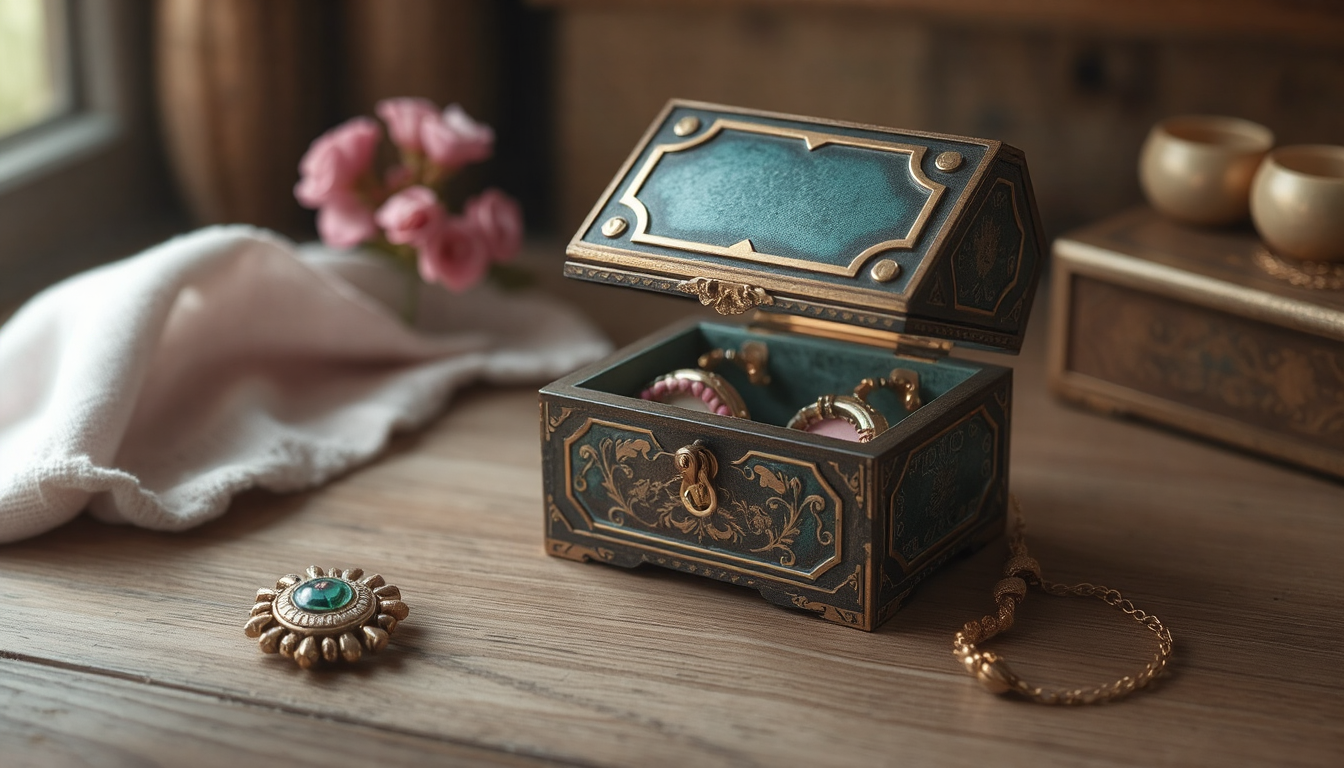
If you’re prepared to work with wood, making a jewelry box imparts fundamental techniques and results in a piece that is timeless. This guide is for a very simple box with butt joints, which is a good first woodworking project. Family Handyman has great step-by-step photos for a project such as this.
Choosing Your Wood
The type of wood you use impacts the appearance, feel and strength of the box.
-
Softwoods such as pine are inexpensive and easy to cut, which is why they are excellent for practicing. They dent easily, though.
-
Hardwoods are the classic choice. Oak is a wood with strong grain, whereas walnut is rich and dark in color. One popular application is the way cherry picks up color, rich and dark, as it ages. Hardwoods last longer, but they require sharp tools and more work.
Tools & Materials Checklist
-
Wood planks (1/2″ thickness works well)
-
Saw (a hand saw with a miter box works; a power miter or table saw gives better results)
-
Wood glue
-
Clamps (bar or F-style clamps are needed)
-
Sandpaper (medium 120-grit and fine 220-grit)
-
Wood finish (Tung oil, shellac, or polyurethane)
-
Small hinges and a clasp
-
Measuring tape, pencil, and a combination square
Building Your Box: A Step-by-Step Guide
-
Cut the Pieces:There must be no margin of error. Measure and cut the four sides of your box. For a basic butt joint, two of the sides get cut to the full length/width of your box, with the other two cut shorter to fit between the long sides. Then cut the top and bottom panels to fit, as measured from outside to outside.
-
Assemble the Box: Do a “dry fit” first (no glue) to verify that everything lines up. Brush a coat of wood glue along the edges of the side pieces, then clamp them together. Check a square to make sure your corners are at exactly 90 degrees. Dampen a cloth and wipe away any extra glue. Let it dry overnight.
-
Attach Top and Bottom: When frame feels sturdy, glue the top and bottom panels into place. Clamp or set heavy, flat objects on top while it dries.
-
Separate the Lid: This is an important moment for an accomplished grain. Using a ruler, trace a straight line around all four sides of the box (it should be about an inch down from the top).
Expert Technique: Slowly and carefully cut along this line with a fine-toothed saw. This is the most nerve-wracking step, but take it slow and it will be perfect. The reward is a lid that matches the body’s grain perfectly.
-
Sand Everything Smooth: Sand all surfaces with medium-grit sandpaper to eliminate any saw marks and to smooth the joints. Round slightly all sharp edges for a softer touch. Sands great with a high grit, smooth surface when finished.
-
Install Hardware: The hinges should be measured and marked very carefully. The easiest thing to do is to carve a small area out so the hinges are level with the wood. Mount the hinges and clasp, or lock, of your choice.
Beyond the Box: Customization and Finishing Secrets
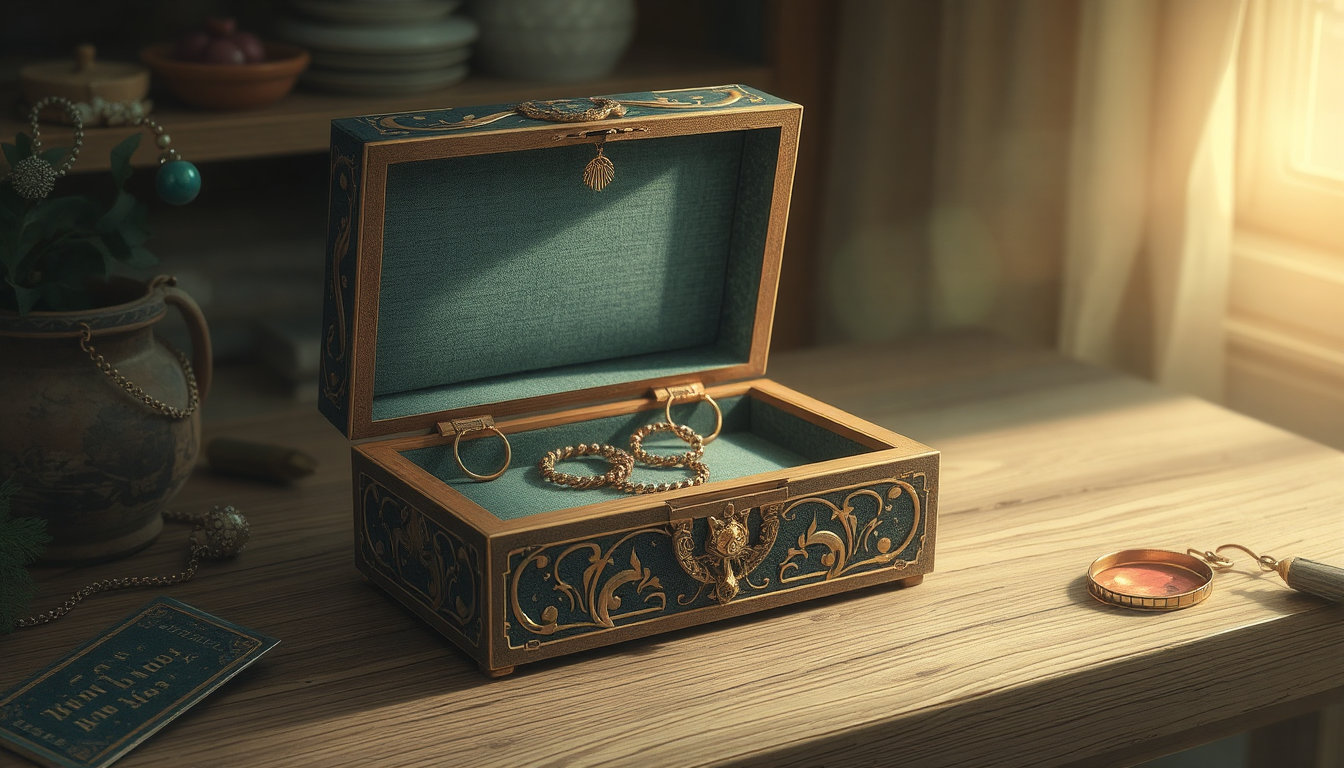
But well-made box is only the beginning. The interior design, finish and bespoke touches make it extra special.
Creating Smart Interior Layouts
-
DIY Dividers: Fashion easy cross-lap dividers by making halfway cuts into thin pieces of wood or fabric-covered cardboard that will lock together within the box.
-
Removable Trays: Have a shallow, shorter box that functions as a tray. Adhere small wooden strips inside the main box on which the tray can sit.
-
Professional Lining: Lining box dividers and tray bottoms with felt, leather or suede gives you that professional touch and keeps your delicate pieces from getting scratched.
Choosing the Perfect Finish (For Wood)
The finish defends the wood, and reveals the beauty of its natural grain. Knowing the different wood finishes is important in any woodworking project.
-
Natural Oil Finish (Tung or Danish Oil): One of the best for the beginner to use. It seeps into the wood, accentuates the grain and imparts a low-sheen, natural feel. Just wipe on and wipe off.
-
Shellac: An old-school, nontoxic finish that dries fast and imparts a warm, amber hue. It creates more luster than oil, and it can be a good sealer for decorative woods.
-
Polyurethane/Varnish:Has the greatest durability and water resistance. It creates a filmlike barrier on the surface, ranging in sheen from matte to high gloss. It requires a bit more care to apply without dust and drips.
Adding Personal Touches
-
Wood Burning (Pyrography): Add names, dates or designs with wood-burning tools for a personal touch and a rustic feel.
-
Inlays: Somewhat more advanced and easy-prefab incut inlay strips may be in set into a shallow groove for a cool decorative touch.
-
Custom Hardware: Don’t just stick to the raw hardware. Sometimes a set of decorative hinges, small brass feet or an unusual clasp can make the whole piece pop.
Conclusion: Your Finished Masterpiece
Congratulations on finishing your project. Now that you know how to make a jewelry box, choose the design that suits your skill level, style and materials you have on hand.
Did you ingeniously upcycle a vintage score, build a sculptural statement piece by using cardboard, or construct heirloom-worthy woodwork from scratch? Be proud of your work. Now, you can admire your lovely new jewelry box or make somebody else a lovely, thoughtful, handmade gift.
FAQ
-
How do you make a jewelry box for beginners with limited tools?
Beginners can easily master this upcycled box, as it is created when you repurpose a used box easy (with fabric coverings and dividers) by using simply your basic tools like scissors and glue gun, within the short time frame of 1 – 2 hours. -
What materials work best when making a wooden jewelry box?
Hardwoods such as cherry, walnut and oak yield attractive, durable jewelry boxes, which can become family heirlooms, while softwoods such as pine are more budget-friendly for a beginner learning woodworking. -
How do you make a jewelry box with compartments for different types of jewelry?
Make your own custom dividers via cross-lap construction with thin wood or covered-cardboard to accommodate removable trays (it stands on four thin wooden strips inside the main box) that you can pull out for a different category of object. -
How much does it cost to make a jewelry box in 2025?
(Prices range depending on which method is purchased: upcycled boxes (10-20), cardboard designs (15-25) or (wood 30-70+)depending on type of wood and quality of hardware. -
How do you make a jewelry box waterproof and durable?
Wooden: You will need to seal them, coating both inside and outside with 2-3 coats of polyurethane or varnish for water resistance.- Cardboard: You can paint them, and highlight them with bits of cereal box cut into long strips, and glued on, then sealed with clear acrylic sealer AFTER decorating to protect against moisture.


