Introduction
We’ll show you how to create your own elegant, customized jewelry box. It doesn’t even matter if you have experience. We offer straightforward instructions for an enjoyable, practical project.
Jewelry box projects are not limited to the small-scale shape of a box. Whatever you went with, we’ve put this guide together to help you.
We’ll take you through from planning to the finishing touches. You’ll know how to make something beautiful that you can be proud of when you’ve finished.
Before You Start: Planning Your Perfect Jewelry Box
They say a good project always begins with a plan. Give yourself some time to think about your design; it will make you a lot happier to construct a box you love.
Step 1: Envision Your Design & Function
So consider what will be in the box. Does the jewelry box have room for rings and earrings? Or does it keep larger things like bracelets? The size and features will be determined by what you intend to store.
Consider the style you’re going for. Do you prefer rustic, contemporary or traditional styles? This will inform your materials and finishes.
Third, determine the features that you need. A lidded box is perfect, a simple box. But you probably want dividers, a tray or tiny drawers to help sort things a bit.
| Feature | Complexity | Best For |
| Simple Lid | Low | Beginners, storing larger items. |
| Lid + Tray | Low-Medium | Organizing different types of jewelry. |
| Drawers | Medium-High | Maximum organization, more advanced. |
Step 2: Choose Your Path & Materials
We have three tracks depending on your skill level and how much time you’d like to dedicate.
The Upcycler’s Path is the quickest and easiest. You use something that already exists like a gift box, an old cigar box, or a plain wooden box from a craft store.
The Crafter’s Path means building a box from scratch using simple materials. You can use thick cardboard, foam board, or light balsa wood for this method.
The Woodworker’s Pathentails constructing a box by simple tools. This is where you’ll apply easy to cut inexpensive heavy cardboard, foam board or light balsa wood.
Pine is inexpensive and easy to work with, but it can ding easily. Oak is stronger and resists scratches, but is also harder to work with.
Step 3: Gather Your Essential Tools
You don’t need a full workshop. Here are the basic tools you’ll need for each project type.
For Upcycling/Crafting:
-
Hot glue gun or strong craft glue (like E6000)
-
Sharp craft knife or utility knife
-
Ruler and cutting mat
-
Fabric, felt, or velvet for lining
-
Cotton batting or thin craft foam for padding
For Woodworking:
-
Measuring tape & pencil
-
A square (a combination or speed square is perfect)
-
A hand saw (or a power saw like a circular or miter saw)
-
Quality wood glue
-
Clamps (at least 2-4 are needed for a strong bond)
-
Sandpaper (various grits, like 120 and 220)
Method 1: The 1-Hour Upcycle – Transform Any Box into a Jewelry Organizer
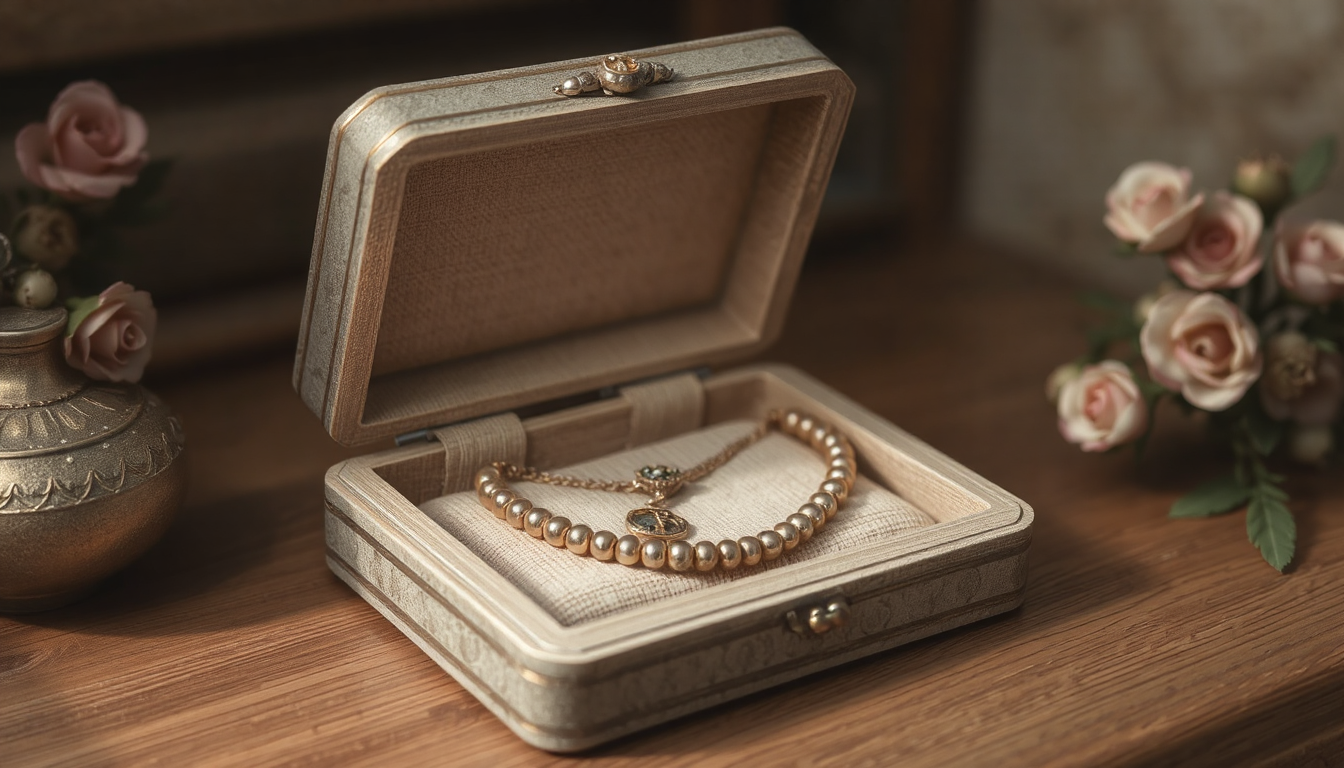
This process is quick and satisfying with a limited amount of tools. You’ll start with a plain box, and then create custom inserts that are both beautiful and will protect your jewelry. This is perfect for beginners.
Creating the Ring Rolls: A Step-by-Step Guide
Ring Rolls: Ring rolls are another traditional feature of a jewelry box. They are easy to make.
-
Measure the interior width and length of your box. This tells you how large to make your inserts.
-
Cut your cotton batting or craft foam into long strips. Roll each strip into a tight log that’s about one inch thick.
-
Wrap each roll in your chosen fabric. Velvet feels luxurious and classic. Secure the fabric on the bottom of the roll with a line of hot glue.
-
Fit the finished rolls snugly inside your box. They should be tight enough that they don’t move around. You can add some glue to the bottom of each roll if needed.
Finally, when you cut your fabric, leave an inch or so extra on the ends. This allows you to fold the ends over and glue them down for a tidy appearance, almost as if you are wrapping a present.
For a good visual guide and more ideas, check out this A Beautiful Mess tutorial on making custom inserts.
Method 2: Your First Wooden Jewelry Box – A Beginner’s Step-by-Step Project
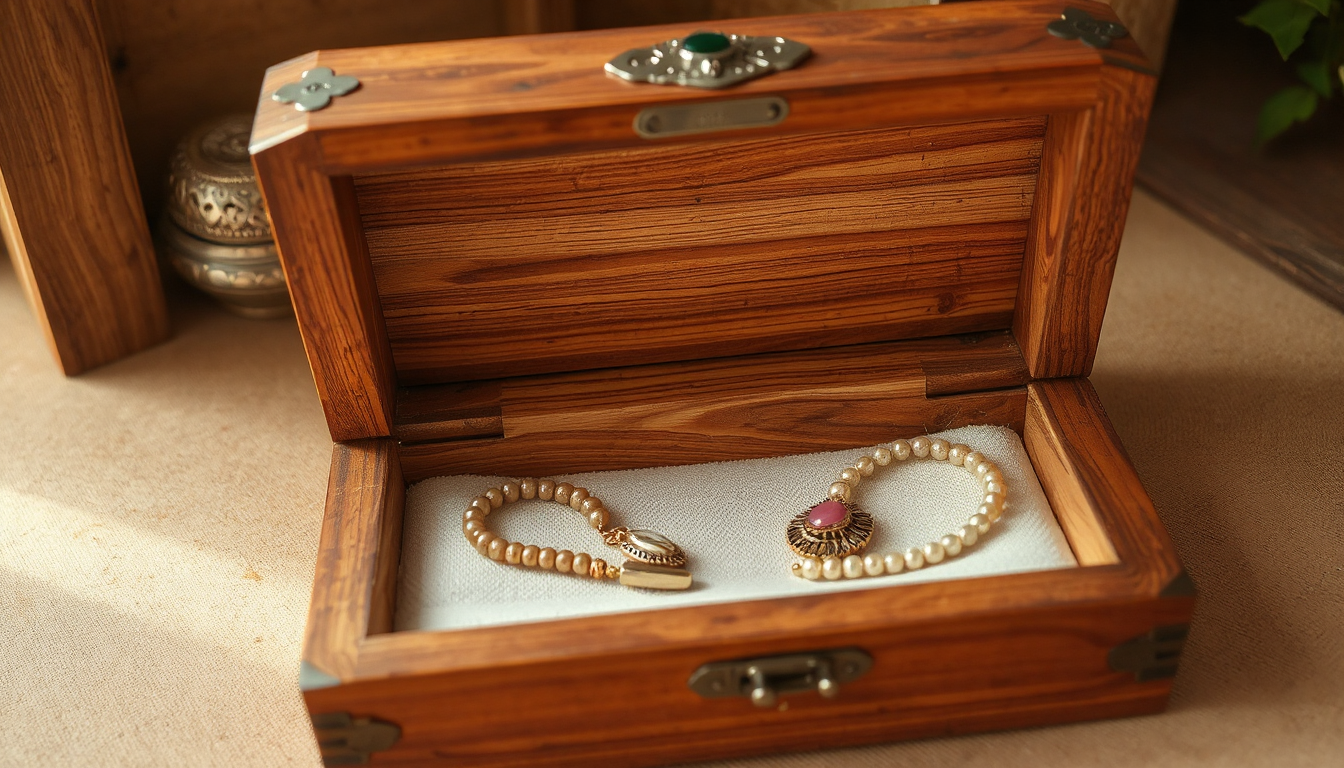
Building a simple wooden box is a basic woodworking skill. This guide uses simple butt joints, which are strong and don’t require complex cuts. We will build the box as one piece and then cut the lid free—a technique that ensures a perfect fit.
Step 1: Finalize Plans & Prepare Your Wood
So why don’t we construct a simple box: 8 inches long, 5 inches wide and 4 inches high.
Cut list for 3/4 inch board:
-
Two long sides: 8″ x 4″
-
Two short sides: 3.5″ x 4″ (5″ width minus the thickness of the two long sides)
-
One top & One bottom: 8″ x 5″
Step 2: Cut Your Pieces with Precision
With your square and pencil, mark clean, accurate lines prior to cutting. A sharp hand saw will do, but a power saw is quicker.
To ensure that your box is square, your opposite sides should be the same length. Cut your first long side, and then use it as a template to scribe your second long side. Repeat with the short sides. It is more precise than a tape measure.
Step 3: Assemble the Box Body (The “Glue-Up”)
Make a “dry fit” before gluing. Fit the four sides and bottom piece together without glue to ensure everything fits neatly. Make any needed adjustments now.
Now, a thin line of wood glue will be put along the edges of the pieces. Some squeeze-out is good, because it indicates full coverage, but not too much mess.
Assemble the box, clamping as needed. Use your square to verify that each corner is a true 90 degrees, taking the time to adjust as necessary. Allow the glue to dry completely as per its drying time, which is normally a few hours or overnight. When the body is dry, cut the top piece on.
Step 4: Separate the Lid from the Body
This method ensures the lid will always fit perfectly. Mark down from the top edge (about 1 inch) and use your square to draw the line straight through all four sides of the box.
Cautiously saw through this line. Go slowly, twisting the box as you cut each side. The top will pull away from the body, leaving you with a base and lid that are a perfect fit.
Step 5: The Magic of Sanding
Sanding is what makes your project go from rough to finished. Begin with a medium-grit sandpaper, such as 120-grit, working to smooth the edges of the lid and the body of the box cuts, level uneven joints, and scrape off any excess glue.
Then move onto fine-grit sandpaper, such as 220-grit. Rough the box on all sides, inside and out, using the grain of the wood. The surface should be smooth to the touch and ready for a finish.
Beyond the Build: Adding Professional Finishing Touches
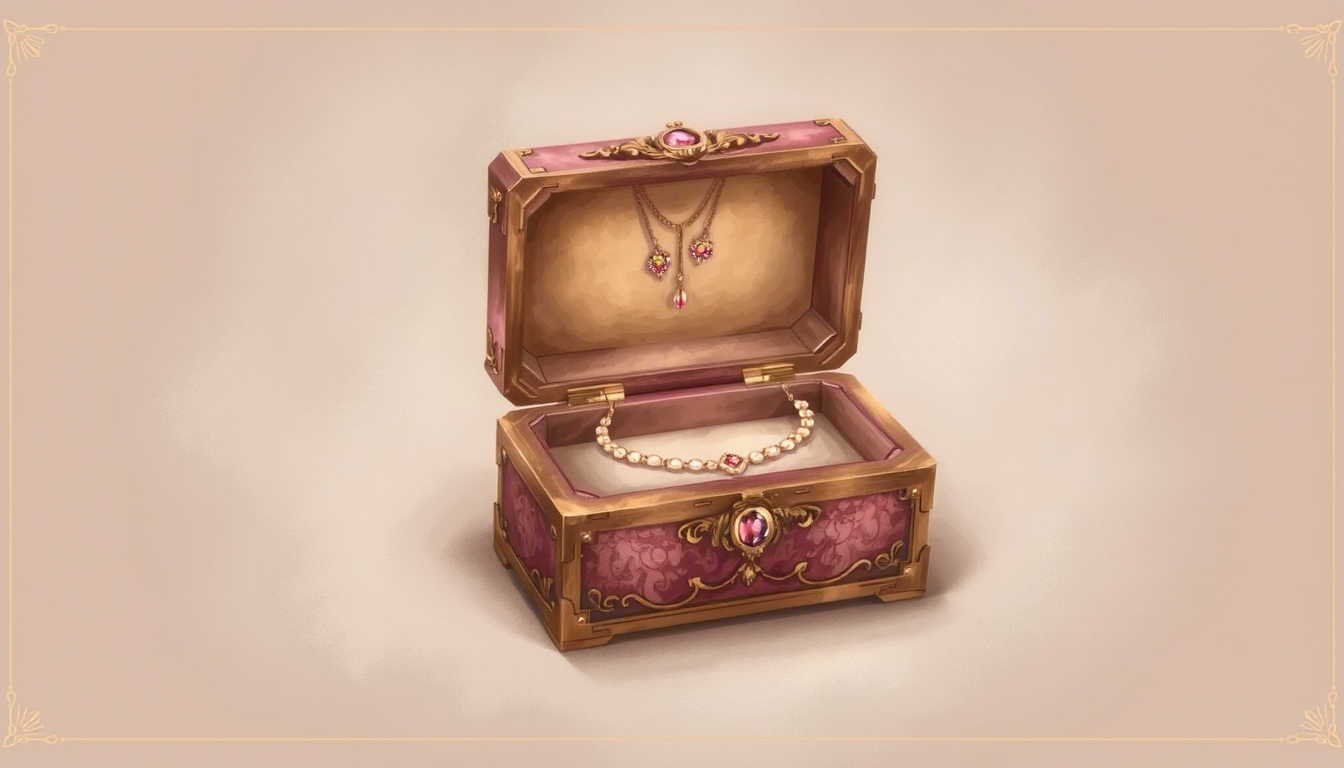
These specifics are what bridge the gap between your project being “homemade” and “hand-crafted.” They give polish and function that make for a high-quality piece.
How to Line Your Box (Without the Fuss)
Don’t glue fabric directly to the wood for clean edges inside your box. Alternatively, cut cardboard, thin matboard or 1/8-inch plywood to the inside dimensions of the bottom and sides.
You would wrap these pieces neatly in fabric and glue down in the back. Then, it’s a matter of gluing the completed panels into the box. This technique hides all the raw fabric edges and provides a nicely finished, cushioned lining.
Installing Hardware: Hinges & Latches
Pick out tiny, decorative hinges and a latch that is the same size as your box. Hold the hinges in place, and indicate their screw hole positions with a standard pencil or an awl.
Always drill a pilot hole to prevent splitting the wood when inserting the little screws for the hinges. One good trick is to choose a drill bit as wide as the screw’s shaft, allowing the threads to be subtracted. How deep this will go will depend on the length of your hardware, so you may want to tape off the bit to know how far to drill and not punch through your lid.
Applying a Protective Finish
A finish gives wood a polished look and helps protect it from. moisture and wear. For beginners, there are plenty of other easy opportunities.
For a Natural Wood Look: A wipe-on polyurethane or Danish oil is quite forgiving. All you have to do is roll it on, with a clean, lint-free cloth, let it sink in, then wipe off the excess. These finishes enhances the natural grain and texture of wood.
For a Painted Look: For a fresh, modern coat, first use a quality spray primer. This ensures that the paint adheres well, and that the final color is rich and uniform. Spray your spray paint in two or three light coats.
Level Up: Inspiration for Your Next Jewelry Box
Once you have the basics down, you will able to experiment with even more techniques. Use these ideas to add strength and visual detail to upcoming projects.
Stronger & More Decorative Corners
Instead of simple butt joints, you can create miter joints by cutting the ends of your boards at a 45-degree angle for seamless corners. To add beauty and strength, you can then cut thin slots across these corners and glue in contrasting wood splines.
Many woodworking communities offer inspiration for advanced designs. Looking at collections of free jewelry box plans can give you great ideas for future projects.
Adding Internal Trays and Dividers
In addition to the previous suggestion, also consider investing in a small, shallow, tray that sits on a bit of a ledge inside the box, providing storage underneath. You might also make basic, slotted dividers out of thin wood to fashion custom compartments for smaller items, such as earrings and rings.
Conclusion: Your Handcrafted Treasure Awaits
You don’t need to be an expert to try your hand at making an attractive and practical jewelry box. Whether you opt for a speedier upcycle or a more traditional woodworking build, the payoff is tremendous.
You now have all the information you need to conceive, cut, and complete your very own piece. Pick your route, pack your gear, & get started crafting your custom treasure.
FAQ
-
How do I make a jewelry box without woodworking skills?
If you’re into upcycling, you can transform what you already have into your perfect storage solution simply by inserting them with fabric lining, ring rolls and dividers. It’s a simple process that doesn’t require many tools and takes about an hour to complete. -
What materials do I need to make a basic wooden jewelry box?
You will need wood (beginners may want to use pine, poplar or oak) in addition to wood glue, a saw, sandpaper, measuring tape, a square, clamps and lining materials such as fabric and batting. -
How do I make a jewelry box with compartments for different items?
Make your own custom dividers out of thin wood or cardboard, covered in fabric, or construct a box with a removable try that slides in on interior ledges to make a series of compartments. -
What’s the easiest way to create a perfect-fitting lid for my jewelry box?
Make the entire box as a single piece, then cut the lid… off after the glue is dry. This guarantees, you get the Lock that align perfectly to the base. -
How do I make a jewelry box that looks professional?
And include finishing touches such as lining with the right fabric (using the panel method), using good-quality items like hinges and latches, and protective finishes such as polyurethane or Danish oil for both wood enhancement and protection.


