Do you want to transform a simple container into a luxurious home for your treasures? Learning how to line a box with velvet is the answer. A soft, plush lining looks elegant. More importantly, it protects delicate pieces from scratches and tarnish.
This guide is truly comprehensive. We will cover the steps for choosing materials in the most professional manner. You will learn the most efficient solutions and techniques to avoid wrinkles and achieve a delicate finish. It doesn’t matter if you’re a beginner or working with a complex box.
Perhaps you’re restoring a vintage family heirloom. Or maybe you’re finishing a completely new project. Quality details make all the difference. At Jewelry Box Supplier Ltd, we believe the inside should be as beautiful as the outside.
Before You Begin: Materials and Method
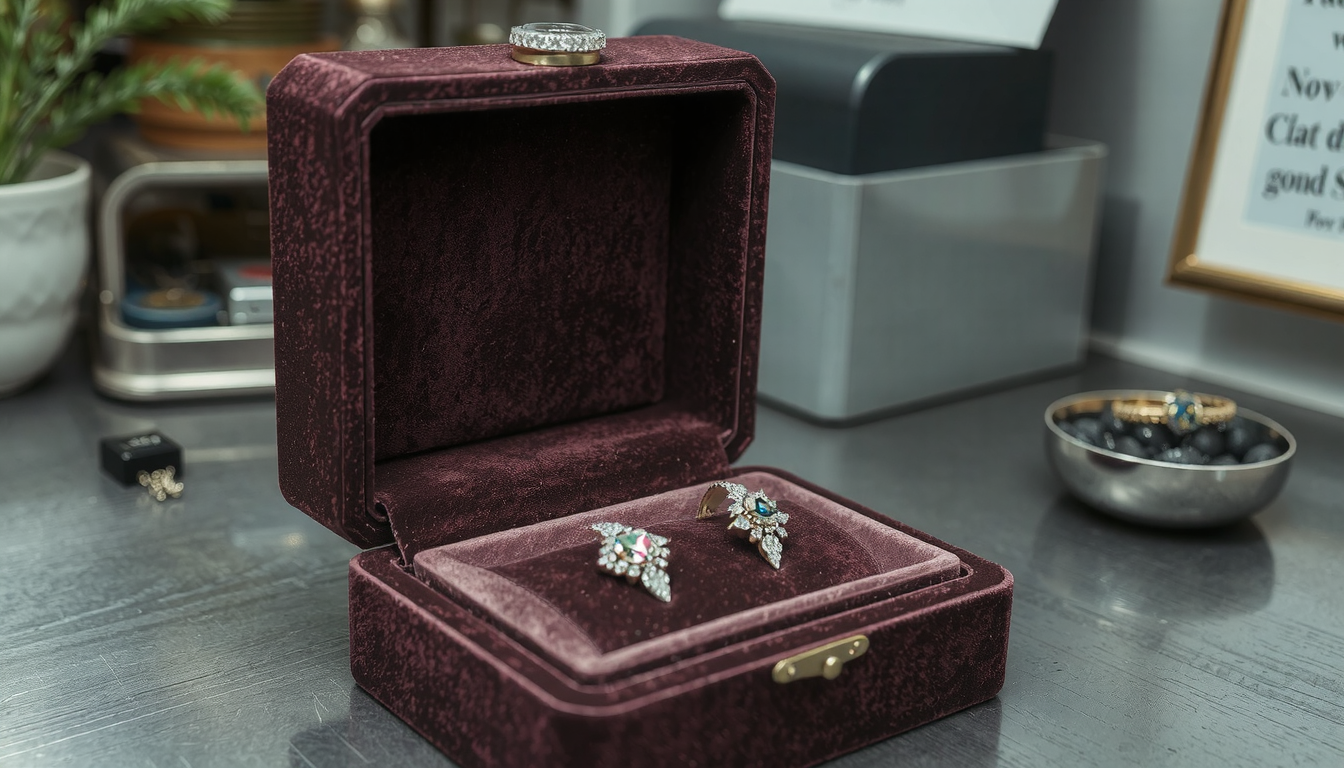 To be properly positioned is the key. The right tools and method grant you an easy process and an almost perfect finish. This section is designed to ensure you have everything you need even before the first cut is performed.
Essential Tools & Materials Checklist
The right supplies are a key factor for your success. Here you can find our detailed checklist, which is prepared for a professional-grade project.
| Item | Recommended Type | Pro-Tip |
|---|---|---|
| Velvet Fabric | Low-pile synthetic velvet | Synthetic is the best choice to avoid moisture retention, which can tarnish jewelry. A low pile is also easier to work with. |
| Backing Material | Acid-free matte board or 1/8″ plywood | Matte board is flexible and can be easily cut with a craft knife. Plywood is more rigid but it requires a saw for more precise cuts. |
| Adhesive | 3M Super 77 spray or pH-neutral fabric glue | The spray adhesive will provide the most even coat but requires proper ventilation. The fabric glue provides more control and means less mess. |
| Measuring Tool | Flexible tailor’s tape measure & metal ruler | The flexible tape measures are needed for the inside dimensions and the rigid ruler is used for the straight cuts on your backing material. |
| Cutting Tools | Sharp craft knife (X-Acto) & fabric scissors | Never use the same blade for the fabric and the board. It is always better to have a dedicated, sharp pair of fabric scissors to avoid fraying. |
| Smoothing Tool | Plastic scraper or old credit card | This helps in pressing the fabric and in removing air bubbles without snagging the velvet pile. |
Choosing Your Velvet: A Quick Guide
For this project, you can find two main types of velvet. Regular fabric velvet and self-adhesive velvet. Regular velvet fabric will be the plushest option and is used together with our recommended panel method. You may insert it independently, and you will have complete control over the placement and tension.
Self-adhesive velvet has peel-and-stick backing. This means that you do not need to buy separate glue. It’s handy, but it’s less forgiving if you need to reposition it. Sometimes it seems to be less plush than the original one. For beginners, who work on a flat project, it can be a convenient starting point.
Which Lining Method is Right for You?
It is your selected method that dictates the quality of your final result. It may seem faster to directly glue it. However, we will insist on recommending the professional panel method for a much better outcome.
| Method | Best For | Pros | Cons |
|---|---|---|---|
| Direct Gluing | Simple, flat-bottomed boxes without lids. | Fewer materials, quick. | High risk of wrinkles, glue bleed-through, messy, hard to get clean corners. |
| Professional Panel (Recommended) | All boxes, especially with dividers or for a high-quality finish. | Flawless look, no wrinkles, protects the box wood, easier for complex shapes. | More steps and materials required. |
| Self-Adhesive Velvet | Quick projects, simple shapes, beginners. | No messy glue, fast application. | Less forgiving (hard to reposition), can be more expensive, may not feel as plush. |
The Professional Panel Method: Step-by-Step
This is the method that will deliver you a high-end product. You will first cut the panels and then install them in the box, this way it will be without any wrinkle and with clean edges. It creates a crisp, clean look. This is the only true way to line a jewelry box with velvet.
Step 1: Prepare Your Jewelry Box
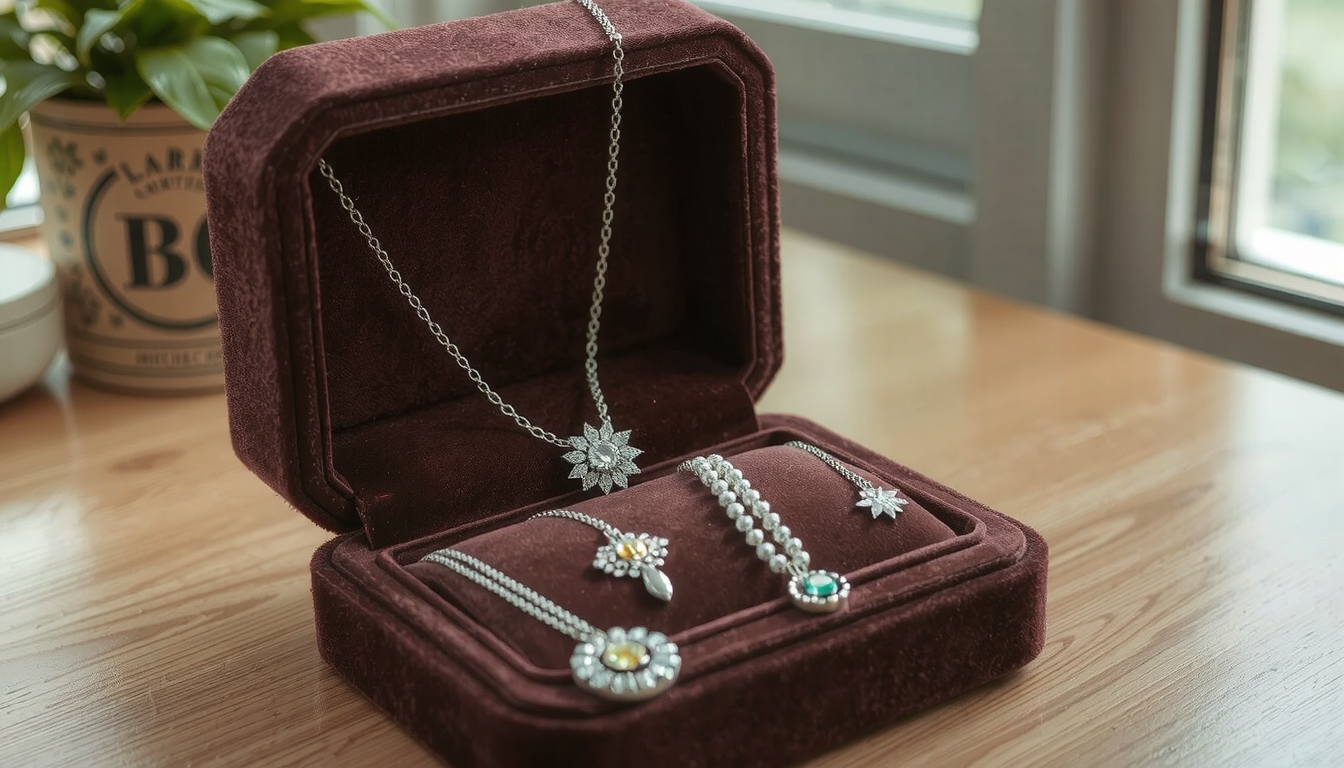
Begin with a clean and empty box. If you replace old liners, at first you should pry it off carefully with a plastic scraper or a putty knife. This will help you avoid scratching the wood.
Then, you can use a cloth with some detergent like isopropyl alcohol to wipe away any stubborn glue stains. It should be air dried until it is clean and dry. The inside surface is very critical for the perfect fit.
Step 2: Create Your Panel Templates
The main thing is precision. Use stiff paper or cardstock, which is recommended, to create templates. This should be done before you cut your more expensive backing material.
To measure the internal dimensions of the box, measure its length and width then subtract the thickness on each side. For example, if the box is 6 inches wide and you are using a 1/8 (0.125) inch matte board, your bottom panel template should be 5 3/4 inches wide (6″ – 0.125″ – 0.125″). The same goes for both the length and the width.
Now, measure from the top of the bottom panel to the top edge of the box for the sidewalls. Cut your templates and test the fit. Trim as needed until they slide in perfectly without buckling.
Step 3: Cut the Backing Panels and Velvet
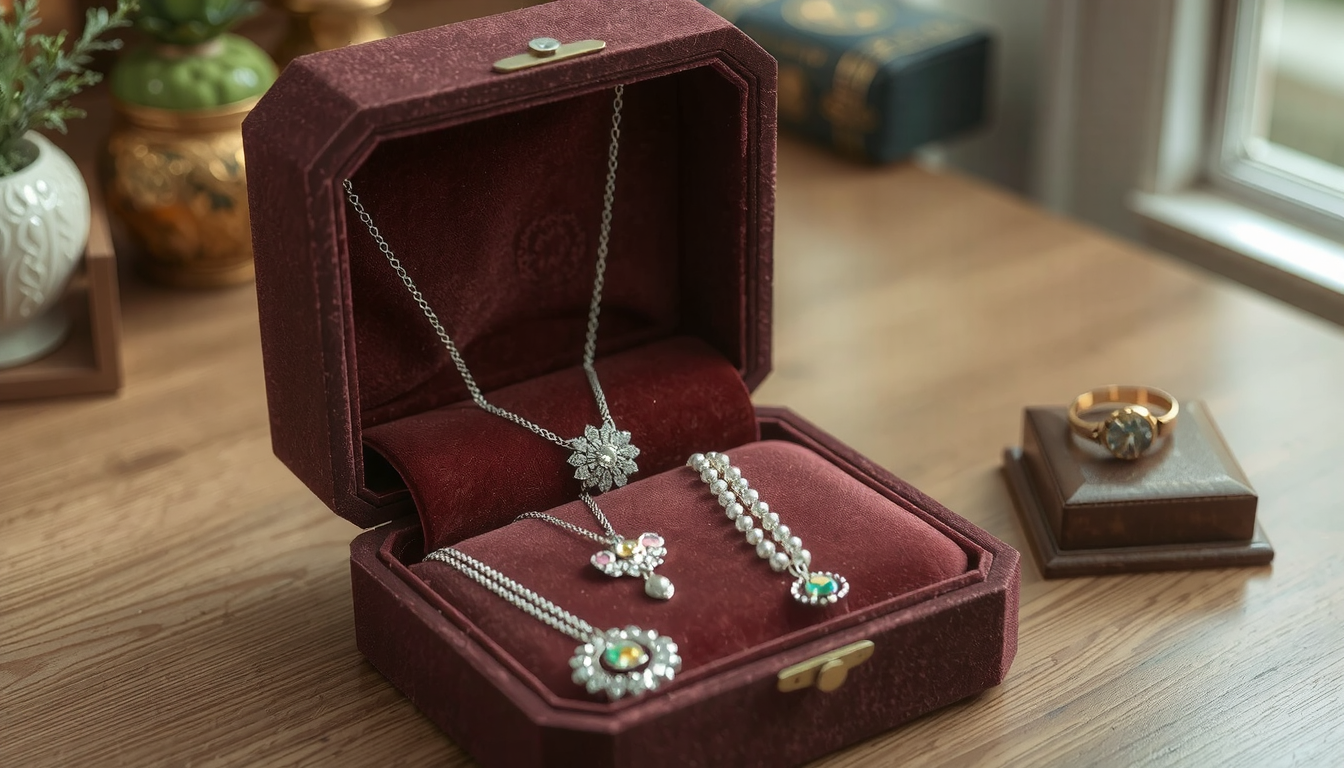 When your templates are perfect, trace their shape onto your matte board or thin plywood. Use a sharp craft knife and a metal ruler to cut the panels. A fine-toothed saw works best for plywood.
Lay the panels on the velvet’s reverse side. Cut the velvet fabric around each panel, leaving a generous 1/2 to 1-inch border on all sides. This fabric will be folded over the back.
Step 4: Assemble the Lined Panels
This is the place where magic takes place. If you are using spray adhesive, work in a well-ventilated area. As many expert woodworkers suggest, apply adhesive to the panel, not the velvet. This prevents glue from bleeding through and staining the fabric’s pile.
Start by laying the velvet face down onto a clean surface. Lightly spray the front of one panel with adhesive. Then place it centered on the back of the corresponding piece of velvet. After flipping it over, use your plastic smoother to press it from the center outwards thus removing air bubbles.
Next, apply adhesive to the back edges of the panel. Then, wrap the excess fabric over the edges, pulling it taut. To give it a nice touch, fold the corners like wrapping paper and make them neat. In order to reduce the fabric bulk, you can cut V-shaped notches in the corners before folding.
Step 5: Install the Panels into the Box
The final procedure should be quite straightforward. The panels are made to be a snug pressure fit, which is to say they do a lot of the work themselves in keeping things in place.
First, the bottom panel must always be attached. It should just drop right into its place. After that, insert the two longer side wall panels first. Then, insert the two shorter side wall panels, one after another. The pressure secures everything.
For a more secure fit, you can also dab tiny amounts of fabric glue on the back of each panel before pressing it into the box. Normally, this step is not needed.
Pro Tips and Troubleshooting Common Problems
Even with the best instructions, issues can arise. Here’s how to solve the most common challenges when you line a jewelry box with velvet.
-
Problem: “My corners are bulky and don’t look clean.”
- Solution: The secret is in the fold. Before wrapping fabric around the back of the panel, fold the corner point in first. This creates a clean, 45-degree angle. Then fold the adjacent sides over it. This is called a mitered fold. It dramatically reduces bulk for sharp, professional corners.
-
Problem: “The glue bled through and stained my beautiful velvet!”
- Solution: Revolving around the direct-glue method, this often happens. Always apply glue to the backing panel and not the fabric. If you need to glue directly, only use a small amount of thick, high-quality fabric glue. Spread it using a brush to make sure it is only a paper-thin layer.
-
Problem: “I have wrinkles and bubbles in the fabric.”
- Solution: While applying velvet to a panel, always start from the center. Use plastic scrapers or old credit cards to push outwards. This pushes air through to the edges. Do not excessively tighten the fabric at the beginning. This may stretch the weave and cause warping later. What you need is firm, even pressure.
-
Problem: “How do I line small compartments or dividers?”
- Solution: Handle each small compartment independently. You will need individual panels made to precisely fit each surface of the divider. The panel method we just described is to be followed. The work demands patience, but the result is unrivaled. As many discussions in woodworking forums highlight, the secret to a wrinkle-free finish, no matter the size, is to apply the fabric to a separate substrate before it goes into the box.
Final Touches and Conclusion
You have completed your project and the panels are securely in place. The take-home lessons were actually quite simple. Careful preparation is a must. The professional panel method is the surest route to quality outcomes. This technique has been the benchmark for quality box-making for a reason.
Now, you can step back and admire your handiwork. You just learned how to line a jewelry box with velvet. You not only beautified it but also increased its functionality. You made a thing that will be loved for years to come.
Frequently Asked Questions (FAQ)
What is the best glue for lining a jewelry box with velvet?
3M Super 77 spray adhesive is the best option for the panel method as it is the most popular among crafters for its even coverage on panels. A pH-neutral, acid-free fabric glue like Aleene’s Original Tacky Glue is really good for securing panels inside the box or for careful direct usage. Thus, it won’t yellow with time or harm the delicate jewelry with fumes.
Can I use felt instead of velvet?
Definitely. The method for lining a jewelry box with felt is the same as for one made of velvet. On the other hand, felt is often less expensive and offers more room for error for beginners. It possesses no pile direction and is less prone to fraying. While velvet offers a more traditional and luxurious feel, felt emerges as a durable and attractive alternative.
How do I line the ring-holder section of a jewelry box?
The molds of the ring holders are typically made by fabric-covered rolls. You can achieve this by gluing strips of dense foam or cardboard tubes into a base tray that fits the compartment. Then tuck a single, larger piece of velvet down into the gaps between the rolls. This creates the plush slots. The entire unit is then installed in the box.
My jewelry box has a curved lid. How do I line that?
In the case of very curved surfaces, the direct method may also be efficient but it requires careful techniques. Employ a flexible fabric glue and apply a very thin layer to the inner curve of the lid before you press the velvet in. You can start the smoothing motion from the absolute center and push outwards to prevent any wrinkles from forming. Alternatively, make a flexible panel with thin and pliable cardstock as the backer and then install that.
Is it mandatory to remove the old lining before doing that?
Absolutely, it is highly recommended. Adding a new lining over an old one can result in a lumpy surface and uneven appearance. It can also cause poor adhesion. The step of first preparation is very essential for establishing a good foundation. Taking time to thoroughly scrape off old fabric and residual glue is essential for a professional job.


