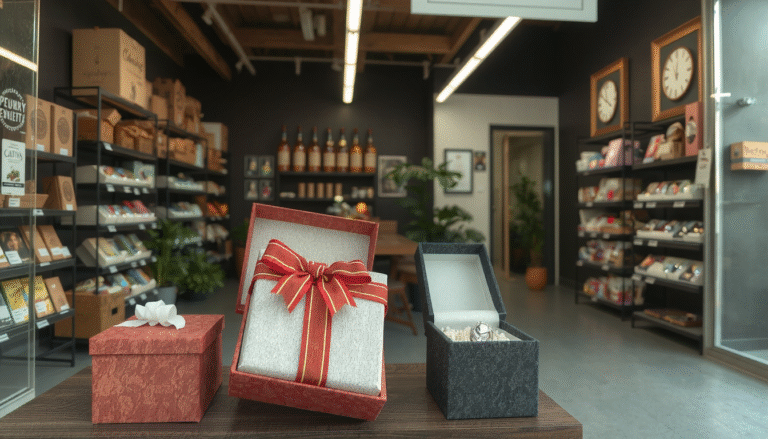
How to Create a DIY Jewelry Box: A Complete Guide from Simple Crafts to Heirloom Woodworking
It’s so satisfying to make things with your own hands. Not only is a “do it yourself jewelry box” great for storage. It also represents your personal style.
That’s why we put together this guide — to assist the masses in making something great. Whether you’re a beginner or a craft veteran, there’s something here for you.
It’s all here in this guide. We’ll guide you through constructing your jewelry box step by step.
-
Planning your project based on what you need
-
Steps for building a classic wooden box
-
Ideas for turning everyday items into beautiful boxes
-
Ways to organize the inside to keep jewelry neat
-
Tips for adding those final touches
Step 1: Planning Your Perfect DIY Jewelry Box Project

The biggest first step is one of planning. And this can help you find a project that suits your skills and what you plan on storing.
Consider the kind of jewelry you have. Do you require slots for necklaces or rings? Do you have a modern style or a vintage one? These are the questions that will guide you toward building a box that you may actually use.
To make the decision of what kind of box to create have a look at this comparison table. It demonstrates various examples on how to make a do it yourself jewelry box.
| Method | Difficulty | Estimated Cost | Required Tools | Best For… |
| Classic Woodworking | Medium – Hard | Moderate | Basic woodworking tools (saw, sander, clamps) | Creating a durable, heirloom-quality box. |
| Cardboard/Paper Mâché | Easy | Low | Household items (scissors, glue, craft knife) | Beginners, kids’ crafts, and budget-friendly projects. |
| Upcycled Items | Easy – Medium | Very Low | Basic craft tools, maybe a Dremel | Eco-conscious crafters and unique, vintage-style results. |
Use this table as your starting point. The right plan will make your project successful.
Step 2: The Classic Method – Building a Simple Wooden Jewelry Box
The quality in wood and jewelry box construction is often passed down from generation to generation. This is a beginner woodworking project.
Gather Your Materials and Tools
It is so much easier if everything is ready to go before you get started.
-
Materials List:
-
One 1/2″ thick hardwood board (about 4 feet long)
-
One piece of 1/4″ plywood for the bottom
-
Wood glue
-
Sandpaper (120-grit and 220-grit)
-
Wood finish (stain, oil, or paint)
-
A cloth for applying finish
-
Tools List:
-
Miter saw (or hand saw with miter box)
-
Tape measure and pencil
-
Bar or corner clamps
-
Safety glasses
Step-by-Step Building Instructions
- Cut Your Pieces
Accurate cutting is very important. Let’s say we want to make a box 8” long, 6” wide and 3” tall for this example.
Now cut four 45-degrees 1/2″ hardwoods. You will need two pieces 8 inches long and two pieces 6 inches long at the longest point. Then cut your plywood bottom to fit inside.
- Assemble the Box
Now your box will start to look like a real box. Lightly spread wood glue on the mitered edges of one long and one short piece.
Then fold the edges together to give a right angle and clamp them together. Repeat for the other two sides. Unite the two L-shapes to create your box frame.
To ensure your box corners are perfectly 90-degree, measure from the corner to the corner diagonally. Both values ought to be equal. Allow the glue to dry thoroughly, then glue in the plywood bottom.
- Create the Lid
Y ou can easily create a simple lid that is a little larger than the box. This will give you an overhang that will make it simple to pick up.
For a more refined look, cut a piece to fit the size of the box. Then glue strips of thin wood under the lid, cut to size so they fit inside the box. That forms a lip that holds the lid in position.
- Sanding for a Flawless Finish
This step is very important. Begin by smoothing any irregular places with 120-grit sandpaper. Then go with 220-grit sandpaper to achieve a silky smooth surface.
For optimum results, always sand with the grain of the wood.
Step 3: The Creative Method – Upcycling Everyday Items into Unique Jewelry Boxes

A fantastic do it yourself jewelry box does not require a workshop. Among the most original boxes, some made from ordinary objects.
The Hidden Treasure: The Old Book Jewelry Box
An old hardcover book can become a secret jewelry box. This project looks great on a bookshelf or nightstand.
Concept: Hollow out the middle of the book’s pages to create a hidden space while keeping the cover intact.
Key Steps: Choose a book at least 1.5 inches thick. Open the cover and leave the first few pages. Brush watery glue on the edges of the remaining pages to stick them together.
When dry, draw a rectangle on the top page and carefully cut through the layers with a craft knife. Line the inside with felt to protect your jewelry.
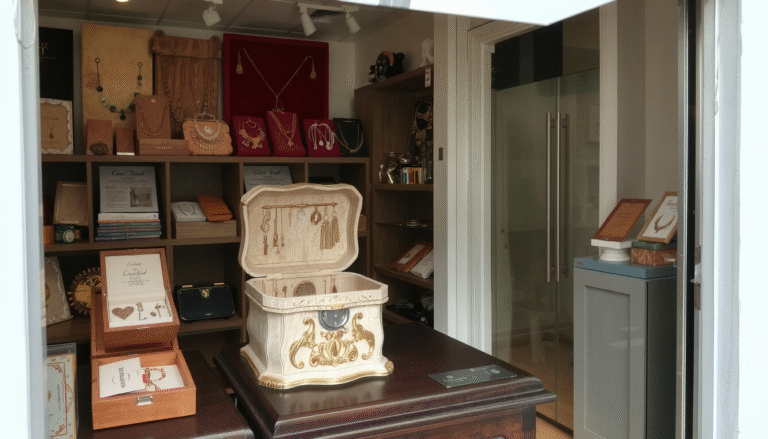
The Elegant Organizer: The Decorative Tin or Cigar Box
A metal tea tin or wooden cigar box is already the dream shape. You just need to make it sing.
Concept: Focus on improving the inside and outside of the box with simple changes.
Enhancements: The biggest improvement comes from lining the inside. Cut felt, velvet, or patterned fabric to fit the bottom and sides. Use spray adhesive to attach it smoothly.
Some small decorative hinges on the outside, or a nice clasp, can do wonders. If only you’d known these little things make a huge difference in how luxe your box looks.
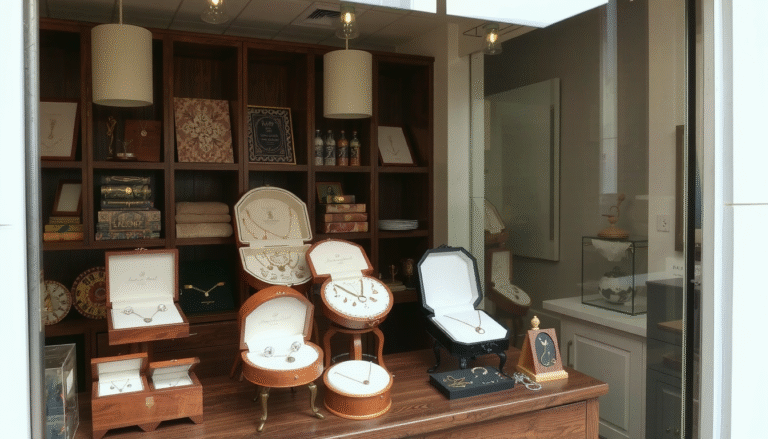
Step 4: Mastering the Interior – Custom Dividers and Organizers

There must be an organized interior on a great jewelry box. This size also prevents the necklaces from getting tangled, and it holds earrings, too.
This is why creating your own jewelry box surpasses buying one. You can personalize each part to match your very own jewelry.
Creating Custom Compartments
Organize your jewelry with help from a simple grid of dividers. It separates different parts and makes them easily accessible.
.
Method: Thin balsa wood from craft stores or stiff cardboard may be used. Measure the inside of your box. Trim strips to fit, and cut halfway through in the center of each strip.
Push the strips against each other at the slots so that they combine into a grid. You can add this to your box and remove it if not needed.
Crafting Velvet Ring Rolls
Ring rolls to keep your rings visible and safe. They seem fancy but are easy to make.
Here’s how:
-
Cut Foam: Take a piece of soft, round foam, like a pool noodle. Cut it to fit your box.
-
Wrap in Fabric: Put a piece of velvet or felt face down. Place the foam along one edge and wrap the fabric around it. Secure with glue on the bottom.
-
Fit into Box: Do a few extra rolls and stand them shoulder to shoulder in your box. The snug fit will keep them in place without additional glue.
This method will work with nearly any container you would like to convert into a jewelry box.
Step 5: The Final Polish – Finishing and Personalization

Enlance Last touches It’s the little things that make your box special. This is to preserve your work, and also to add in some of your style.
Painting vs. Staining
Wooden boxes Your main options for wooden boxes fall in two camps.
Paint gives you a solid color and can match any decor. Water-based acrylics dry quickly with little smell, while oil-based paints are more durable but take longer to dry.
Stain enhances the natural beauty of the wood. It adds color while showing the wood grain. This works best with nice hardwoods like oak or walnut.
It’s always good to finish with a protective clear coat over the stain to safeguard the wood.
Adding Personal Touches
Here’s where you can get clever.
-
Wood Burning: If desired, personalize the lid with a name, design using a wood-burning tool.
-
Decoupage: Decorate the glass with paper or fabric using Mod Podge.
-
Hardware: Put some cool looking knobs, hinges, or locks to make your box appear more professional.
FAQs:
-
What materials do I need for a beginner’s do it yourself jewelry box?
For novices, take a cue from Mr. Parker himself and go with cardboard, scissors, glue and some decorative paper or fabric. Beautiful boxes with few tools and not much money for these simple supplies. -
How long does it take to make a wooden do it yourself jewelry box?
The average amount time needed to make a plain wooden jewelry is about 8-12 hours, and it is normally spread over multiple days to allow for the glue to dry and the finishing to dry. -
What’s the best wood to use for a do it yourself jewelry box in 2025?
While the jewelry box in 2025 should be made out of hardwood – oak, maple, and walnut are all great choices – as hardwoods are durable, have natural grain patterns, and the good ones last for a long time with a clear finish. -
Can I make a do it yourself jewelry box without woodworking tools?
Absolutely! Consider options for upcycling such as using cigar boxes, vintage tins or hardcover books turned into one-of-a-kind jewellery boxes with basic craft supplies. -
What are creative ways to customize my do it yourself jewelry box in 2025?
Some of the popular trending 2025 custom options include wood burning, resin inlays, and custom velvet compartments along with integrated LED lighting and unique hardware to tailor its appearance to perfectly suit your decor.