Introduction: Your Journey to a Handcrafted Treasure
There is a particular type of satisfaction that is hard to replicate, of making something beautiful and also useful with your own two hands. More than a project, a self-made wooden jewellery box. It’s a chance to create something treasured, a future heirloom or maybe just the perfect, loving gift.
This guide is going to walk you through that process, from the spark of an idea to something you’d feel good sharing with people you don’t live with. We will guide you through the process step by step, so you understand where to go and how to succeed.
Why Build Your Own Jewelry Box?
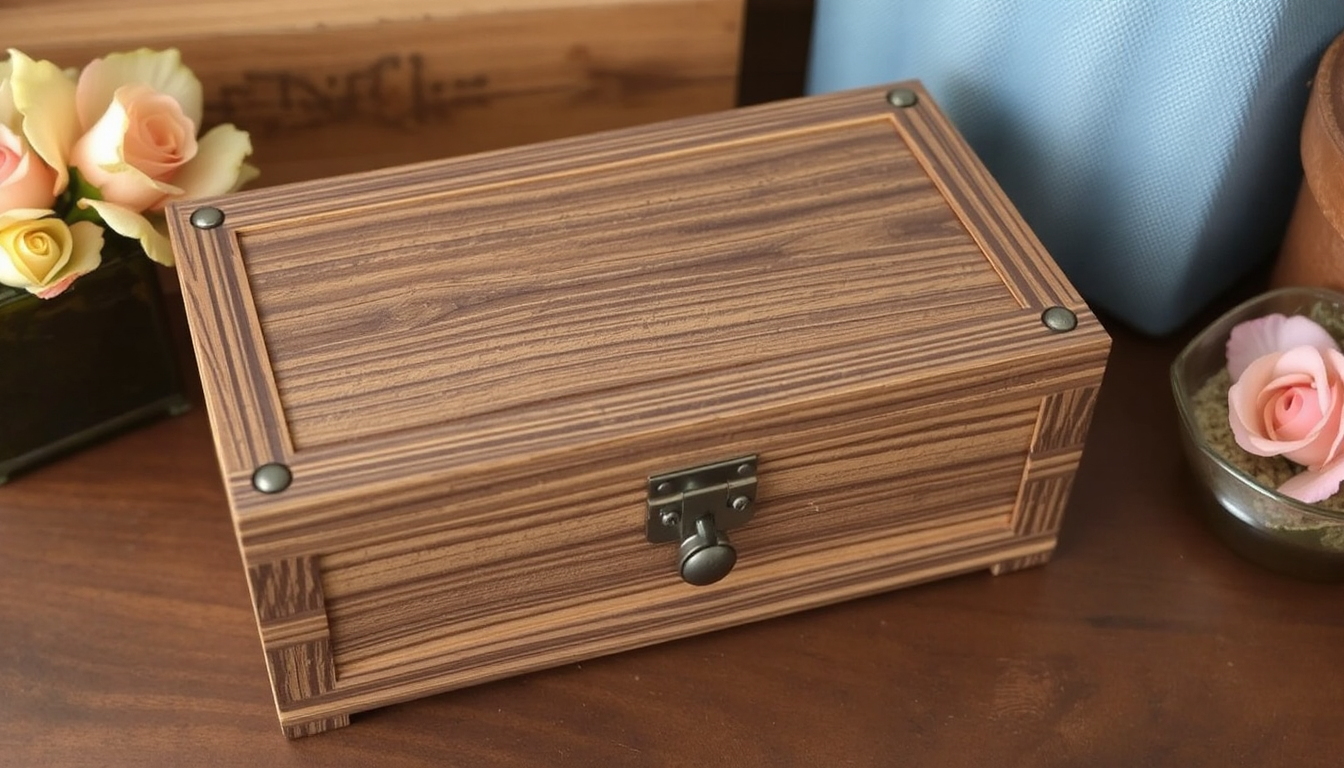
Building your own box allows for complete creative control. You pick the wood, the size, and all the final details. It helps you focus your mind and teaches you useful woodworking skills. The end result is something that truly belongs to you.
What You’ll Learn in This Guide
We’ve designed this guide to be the only one you’ll ever have to use. We will cover:
-
Planning & Design: Selecting the right wood and get a grip on basic joinery.
-
Essential Tools & Materials: A complete checklist so you’re fully prepared.
-
Step-by-Step Construction: Numbers on the box count down the easy steps to full assembly.
-
Personalization & Customization: Get creative and make your box unique.
-
Professional Finishing:The hows the whys and the facts about finishing with basic as well as advances information on paint and varnish / aluminium / plastic / custom / wood finihses.
Planning Your Perfect Box: Wood, Design, and Joinery
It starts with a great plan –bear in mind that no job is started with a knife cut before drawing up a plan. This early thinking distinguishes between unsuccessful attempts and promising results. It saves time and money and guarantees the box in your mind looks like the final box.
Choosing the Right Wood: A Beginner’s Guide
The choice for wood is the character of your box. For a beginner, the decision is about looks, cost and how friendly it is to work with. Some of the woods will let you get away with a mistake; others just require a perfect cut.”
We put together this easy chart to compare popular options for a do it your self wood Jewelry box.
| Wood Type | Appearance/Grain | Workability for Beginners | Avg. Cost | Best For… |
| Walnut | Rich, dark brown with beautiful, complex grain patterns. | Moderate | $$$ | Heirloom-quality boxes, striking contrast |
| Cherry | Warm reddish-brown that darkens beautifully with age. | Excellent | $$$ | Classic, elegant gifts |
| Maple | Light, creamy color with a subtle, straight grain. | Excellent | $$ | Modern looks, good for pyrography |
| Pine | Very light color with prominent knots and grain. | Good (but dents easily) | $ | Practice projects, rustic style |
Hardwoods for Heirlooms
Walnut and cherry are classics for a reason. Dense and tough, they boast the same type of natural beauty the world over that improves over time. These forests produce boxes that can last generations.
Softwoods for Starters
For your first project, pine is great and not too expensive. While it can be somewhat laborious to cut and sand, you’ll be happily trading the work for the satisfaction of nailing steps. It dents more readily than hardwoods, but it’s good wood to learn on.
Design & Dimensions: Sizing It Right
Consider what you are going to put in the box. Will it house thin necklaces and large rings, or a combination of the two? Where will you put it? A small ring box requires different planning than a big box for an entire collection.
Good introductory dimensions for a novice: roughly 10 inches long, 7 inches wide and 4 inches high. This provides ample space without being overly complicated to construct.
Understanding Basic Joints: Miter vs. Butt Joints
Joints are connections of the corners of your box. How you choose has a big impact on how the box looks and how strong it is.
The most basic kind is called a butt joint. One end of one board is glued to the face of another board. It is simple but not so strong and presents the end grain, which can be a little unfinished.
A miter joint is where two pieces meet at 45-degree angles to form a 90-degree corner. This hides the end grain and creates a clean, professional look, making it better for boxes. Learning to cut accurate miters is key to building beautiful boxes, and you can explore more foundational box-making techniques to see how simple, strong construction works.
Gathering Your Essentials: Tools and Materials
Having everything ready before you start makes building smooth and fun. Here’s a clear list of what we’ll use.
The “Must-Have” Tool List
-
Measurement & Marking:
-
Tape Measure: For overall dimensions.
-
Combination Square:A must-have tool for drawing clean, true 90 and 45-degree lines.
-
Pencil: You will want a sharp mechanical pencil for precision.
-
Cutting:
-
Miter Saw: The king to making quick, consistent and perfectly angled cuts.
-
Hand Saw & Miter Box: An excellent low-cost choice. It’s more work, but the results are scarcely possible.
-
Assembly:
-
Wood Glue: Decent quality PVA glue is a must.
-
Clamps: A Band Clamp is perfect for pulling all four corners of a box together at once. Corner clamps also work well.
-
Sanding:
-
Sandpaper: You’ll want a variety of grits, including 80, 120 and 220.
-
Sanding Block: When you wrap sandpaper around a simple block of wood or cork you have a nice flat even surface.
Materials Checklist
-
Your chosen Wood, calculated based on your final dimensions.
-
High-quality Wood Glue like Titebond II or Titebond III.
-
A thin piece of 1/4″ Plywood or Hardboard for the floating bottom panel.
-
Optional: Small Hinges and a Latch for the lid.
Safety First!
This is non-negotiable. Woodworking is dusty and sharp. Always protect yourself.
-
Safety Glasses
-
Dust Mask
-
Hearing Protection (especially when using a miter saw)
Step-by-Step Construction: Bringing Your Wooden Box to Life
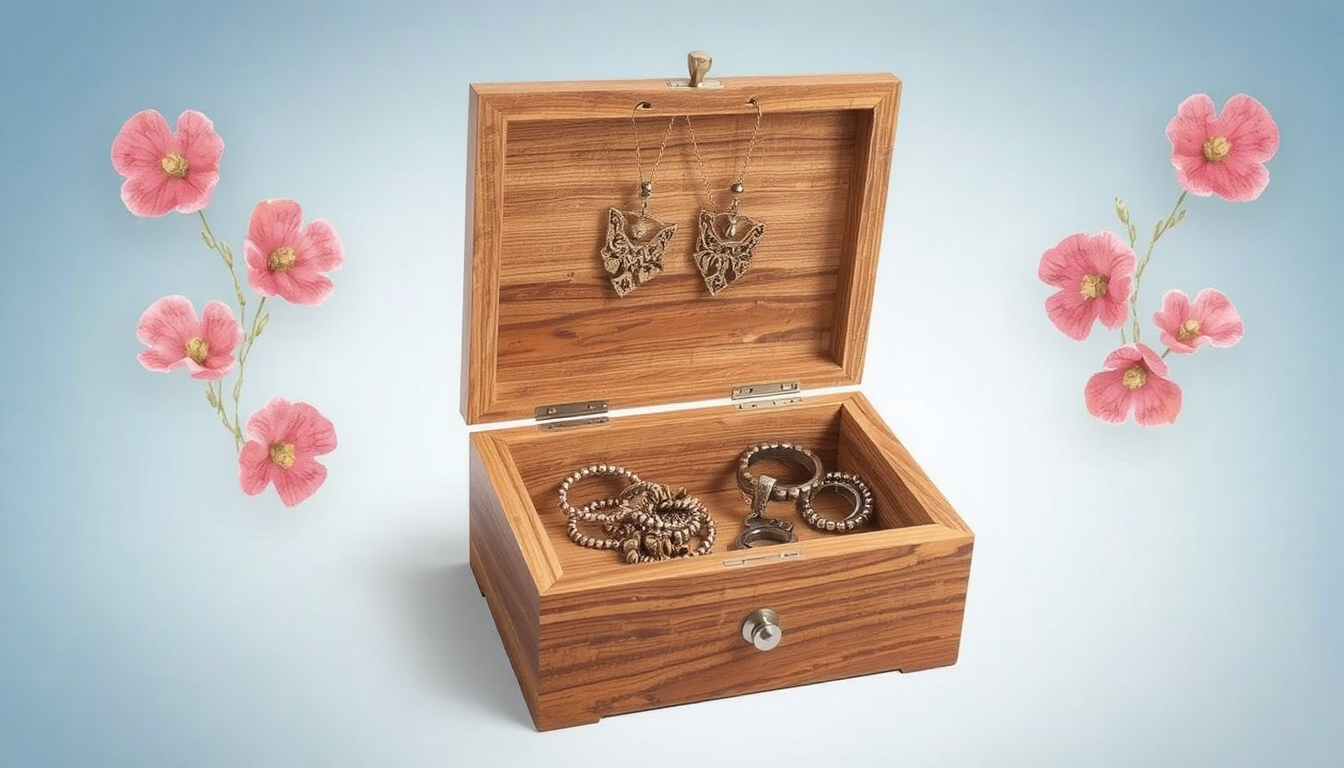
This is the moment when planning content hits the street. We’re going to work through building the box in a step-by-step way aiming for accuracy at each step. They’ll take you through it, and soon you’ll have a beefy box for finishing.
-
Cut the Box Sides
Set your miter saw or miter box to 45 degrees exactly. Measure and cut your four side pieces (two for the length and two for the width) carefully. Ensure that the two long pieces are the same and the two short pieces are the same. -
A key tip: Cut on scrap wood first to test. Place the two cut ends together to create a corner. If there is any space, your saw is not at a true 45-degree angle. Continue to adjust and test until corner is a perfect fit. This simple check saves big problems later.
-
Cut the Groove for the Bottom Panel
On the inside face of each side piece, cut a small line before assembly. This rebate receives the bottom panel. It should be approximately 1/4″ deep and about 1/4″ from the bottom front edge. A table saw or router with a similar-size bit is ideal, but it’s also possible to achieve the same thing with several passes from a hand saw. It makes for a far stronger box and it conveniently tidies them away the bottom panel edges behind the tie. -
The “Dry Fit”
This step is critical. Assemble the four sides without glue. Use a tape or a band clamp to temporarily hold the corners. Pop your bottom panel down in the grooves. Check all joints for gaps. If everything fits well, with square corners, then it’s time to glue. If it does not work, identify the problem and recut where necessary. -
Glue-Up and Clamping
Take apart the dry fit. Paint each 45-degree mitered face with a thin uniform coat of wood glue. Do not apply too much glue; it will squeeze out and you will have a mess. Reassemble the box, slide the bottom inside (no glue on the bottom, you want it to “float”) and clamp. The band clamp is best because it applies even pressure to all four corners. Wipe away excess glue right away with a damp cloth.Titebond II (a good wood glue) makes a stronger bond than the wood. Give it proper time to dry. Leave the box clamped for a minimum of one hour, but it’s better to allow a full 24 hours for the glue to reach maximum strength.
-
Cut and Fit the Bottom Panel
Measure the interior dimensions of the grooves you made in step #2. Cut a piece 1/8″ shorter (in both length and width) than your bottom from the 1/4″ plywood or hardboard. This tiny space allows the wooden sides to expand or contract as they absorb and release humidity without splitting the box. -
Creating the Lid
The most satisfying way to make a perfectly matched lid is to cut it directly from the box. After the glue has fully dried, take your box to a table saw. Set the fence and raise the blade just higher than your box walls. Carefully run the box through the saw on all four sides to cut off the top portion, making a lid with perfectly matching grain. For those who want to see this done by experts, check out advanced techniques shown by expert woodworkers that can improve your box-making skills.
Beyond the Box: Personalization & Custom Features
An empty, unornamented box is beautiful in and of itself. But personalization transforms it from a basic container to an art object. These techniques can also up your do it yourself wooden jewelry box game.
Decorative Touches for the Exterior
-
Wood Burning (Pyrography):With a basic wood-burning pen, initials, that special date or a lovely pattern can be burned onto the lid or sides. Maple works great for this.
-
Simple Carving: You don’t need to be an expert carver. A basic knife can add a simple beveled edge or decorative details along the sides.
-
Contrasting Wood Splines: This looks advanced but is quite doable. After the box is glued, cut thin slots across the mitered corners and glue in small pieces of a different colored wood (like maple splines in a walnut box). This looks stunning and makes the corners much stronger.
Upgrading the Interior
-
Felt or Velvet Lining: Liners upgrade feel of box and protect jewelry. Trim a piece of cardstock to fit the bottom. Adhere the fabric to the card stock using spray glue, and slip the finished liner into the box for a neat appearance.
-
Custom Dividers: Fashion simple dividers, using thin strips of the same wood. You can grid them or just plop them in tightly. It is absolutely perfect for holding earrings and rings.
A pro tip for perfect lining: If you glue fabric directly into the box, cut it a little larger than you need. Give the fabric a light cover of spray adhesive, lay on, and allow drying. You can then use a very sharp craft knife to trim away the excess fabric following the box outline.
The Grand Finale: Sanding, Finishing, and Assembly
The final steps are what distinguish good projects from great ones. Here, patience will yield a fine-looking-and -feeling box.
The Art of Sanding
Sanding is not simply for making wood smooth. It scratches off from every step that you take. Begin sanding with rough sandpaper (around 120 grit) and work your way to fine sandpaper (around 220 grit).
Never sand against the grain of the wood. They produce deep (visible) scratches that are tough to eradicate after sanding across the grain.
Choosing Your Finish
The protective finish seals the wood and showcases its beauty. Each style makes for a distinct look.
-
Natural Oil (Tung Oil, Danish Oil): These can be applied with a cloth very easily. They penetrate wood to add color, but the depth of the color is more subtle than it’s with a dye. They offer medium protection.
-
Polyurethane: Opt for this if you want the toughest material. It lays down a barrier over the surface of the wood. Use thin layers if you want to avoid a plastic look.
-
Wax:The softest feeling, most beautiful finish is a paste wax. It provides very little protection and is best applied over an oil finish for additional luster.
Attaching Hardware
If you’re attaching hinges and a latch, then precision counts. One wrong screw can screw up the whole appearance.
This is something you can accomplish with a “self centering drill bit” (also known as a Vix bit). This handy little bit has a spring-loaded sleeve that centers a pilot hole exactly in the hinge’s screw hole, so the hole in your hardware is spot-on. It’s a cheap tool that has big implications.
FAQ
-
What are the best types of wood for a DIY wooden jewelry box?
Walnut yields rich dark colors and is heirloom quality, cherry offers warm, reddish-brown tones that only look better as it ages, maple is great for modern designs, and pine is best for novices with its low price and ease of use. -
What essential tools do I need to make a wooden jewelry box at home?
You’ll also need some measuring tools (tape measure, combination square), cutting tools (miter saw or hand saw with miter box), assembly tools (wood glue, clamps), sanding materials and safety gear (glasses, dust mask). -
How long does it take to make a DIY wooden jewelry box?
Start to finish, you can get it done in a weekend: a handful of hours for cutting and assembly, and 24 for gluing (plus time for finishing and any personalized details you choose to add). -
What’s the difference between miter joints and butt joints for a jewelry box?
Mitered corners Miter joints, or the more plain butt joint, translates to 45-degree angles, creating crisp, 90-degree corners, which conceal end grain for a more professional appearance—butt joints are easier to assemble but display end grain, and provide less strength for jewelry boxes. -
How can I personalize my homemade wooden jewelry box?
You can further customize your box by having it pyrographed (burning design with a wood burning pen) carving a simple design, add contrasting wood “coffin splines” in the corners, fabric lining (felt or velvet), [or] custom tailored interior dividers to sort sections of different jewelry types.


