Introduction: Crafting More Than Just a Box
It certainly takes more than a weekend to make a wood jewelry box. It’s a time to do something that can last a long time. Whoever you’re making it for, you, or someone else, can feel that care, that attention.
This guide is for crafters who want to know how boxes are really made. You get to see everything from choosing the wood, to making the inside look nice.
You don’t require any fancy tools to do it like a pro. With a few good tools and some time and patience, you can create something beautiful that functions well. Our guide provides you with both the steps and the reasons to follow them.
What We’ll Cover:
-
Deciding on the best design and wood for your level of expertise.
-
Tools and Materials A list of tools and materials.
-
Detailed steps from cutting to assembling.
-
Consistently even stitching all patterns but at a more affordable cost.
-
Managers who have fresh ideas to customize the inside.
The Foundation: Planning Your Perfect Jewelry Box

90% of good woodworking occurs before you make the first cut. And apt planning saves time and ensures your box comes out as you’d like. That is when you are making critical decisions that drive your project.
Selecting Your Wood: More Than Just a Pretty Grain
The wood you select will determine how your box will look and how long it will last. Broad leaved trees are always better than conifers, because they are generally stronger and they have nicer grain structure..
The choice of Oak for its durability, Walnut for its darker glows, Maple for its light, airy feel or Cherry for its warm, reddish hue are all common in many kitchens. Each variety of wood has its own personality.
How hard is a wood? We’ll answer by taking a look through the Janka hardness scale. You won’t see any dents in harder, and less elastic, Black Walnut (1010 lbf) compared to softer, more elastic Eastern White Pine (380 lbf).
| Wood Type | Cost | Ease of Working | Grain Pattern | Best For |
| Oak | $$ | Good | Pronounced, traditional | Sturdy, classic boxes |
| Walnut | $$$ | Excellent | Rich, elegant, dark | Heirloom-quality pieces |
| Maple | $$ | Very Good | Subtle, clean, bright | Modern, light-colored boxes |
| Cherry | $$$ | Excellent | Fine, darkens with age | Warm, refined projects |
Choosing Your Path: A Joinery Framework for Every Skill Level
Joinery is how you connect the corners of your box. This choice matters for both how the box looks and how strong it is.
For beginners and those with some experience, there are three main types of joints. Your choice depends on your tools, skills, and the look you want.
Box joints look impressive. They’re easier to make if you have a reliable box joint jig for your table saw.
| Joint Type | Skill Level | Tools Needed | Appearance | Strength |
| Butt Joint | Beginner | Basic Saw, Glue, Clamps (Nails optional) | Simple, functional | Good (with reinforcement) |
| Miter Joint | Beginner-Intermediate | Miter Saw or Miter Box | Clean, seamless corners | Excellent (with splines) |
| Box Joint | Intermediate | Table Saw with Jig, Router Table | Decorative, interlocking | Very Strong |
Gathering Your Tools & Materials
You don’t need expensive tools. A few good tools and the right supplies will work fine.
Essential Tools:
-
Safety Glasses
-
Measuring Tape & Pencil
-
A reliable saw (Miter saw, table saw, or hand saw with a miter box)
-
Wood Glue (A quality yellow PVA glue is perfect)
-
Clamps (Bar clamps or corner clamps)
-
Sandpaper (Various grits: 120, 180, 220)
Materials & Supplies:
-
Wood of your choice (enough for sides, top, and bottom)
-
Hardware (small hinges and a latch)
-
Wood Finish (Wipe-on polyurethane, Tung oil, or Shellac)
-
Lining Fabric (Optional: felt, velvet, or microsuede)
The Build: Bringing Your Jewelry Box to Life, Step-by-Step

Now that you have a plan and materials, it’s time to start building. Work carefully and enjoy making your box come to life.
Step 1: Measure Twice, Cut Once – Milling Your Pieces
Based on your design, mark and cut your four side pieces, top, and bottom. Make sure your cuts are square for tight joints.
If you want to keep the grain pattern flowing across pieces, cut them in order and keep track of how they go together.
Here’s a tip: Mark the inside face of each piece with a pencil (like ‘Front’, ‘Back’, ‘Left Side’). This simple step prevents confusion during assembly.
Step 2: Creating the Grooves (for the top and bottom panels)
Your side pieces will have to have a groove or recess cut in them. This is where top and bottom panels will be inserted.
These can be made using either a table saw or a router. The groove should be a hair wider than your panels, just enough to allow them to fit snugly.
If you lack these tools you can simply construct the box first. Then, inside, glue in thin pieces of wood to hold top and bottom panels.
Step 3: The Dry Fit – A Critical Rehearsal
Never skip this step. Now assemble your box without glue. Use clamps just as you would in the actual build.
Make sure all corners are right-angled. Slide one end’s panel into the bottom grooves of the frame and fit the top into place. This is your final opportunity to edit.
Step 4: The Glue-Up – Assembling the Box
Work on a flat surface. Apply a bead of wood glue to all joint surfaces. For the main box, glue the four sides together, slipping the top and bottom into their recesses as you work.
Tight joints Anything you can do to pull the joints tight and keep the box square will help. Clamp it to pieces of the case and leave it there until the glue dries. A tiny liquid bead squeezed out of the surfaces as the joints are brought together indicates a strong bond. Remove excess glue with a wet rag; do so before it hardens.
Step 5: Separating the Lid
This step makes your box-with-lid complete. It’s work that’s precise but not difficult, if you have the necessary setup.
Raise your table saw fence to the dimension that you want the height of your box to be (say 2″). Lift the blade so it is a bit higher than the thickness of the wood.
Safety is very important. Hold the box firmly against the fence and miter gauge, and keep your hands away from the blade.
Carefully run the box through the saw on all four sides. You’ll end up with two pieces: the box base and a perfectly fitting lid. Light sanding will clean up any saw marks.
The Art of Finishing: From Sanding to Sealing
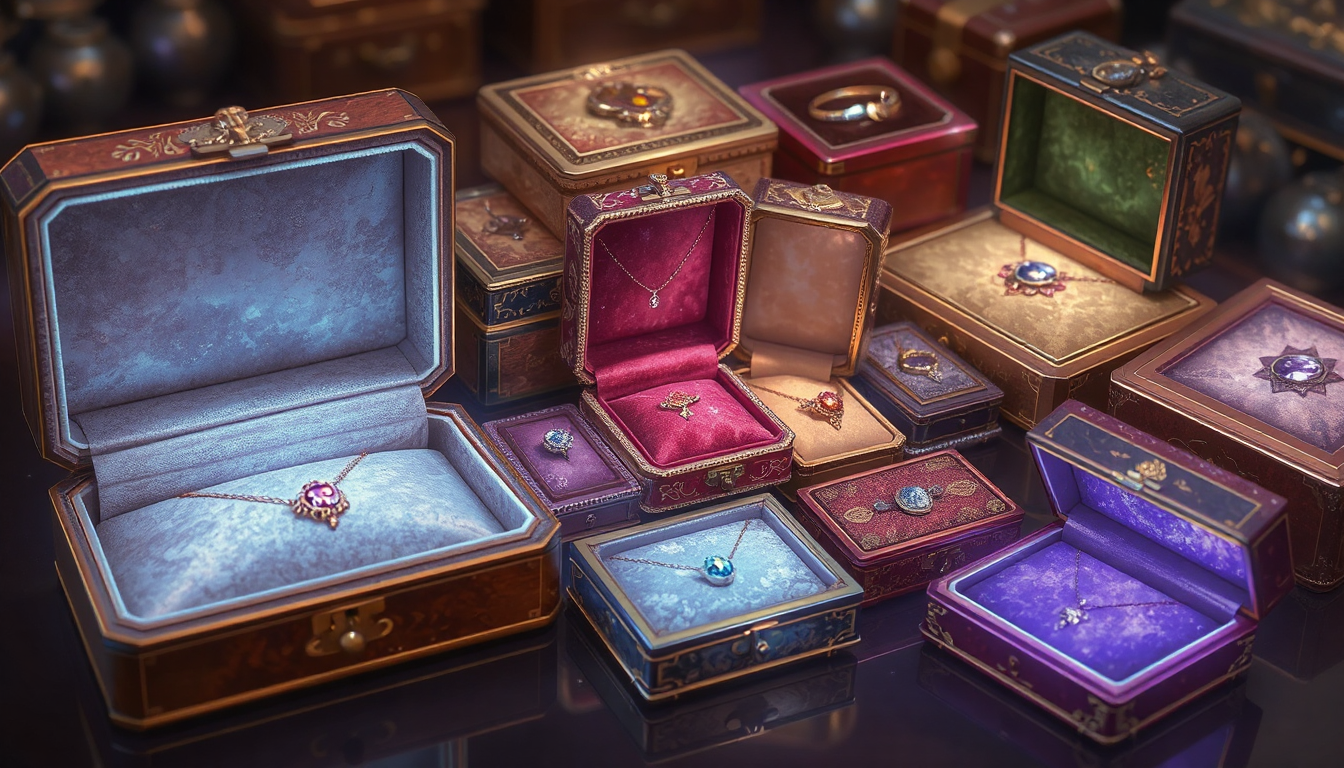
Finishing is what makes a well-constructed box look beautiful. It both seals the wood and highlights its natural grain.
The Secrets of a Silky-Smooth Surface
Good sanding is the foundation to a good finish. Begin with coarse sandpaper and then work your way up to finer grits.
Start out with 120-grit to take out saw marks and flatten joints. Follow that with 180-grit and then finish with 220-grit for a velvety handle.
Here’s a hint: Feel the surface with your fingertips. Your fingers can feel what perhaps your eyes might not see The wood should be smooth to the touch before you switch to the finer sandpaper.
Choosing and Applying Your Finish
The finish you choose determines the look of the box and how durable it will be. Tung oil provides a more natural look. Wipe-on polyurethane provides decent protection and is easy to use. Shellac creates a warm glow.
For a quick fix, consider wipe-on poly. Use a damp clean cloth to rub a thin coat. Allow it to dry thoroughly, then sand lightly with 320-grit paper, wipe off the dust and apply a second coat. Two, three coats generally do the job fairly well.
If you want to learn more about finishes, check out this comprehensive guide to wood finishes.
Installing the Hardware
Careful hardware integration is all that is left to it to finish off the box. Aling your hinges and latch perfectly. Mark with pencil or knife location of all holes.
You cannot go wrong with little brass hinges. If you want to instal them flush with the wood, then carefully chisel a shallow depression for each hinge. Don’t rush — attention to detail will pay off.
Beyond the Box: Crafting Custom Interiors

A jewelry box special enough to look as good inside as it does outside. Personalizing the inside makes it more usable and personal.
Lining the Box: A Touch of Luxury
Felt or velvet inside the bottom and lid give the box a soft feel.
The nice thing about party hats is they work with any type of paper so for a nice fit with no wrinkles, use thin card stock. Trim it to fit the interior. Then adhere fabric to the cardstock with spray adhesive—pulling edges around the back. Just put the completed insert into the box.
Building Custom Dividers
Quick dividers to organize a space for earrings, cuff links, or bracelets.
You will want smaller, thin hardwood that matches or compliments your box (approximately 1/4″ thick). Trim the strips so they will fit the inside of your box. Cut slots down halfway in the center of each piece where they will overlap. They’re going to slide together to make a grid.
Creating a Professional-Looking Ring Roll
Custom ring rolls dress up your box and they can be really easy to make. Foam dowels or pipe insulation, fabric and a hot glue gun will also be required.
Cut foam to size and cover it in fabric. Attach with hot glue on the bottom. Roll up several and put them next to one another in a compartment of your box.
I’ve found, from experience, the denser craft foam creates rolls that are more secure, and last longer. Just a tiny spot of hot glue at the bottom of the fabric fold holds the fabric in place and makes it look neat and professional.
FAQ About How to Build Jewelry Boxes
-
What are the best types of wood for building jewelry boxes?
Types of wood, such as walnut, oak, maple and cherry, that makes for strong, close-grained construction, allowing for a lifetime of war in jewelry storage are excellent choice for jewelry box. -
What basic tools do I need to build a jewelry box?
Cut: 1- 1″ x 9″ board & 1- 1″ x 6″ board Essential Tools safety glasses measuring tape wood pencil miter saw or table saw wood glue clamps sandpaper (120, 150, 220 grit) -
What’s the easiest joint type for beginners to use when building jewelry boxes?
The easiest joint for beginners is the butt joint, which only requires basic tools and technique, while the miter joint yields a cleaner look, but with a bit more skill. -
How do I create a professional-looking interior for my jewelry box?
Line it with felt or velvet mounted onto thin cardstock, divide it with your own custom wooden dividers and form ring rolls from foam wrapped in matching fabric. -
What finishing techniques work best for wooden jewelry boxes?
Multiple thin coats of wipe-on polyurethane, tung oil, or shellac over progressive sanding (120-220 grit), and moderate sanding between finish coats equals professional work.


