We will walk you through the simple process of this fun project. Nor do you need a professional workshop, or even years of experience as a woodworker, to find success with your work. This manual is straightforward but also has useful information for experienced woodworkers as well.
In this guide, we’ll cover everything you need to do to produce a piece you can be proud of:
-
Planning & Design from scratch
-
Choosing the right wood and materials
-
Step-by-step building instructions
-
Professional finishing and customization
Let’s get started.
Planning Your Perfect Jewelry Box: From Idea to Blueprint
The actual work occurs before you lay a finger on any tools. Planning can save you hours of frustration in the future. It saves the waste and makes certain that your finished box will look nice and operates properly.
Defining the Purpose and Size
The first thing we have to solve is some questions. Who gets to use this jewelry box? What jewelry will it store? A box for watches and bracelets requires different designs than one for rings and earrings.
Consider the objects that will be placed within. Take some jewelry pieces and measure them to figure out just how much room you’ll need. These are the measurements that will help you determine the box’s length, width and height, and whether you need to add dividers among compartments.
We recommend adding an extra inch to your height and width measurements. This gives you room for dividers and lining material later on.
Sketching a Simple Design
You can design your box without fancy computer programs. Your blueprint can be drawn on a piece of paper with ease.
Begin drawing the box from various perspectives. Sketch it from the top in order to plan the compartments within. Then sketch it from the side, and you can see how high it is and where the lid is going to fit. Keep your project simple — there’s nothing wrong with a plain old rectangle, and it’s a great design for a first-time builder.
If you need ideas for lid styles or box shapes, feel free to browse different styles of wooden boxes for inspiration. Looking at other designs can give you great ideas for your own project.
Choosing the Right Wood: A Beginner’s Comparison
The material you choose for your jewelry box will determine its character. Your decision impacts what the box looks like, as well as how easy it is to construct.
This isn’t just about looks. Some woods are more beginner-friendly than others. Here’s a simple comparison:
| Wood Type | Best For | Pros | Cons |
| Pine | First-timers, rustic look | Inexpensive, soft & easy to cut | Dents easily, can be knotty |
| Poplar | Painting projects | Inexpensive, smooth grain, takes paint well | Not as visually striking, can have greenish streaks |
| Oak | A classic, sturdy box | Strong, beautiful grain, very durable | Harder to cut, more expensive |
| Walnut | An elegant, premium gift | Rich dark color, gorgeous grain | Expensive, requires sharp tools |
Gearing Up: Essential Tools and Materials for Your Project
Now that your game plan in set, it’s time to bring it all together. Being ready to go at the outset means you won’t have to stop to look for items when you are in the middle of your project.
We’ve distilled the must-haves from the nice-to-haves.
Essential Tools
And you can construct a glorious box with only a few simple tools. Power tools will speed things up, and can make some work more precise, but they’re not needed.
Must-Haves:
-
Tape Measure & Pencil
-
Hand Saw (or Miter Saw for cleaner cuts)
-
Wood Glue
-
Clamps (at least 2-4 bar or corner clamps)
-
Sandpaper (various grits: 120 and 220 are essential)
-
Safety Goggles
Nice-to-Haves:
-
Power Sander (orbital or palm sander)
-
Router (for adding decorative edges)
-
Drill (for pilot holes if using screws for hinges)
-
Combination Square (for checking 90-degree angles)
Materials List
This recipe is for a single box, about 10 inches long, 6 inches wide, and 4 inches high. Adapt quantities according to the size of your design.
-
1x Board of your chosen wood (a common 1″ x 6″ board that is 4 feet long is plenty)
-
High-quality wood glue
-
Your choice of finish (e.g., Danish oil, polyurethane, or paint)
-
Small hinges and a latch
-
(Optional) Felt or velvet for lining the interior
Let’s Build: A Step-by-Step Guide to Assembling Your Box
Now the real work is starting, the project is coming together! Work carefully and don’t rush. Better to get it right than to get it quickly done.
Step 1: Measure and Cut Your Pieces
Mark your cutting lines on the wood using your sketch as a guide. For our 10″ x 6″ x 4″ box example, you’ll need these pieces:
-
Two long sides: 10″ each
-
Two short sides: 6″ each (minus the thickness of the two long sides)
-
One top and one bottom: 10″ x 6″ each
With all woodworking projects and home improvement projects you can benefit from measuring twice and cutting once. Use a square tool to draw your cutting lines on all four sides of the board. This enables you to produce straight cuts at a precise 90-degree angle.
Step 2: Assemble the Box Frame
Now to glue it together. Lay out your four side pieces on your work surface in the position they will appear in the final box. Add a line of wood glue along each jointed corner.
Put all 4 sides together to form a box. Secure the corners tightly with clamps. 4 Use a square test for all four corners to ensure they are at 90 degrees. Immediately wipe up any excess glue with a damp cloth. Once dry, glue on the bottom panel.
Step 3: Create and Separate the Lid
This technique ensures a snug-fitting lid with grain that flows from the top seamlessly. First, glue the top panel onto your dry box frame in the same manner as for the bottom. Let it dry fully.
Now you should have a whole box with no opening. Measure and mark a straight line around the box; it should be about an inch from the top. This will be where you cut for the lid. Saw carefully on this procedure to cut off the top part (lid)from the down portion (base).
We’re teaching one common method here, but you can find many different jewelry box designs online. This “whole box” approach works great for beginners because it creates a lid that matches the base perfectly.
Step 4: The All-Important Sanding
The sanding takes your raw wood box and makes it into a work of art. This step is easy but take your time with it.
Begin with 120-grit sandpaper to sand away saw marks, flatten the joints, and slightly round any sharp edges. Lightly sand the entire box, inside and outside. And, keep it to the wood grain direction at all times to stop any scratches.
When the wood is smooth, switch to 220-grit sandpaper. This creates a smooth surface that is ready for finishing. Wipe the box clean to release it from all the dust after sanding.
Finishing and Customizing: Making It Uniquely Yours
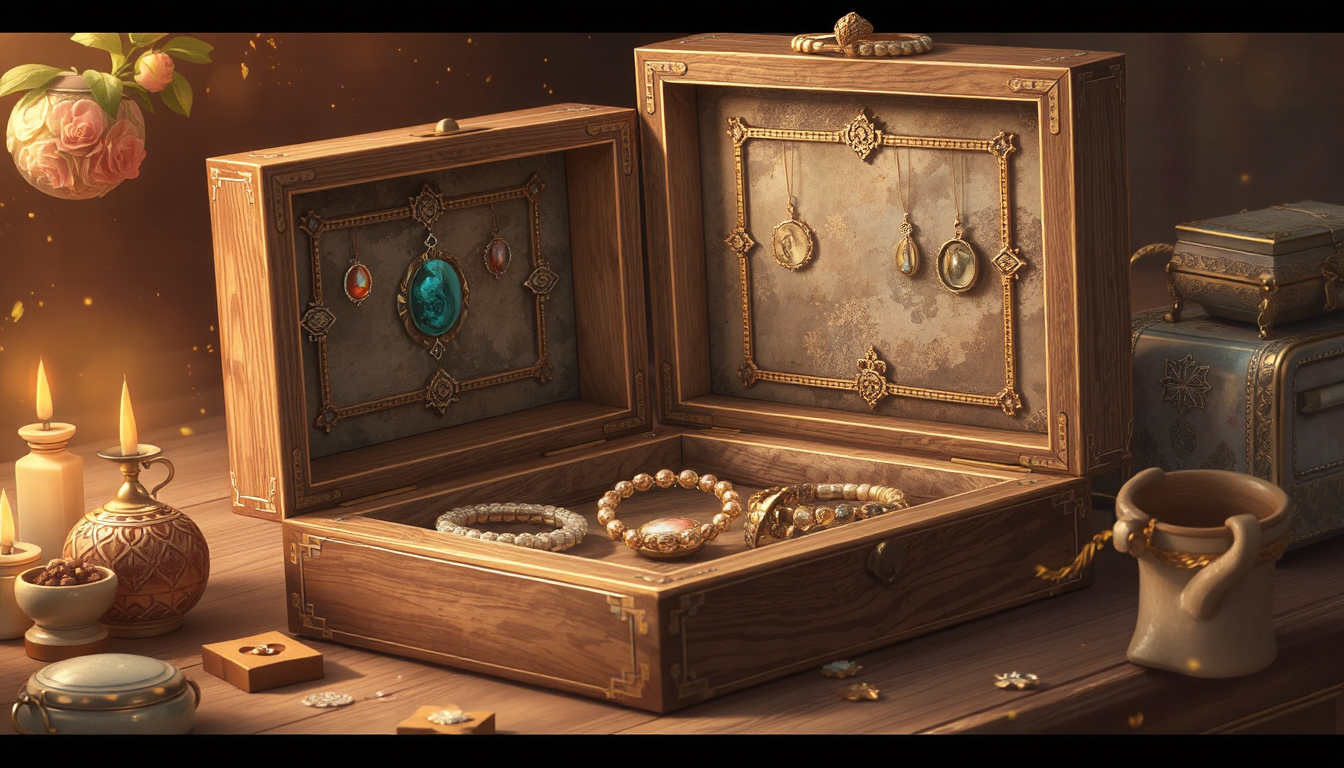
You’ve made your box, so now for the art. The final touches will turn your project from an ordinary box into a special keepsake.
Choosing and Applying the Perfect Finish
A nice finish is one which protects the wood while bringing out its natural beauty. Which you decide on is a matter of the look you want, and the level of protection you need.
| Finish Type | Look & Feel | Protection Level | Application |
| Danish Oil | Natural, matte, enhances grain | Low | Easy: Wipe on, wait, wipe off excess. Reapply as needed. |
| Polyurethane | Glossy or satin, thick film | High | Moderate: Apply thin coats with a foam brush. Lightly sand between coats. |
| Paint | Opaque, any color | High | Moderate: Use a quality primer first, then apply multiple thin coats. |
Always apply finishes in a well-ventilated area. Follow the product instructions for drying times.
Lining the Interior with Felt or Velvet
A soft lining on the inside of your box adds to the luxury and ensures that jewelry stays in place and doesn’t get scratched. This simple panel solution feels professional.
-
Measure the inside dimensions of your box bottom and each of the four sides.
-
Cut pieces of stiff cardboard or matboard to these exact dimensions. Test fit them inside the box.
-
Cut your fabric (felt or velvet) about one inch larger than each cardboard panel.
-
Wrap the fabric tightly around each panel, securing it on the back with a thin layer of craft glue or spray adhesive. Fold the corners neatly, like wrapping a gift.
-
Once dry, insert the fabric-covered panels into the box. They should fit snugly without any glue.
This is better than adhesive fabric to wood. It will prohibit glue staining of your gorgeous lining and give a more professional result.
Installing Hardware: Hinges and a Latch
The last step is crucial. Tiny errors can cause the lid to sit askew or close amiss.
Put your hinges on the opposite side of the box and mark each screw hole. Always start by drilling little pilot holes to avoid wood splitting. This step is essential.
Attach hinges to the box base, and then to the lid. Test that the lid opens and closes properly prior to putting a latch to the front in the same manner.
Conclusion: Your Handcrafted Treasure
Stand back and have a good look at it. You have made a plain piece of wood into something beautiful and useful. You measured, cut, assembled and finished it yourself.
Congratulations on your accomplishment. Whether this box will hold your own treasures or become a special gift for someone else, you can be truly proud of what you’ve made. You built this.
FAQ
-
What tools do I need to build a jewelry box?
All the tools you need are a tape measure, pencil, hand saw or miter saw, wood glue, clamps, sandpaper and safety glasses. Optional tools remain a power sander, router, and drill and combination square. -
What’s the best wood for a beginner to use when building a jewelry box?
Pine Pine works well for beginners because it is soft and easy to cut and is affordable. Poplar is another good choice, particularly if you are planning to paint your jewelry box. -
How long does it take to build a jewelry box from scratch?
Beginners can expect to spend at least 1 to 2 weekends on the project to allow time for planning, cutting, assembly, sanding, finishing, and drying times between coats. -
How do I create dividers inside my jewelry box?
Cut your chosen wood into thin pieces to line the inside of the box and careful measure placement before securing them with wood glue. Let the glue completely dry before cutting the compartments in half. -
Can I build a jewelry box without power tools?
Yes! Although power tools make the work go quicker and may be more exacting, you can craft a lovely jewelry box with a few hand tools — a hand saw, sandpaper and a few common measuring devices.


