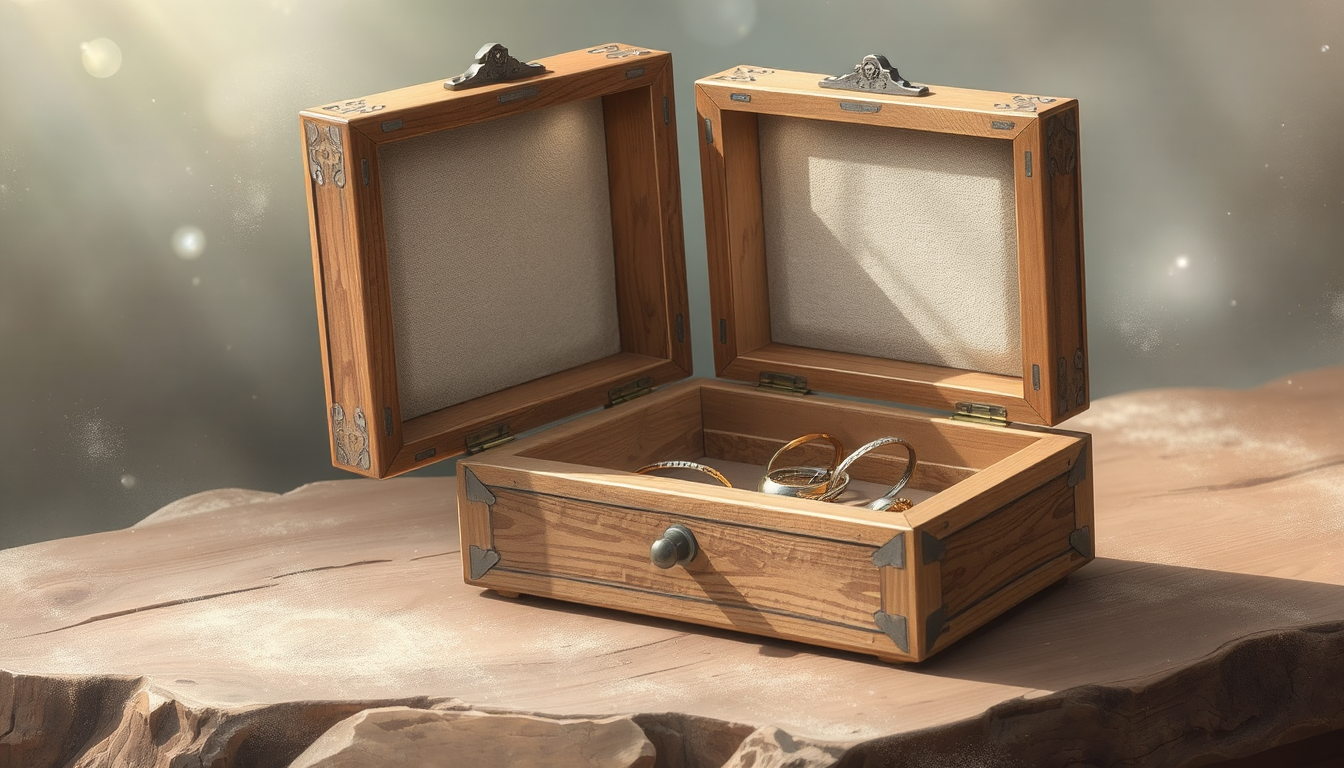
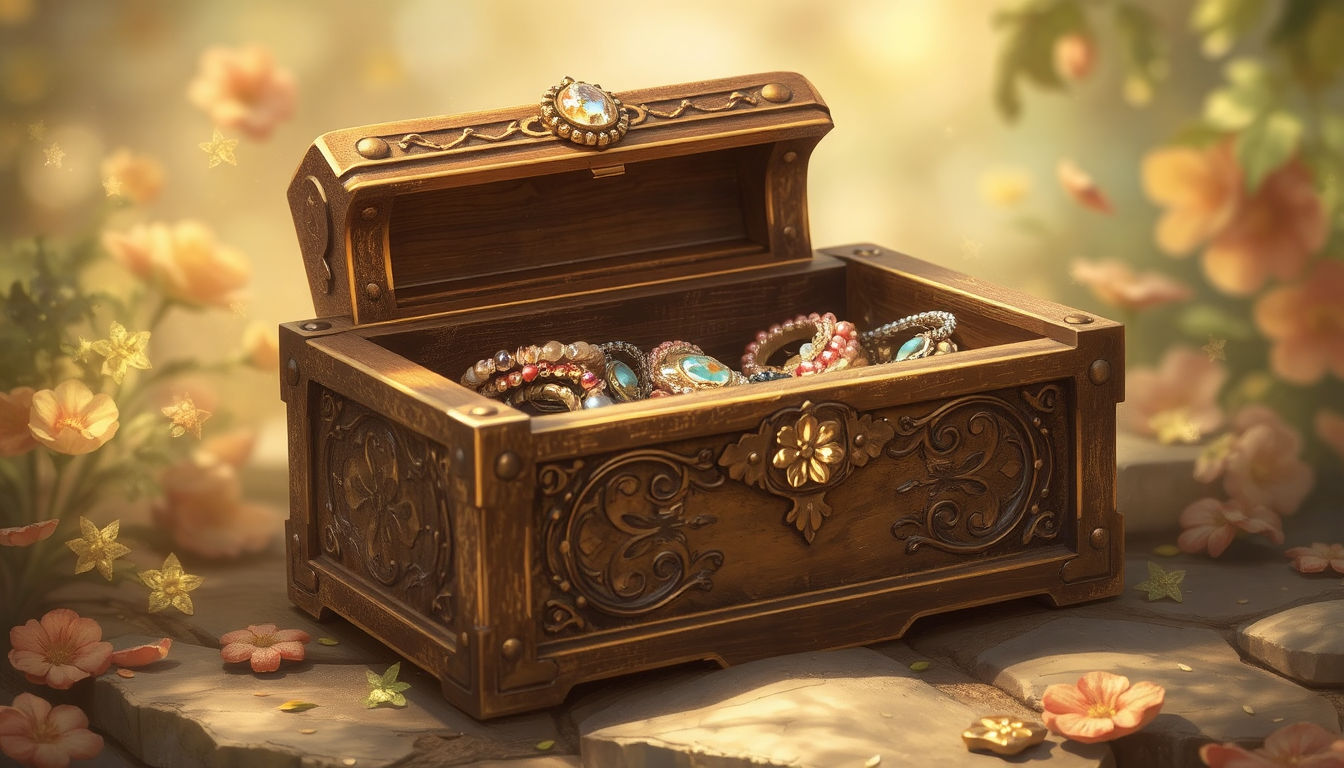
This tutorial will take you all the way there! We’ll take you through everything from your first idea to those final touches that make your project stand out. Between us we’ll be transforming a piece of plain wood into the most beautiful and useful box.
We made this guide for makers of all skill levels. Whether you’re a longtime woodworker or just beginning, you’ll find clear steps and helpful tips to help you succeed. Learning how to build a jewelry box is an easy and very satisfying experience.
Before You Cut: Planning Your Perfect Jewelry Box

The critical step takes place before you make a single cut. It’s all in the planning – that is what separates the mundane box from a special gem. This step user-friendly makes your end result is looking good and is function d for its intended use.
The majority of guides jump into building immediately. We believe in designing first. Planning like a craftsperson can help you make a box that is well-suited to a particular jewelry collection and personal style. It makes your project more valuable and your result more satisfying.
Step 1: Assess the Jewelry Collection
First, think about what the box will hold. The items inside will decide the size and design of your box. A box for big bracelets needs a different design than one for small rings and earrings.
Take a quick count of the jewelry. This helps you plan for storage needs and create a truly custom interior:
-
Rings: Enter with padded slots or foam rolls for safe, upright storage.
-
Necklaces & Chains: Need longer, divided areas, or small hooks, so they don’t get tangled.
-
Bracelets & Watches: Are most comfortable in larger, open areas that accommodate their size.
-
Earrings (Studs & Dangles): Fit in a small space, a grid, or a padding panel with holes.
Step 2: Choose Your Woodworking Style & Joints
Your wood and joint (more on that in a moment) selection determines the look and strength of the box. Some are easy and have a minimum of fuss, while others are all about the decoration and require a bit more skill.
For beginners, though, we would recommend beginning by learning to make a solid – Medical alert: no gaps! – simple rabbet joint. It provides more glue surface than a plain old butt joint and is easier to make than a miter or dovetail.
Here’s a simple breakdown of common options:
| Style & Joint | Complexity | Look & Feel | Best For… |
| Rustic/Simple (Butt Joints) | Beginner | Simple, clean lines | First-time projects, learning the basics. |
| Classic/Strong (Rabbet Joints) | Beginner+ | More refined, stronger corners | A sturdy, classic-looking box. |
| Advanced/Decorative (Miter or Dovetail Joints) | Intermediate | Professional, seamless look | Woodworkers looking to challenge their skills. |
Step 3: Sketch a Basic Plan
You don’t have to be an artist. All you need is a rough sketch on paper, with some critical measurements, to breathe life into your idea. Jot the length, width and height of the box, and rough where the inside dividers will fall.
This easy diet plan is your blueprint. It prevents mistakes, allows you to calculate in advance how much wood you will need, and keeps you on track once you are cutting.
Gearing Up: Essential Tools and Materials

It makes construction smoother and more fun to have everything ready to go before you start. There’s nothing worse than having to leave a project in the middle to make a store run.
We’ve given you hard lists of what you require. Collect these four things and you are ready to build with confidence.
The Woodworker’s Toolkit
You can build a beautiful box with just a few basic tools. Power tools make the process faster, but you can do everything by hand if needed.
-
Essential Hand Tools: Measuring Tape, Combination Square, Hand Saw (a Japanese Pull Saw works great for fine cuts), Wood Glue, Clamps (at least four), and Sandpaper (various grits: 80, 120, 220).
-
Helpful Power Tools: Table Saw or Miter Saw (for exact, repeatable cuts), Router (for joints and decorative edges), and an Orbital Sander (to speed up finishing).
Selecting the Right Wood
The wood is the thing your project is all about. For a small project like this it’s worth buying quality hardwood. Seek out boards that are flat with no knots.
Here are a few excellent choices for box-making, each with its own character:
-
Walnut:A high-quality dark hardwood that’s effective. It is y also Its chocolalino color spells instant elegance.
-
Maple: Extremely hard, strong, and dense, with a clear, bright look. It’s perfect for modern designs.
-
Cherry:A classic American hardwood. It has a very attractive red-brown colour when dry and is light pinky-red when wet, and ages to a brilliant dark chocolate brown.
-
Oak: Strong, heavy, and traditional. Its strong grain adds a rustic touch but may take extra work for a smooth finish.
Hardware and Finishing Supplies
These final details complete your project.
-
Small hinges (brass butt hinges are a classic choice).
-
Optional: A small latch or clasp for the front.
-
Lining material such as felt or velvet.
-
A good wood finish like Tung oil, shellac, or wipe-on polyurethane.
The Build: A Step-by-Step Guide to Assembling Your Jewelry Box

With our plan ready and materials gathered, we can start construction. We’ll follow a logical order, focusing on accuracy at every step. This is where your vision begins to take shape.
Step 1: Milling & Cutting the Panels
Begin by cutting the four sides, the top, and the bottom panels according to your sketch. The most important rule in woodworking applies here: measure twice, cut once.
Here’s a key tip for perfect results: when cutting the four side pieces, make sure they are all exactly the same height. Even a tiny difference can make the box sit unevenly and the lid close poorly. Use a stop block on your saw for perfectly matching cuts. This ensures all your sides match perfectly.
Step 2: Creating the Joinery
For a neat and sturdy box we recommend a plain rabbet. A rabbet is an L-shaped channel recessed into the edge of a board. Where two pieces with rabbets join at a corner, they overlap, which provides additional face area for gluing and makes a stronger joint.
You can cut these joints easily with a router and a rabbeting bit or on a table saw with a standard blade. If you prefer hand tools, a rabbet plane will do the job nicely. For those wanting pictures to guide them, a detailed step-by-step tutorial on box making on Instructables offers great visual guidance on the assembly process.
Step 3: The Crucial Dry Fit
You’ll want to dry fit before you glue anything. That is, to put the A-team box together with no glue. The goal is to scrutinize every joint, corner, and connection.
Utilize your square to ensure that all the corners are a perfect 90 degrees. Verify that every rabbet joint is nice and tight, without any gaps. If a joint is too tight, pare it down with a chisel or sandpaper. If there’s a hole, you might have to create a new piece. This will save you all the trouble of discovering a huge problem when glue is already beginning to dry.
Step 4: Gluing Up and Clamping
After you are satisfied with the dry fit, it’s time to start putting it together. Disassemble the box and spread a thin, even layer of quality wood glue across each rabbet joint. A small brush or your finger is good for spreading the glue.
Square the box, and clamp it. The idea is to apply just enough force to close the joints fully. Recheck the corners for square and adjust the clamps as necessary. You’ll see some excess glue squeeze out of the joints. 3Dab this off immediately with a wet cloth before it dries, as glue won’t take a finish.
Step 5: Separating the Lid
One of the more common and efficient ways to create a jewelry box involves making an entire box, and then separating a lid. This ensures that you lid and body fit each other perfectly in both size and wood grain pattern.
Carefully measure and mark a cutting line all around the four sides of your assembled box. Set your table saw fence to this measurement and, with the blade raised just enough to cut through the box wall, carefully cut all four sides. This separates the top portion (the lid) from the bottom (the body). This technique is key to box making, and you can see it done well in these free DIY jewelry box plans, which provide excellent pictures for this specific step.
Elevating Your Creation: Custom Interiors and Flawless Finishes

With general framing complete, let’s go over some details that will take your project from a plain ol’ box to a legacy piece. High level of workmanship Custom interiors and perfect finish.
It’s where you take a good project and make it great. The next steps are often neglected in other tutorials, but essential, if you want this to last for generations.
Installing Dividers and Trays
Custom dividers add great functionality. The simplest way to make them is with friction fit dividers with cross-lap joints.
Start by measuring the inside dimensions of your box. Cut the thin (1/4″ or 6mm) wood to the same length and width. To make the cross-lap joint, you mark the middle of each piece that divides the pens, and cut a slot half the thickness of it. The two parts can then be slotted together to create a perfect “X” or grid.
Lining the Box for a Touch of Luxury
You can line the inside with felt or velvet to protect the jewelry and create a professional, luxurious feel. The key is in the technique.
Here is our pro-tip for getting clean, smooth results: To line the box, don’t try to wrap one large piece of felt inside. Instead, cut separate, perfectly sized panels for the bottom and each of the four sides. Use a quality spray adhesive on the back of each felt panel, let it get tacky according to the instructions, then carefully press each panel into place one by one. This method prevents wrinkles and gives you clean, sharp corners every time.
The Art of the Finish: Sanding and Sealing
Smooth over life’s imperfections A perfect finish begins with the perfect sanding. Start with a medium grit, say 120, sanding every surface inside and out until you have all tool marks and dried glue removed. Then use an even finer grit, like 220 grit, to get a silky smooth surface. Be sure to only sand in the direction of the wood grain or you will create scratches.
For a finish, a simple wipe-on oil like Tung oil or a wipe-on polyurethane is very beginner-friendly. Apply a thin coat with a clean, lint-free cloth, let it soak in, and wipe off the excess. Apply several thin coats, allowing each to dry fully, rather than one thick coat. Finally, once the finish has fully dried (this can take several days), carefully install your hinges and any other hardware.
Your Finished Masterpiece
Take a moment to step back and admire your work. You’ve successfully completed the entire process, from a simple board to a beautiful, functional piece of art.
A Treasure for a Lifetime
Congratulations on your achievement. You have not only learned how to build a jewelry box, but you have also practiced key woodworking skills: precise measurement, accurate cutting, classic joinery, and patient finishing.
In a world of hundreds of mass-produced pieces you have created something that only you have, handmade, that will last. Whether it’s for you, or a special gift for a loved one, this box is a treasure that can be enjoyed for years.
FAQ about How to Build a Jewelry Box
-
What tools do I need to build a basic jewelry box?
You will need the obvious tape measure, combination square, handsaw, wood glue and a few clamps for starters but most importantly the all mighty sandpaper. And electric power tools like a table saw and a router are helpful but not necessary. -
What is the best wood for making a jewelry box?
Walnut, maple, cherry or oak will do well. Walnut lends sophistication with its deep, chocolate hue, while maple is a fresh, clean option for contemporary styles. -
How do I create dividers for different types of jewelry?
Craft cross-lap-friction-fit dividers cut from ¼-inch-thick wood. “Design the layout to fit the specific jewelry collection — rings need padded slots, necklaces longer sections and some earring fit best in small compartments. -
What’s the best way to line a jewelry box?
Cut separate pieces of contrasting felt or velvet for the bottom and each side rather than one huge piece. Spray each panel with a good quality spray adhesive and set into place neatly for a clean wrinkle free result. -
How do I ensure the lid fits perfectly on my jewelry box?
Construct one entire box first, and then use the table saw to free the lid. This ensures perfect lids & bodies in both size & grain pattern.


