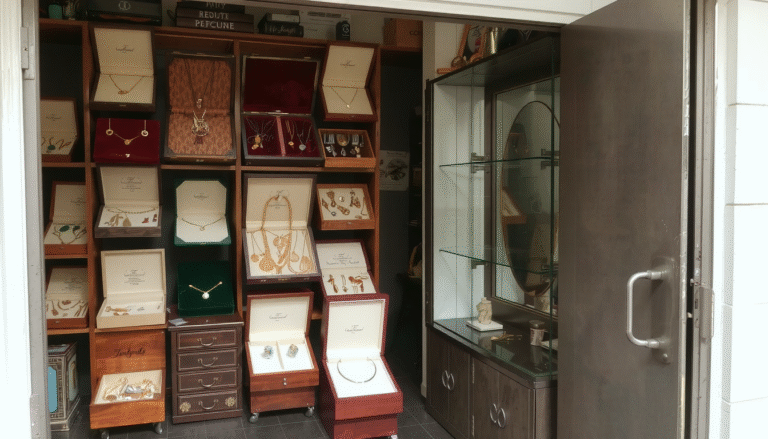
A shop-bought jewelry box suffices for the purpose. However, the custom one simply reflects your life story. A homemade jewelry box design project is more than just crafting. This is your chance to establish a secret base or safe space for your treasures. Or you can create a thoughtful gift for someone you love.
This guide gives you everything you need. This is a step-by-step method of how we will do it. Additionally, you’ll get to go through different design ideas and find out about materials and tools you need. We will make sure you will get a very clear direction to follow, whether for a simple project or an advanced one. The many choices include just decorating existing items to creating completely new items.
Why Choose a Homemade Jewelry Box Design?
Going DIY instead of buying commercial products offers many unique advantages. These are not merely storage solutions. You’re showcasing your creativity and poignant thoughts as well as your resourcefulness.
Here are the key advantages of creating your own jewelry box:
- Total customization: You make a box that fits your home perfectly. It stores your specific jewelry collection and embodies your personal style.
- Gift with meaning: A handmade gift carries unmatched sentimental value. You will be showing that money can’t buy that level of thoughtfulness or care.
- Environmentally Friendly and Budget Saving: Upcycling the materials you already have is a good eco-friendly move. It is also good for your pockets.
- A Fun Crafting Experience: The feeling of accomplishment that arises from producing a beautiful and practical item is what drives many crafters.
Finding Your Spark: A Gallery of Homemade Jewelry Box Ideas
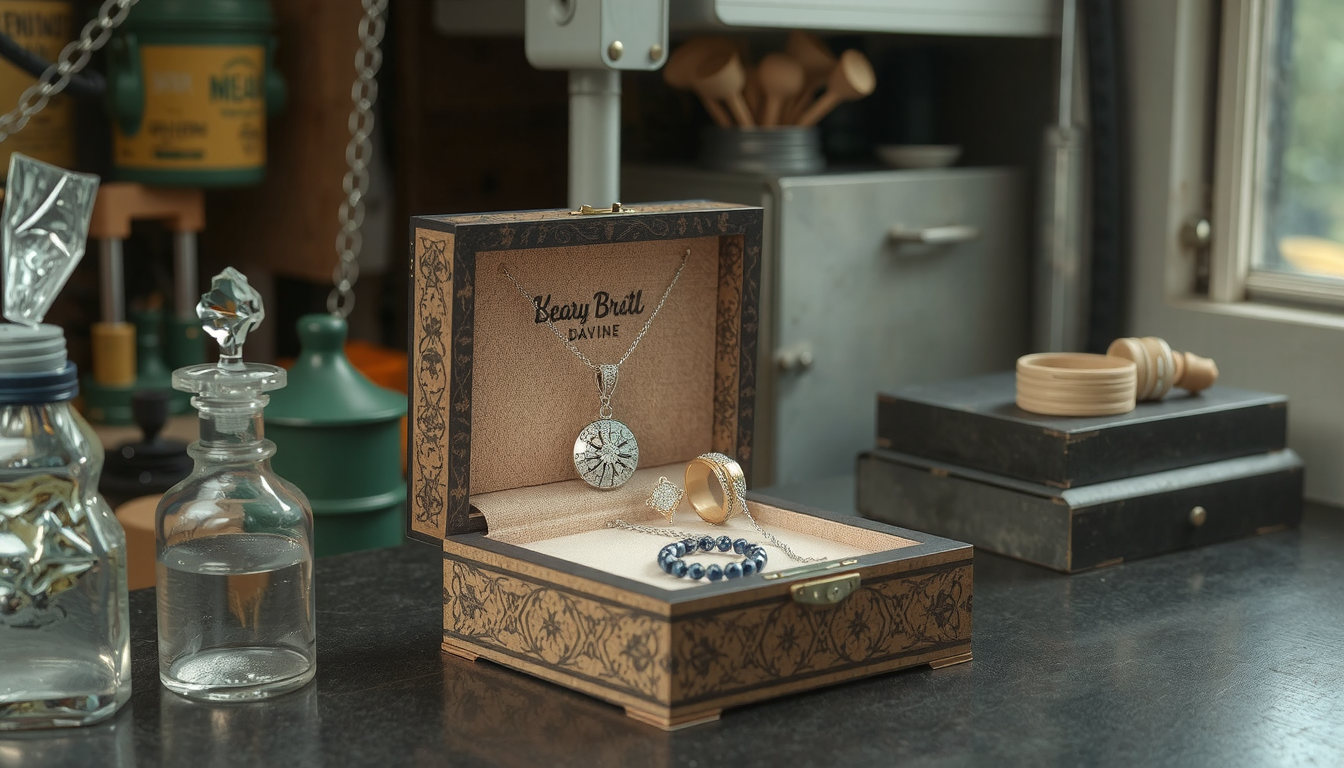 Before you start, find your inspiration first. Making a decision about the style and functional characteristics of your homemade jewelry box design will help you in taking every further decision, from the materials to the final details.
Rustic & Farmhouse Charm
Embrace the warmth of natural and weathered materials. For example, this model will usually use reclaimed wood with grain patterns clearly visible. It will look good altogether with either distressed paint or chalk paint finishes. Add traditional hardware like antique brass latches or wrought iron pulls to the design. As a result, you will have a style that is both timeless and that of everyday life.
Modern & Minimalist
To achieve a modern and minimalist look, concentrate on straight lines and tidy surfaces. You can use geometric shapes. Light-colored woods like maple or birch will create sophistication. Clear acrylic panels or a monochrome paint job also work well. This approach aligns with emerging jewelry box design trends, which favor simplicity and natural materials. This allows the jewelry to be its own star.
Eclectic & Bohemian
This design style is all about individuality and freedom. Combining various materials and patterns is the key to this style. Covering a box with colorful fabric is a good idea. Use decoupage with decorative papers or maps. Create a mosaic top with broken tiles. Or use a paintbrush to hand-paint intricate mandala patterns.
Upcycled & Creative
Some of the most unique homemade jewelry box designs come from reimagining everyday objects. A vintage cigar box will work perfectly. So does an old hardcover book or a set of small, discarded drawers. These can be transformed into one-of-a-kind storage pieces. Many inspiring jewelry packaging ideas can be adapted for permanent storage. This proves that great design can start anywhere.
The Blueprint: Choosing Materials and Tools for Your Design
Choosing materials wisely plays an essential role in the success of a project. Your selection is linked to the aesthetic that you want to achieve, your budget, and the tools that you own. The breakdown below will guide you to choose a project that will suit your expertise level.
| Material | Skill Level | Pros | Cons | Essential Tools |
|---|---|---|---|---|
| Unfinished Craft Box | Beginner | Ready-made structure; smooth surface for decorating. | Limited to available sizes and shapes. | Paintbrushes, glue, craft knife. |
| Cardboard/Shoebox | Beginner | Very low cost; readily available. | Less durable; may require reinforcement. | Hot glue gun, ruler, craft knife. |
| Reclaimed Wood | Intermediate | Unique character; sustainable. | May require significant prep (sanding, removing nails). | Hand saw, sandpaper, drill, clamps. |
| New Wood Planks | Intermediate | Consistent quality; cut to any size. | Higher cost; requires basic woodworking skills. | Miter box/saw, wood glue, clamps, drill. |
For the Upcycler (Beginner)
The initial stage is all about transformation, not construction. That means your materials are everywhere.
- Materials: Strong gift boxes, wooden cigar boxes, old hardcover books, decorative tins.
- Tools: Craft knife, hot glue gun, ruler, paintbrushes, decorative paper, fabric.
For the Crafter (Intermediate)
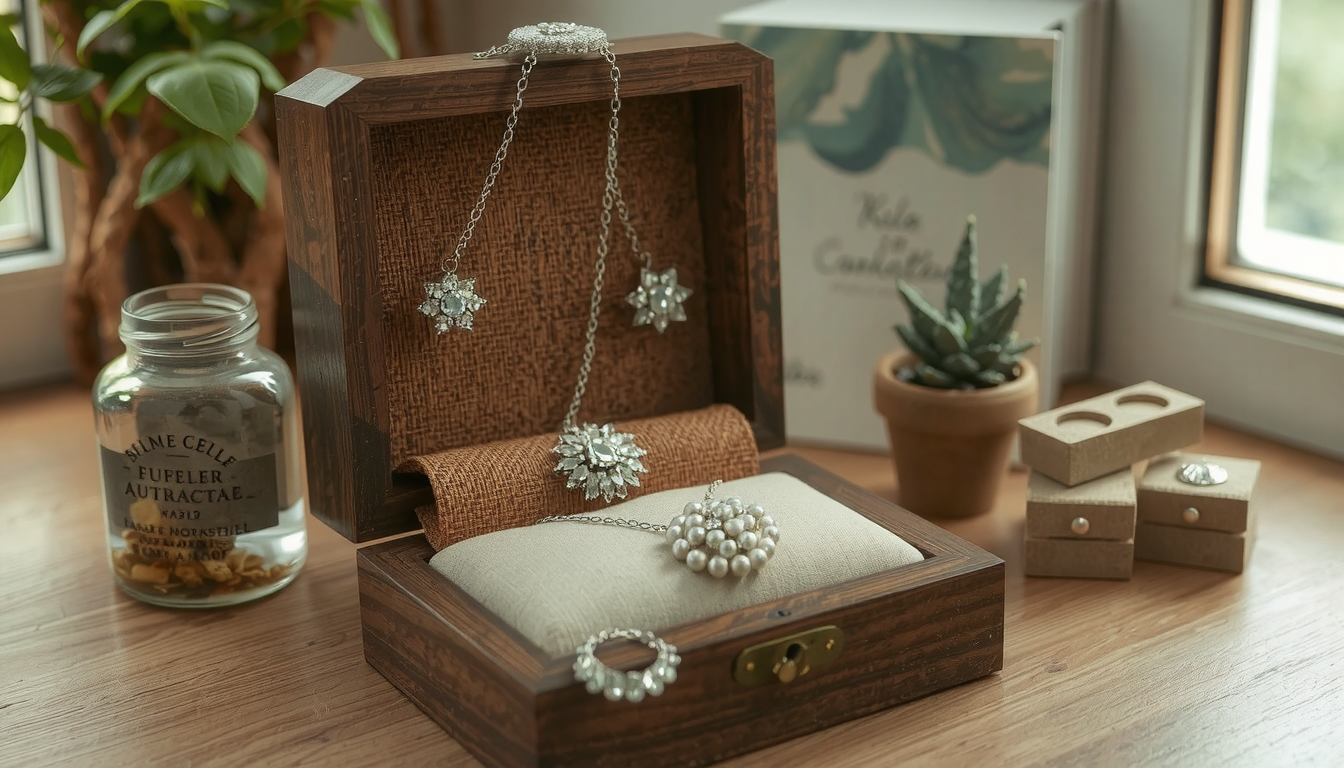
Ready to build from scratch? These materials will make a solid foundation for a usual wooden box.
- Materials: Pine boards, plywood sheets, basswood.
- Tools: Hand saw or miter box, sandpaper, wood glue, clamps, drill, small hinges.
Project 1: The No-Build Upcycled Jewelry Box
This project is ideal for beginners. It also shows that a lovely homemade jewelry box design can be achieved without any woodworking skills. Only an eye for detail and a pinch of creativity are required. We will simply modify a base box into a personalized treasure box.
Step 1: Selecting and Prepping Your “Canvas”
Start with a sturdy box as your base. Craft stores often sell unfinished wooden boxes, which are the best option. However, a quality gift box, a watch box, or even a cigar box is a wonderful choice.
Ensure the box is clean and dust-free. A light sanding with fine-grit sandpaper will help the paint and glue adhere to a wooden box. Applying a coat of primer is good practice for a more professional and even finish.
Step 2: Designing the Exterior
This is where your creativity takes control. It’s up to you to paint the box in a solid color, create a pattern with stencils, or use a distressed finish.
Another technique commonly used is decoupage. Apply a thin coat of Mod Podge or similar craft glue to the box. Lay down the decorative paper or fabric and then smooth out any air bubbles. For the finish, you will want another coat of glue on top for durability.
Step 3: Creating Custom Interior Compartments
An impressive interior makes a box entirely different from the others. You can create simple dividers by cutting thick cardstock or thin balsa wood to size. Use a few drops of hot glue to fasten them down.
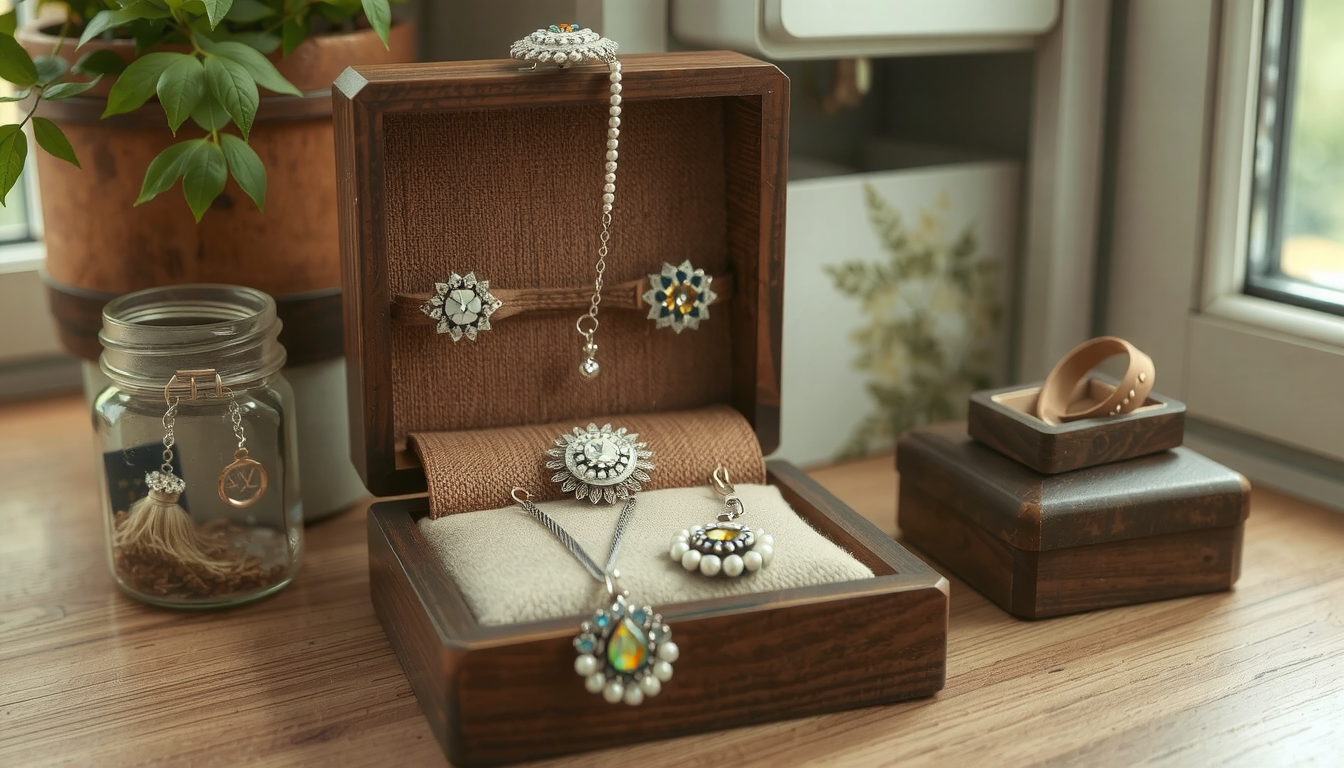
To create a more luxurious effect, make custom ring rolls. It is this activity that adds delight to any DIY jewelry box project. To start, measure a section of your box. Then cut a piece of cotton batting and another piece from a very soft material like velvet or felt. The soft fabric should be a little longer than the batting and wide enough to wrap around it completely.
Roll the batting tightly and wrap the fabric around it. In the back, fasten down the seam with glue. Expert tip: “Use fabric glue sparingly to avoid it soaking through the velvet. A thin, even line is all you need. Test on a scrap piece first!”
Create several of these rolls and place them side-by-side into your box snugly. This will create an elegant, soft holder for rings and earrings.
Project 2: Crafting a Simple & Elegant Wooden Jewelry Box
For those with a few basic tools, building a simple wooden box is incredibly rewarding. This plan results in a traditional, robust piece that you can customize in any way you prefer.
What You’ll Need (Materials & Cut List)
We’ll use standard 1×4 pine board for a box measuring approximately 8″ long x 6″ wide x 4″ high. You’ll also need wood glue, sandpaper, and a pair of small 1″ hinges.
- Front/Back Pieces (2): 8″ long
- Side Pieces (2): 4.5″ long (to fit inside the front/back pieces)
- Top/Bottom Pieces (2): 8″ x 6″ (cut from a wider board or plywood)
Step-by-Step Construction Guide
- Cutting the Pieces: Measure twice, cut once. Use a hand saw and miter box for straight, accurate cuts. Precision here is key to a box that fits together perfectly.
-
Assembling the Box Frame: Apply a thin bead of wood glue to the ends of the two side pieces. Press them between the front and back pieces to form a rectangle. Use clamps to hold the frame together tightly. Immediately use a square to ensure all corners are at a perfect 90-degree angle. Wipe away any excess glue that squeezes out.
-
Attaching the Bottom and Lid: Once the frame is dry, glue the bottom panel on. After it has set, place the lid on top and attach it to the back panel using the small hinges. A drill with a small bit can pre-drill the screw holes to prevent the wood from splitting.
-
Sanding and Finishing: Sanding is what separates a good project from a great one. Start with medium-grit paper (like 120-grit) to smooth all surfaces and round sharp edges. Then move to fine-grit paper (220-grit) for a silky-smooth finish. Finally, apply a finish like tung oil, wax, or clear varnish to protect the wood.
Taking It Further with Advanced Plans
Once you’ve mastered this basic box, you may be ready for a bigger challenge. For more complex designs with drawers, trays, and intricate details, you can find a wide variety of free DIY jewelry box plans. These will help you continue to grow your skills.
Adding the Finishing Touches: Personalization & Protection
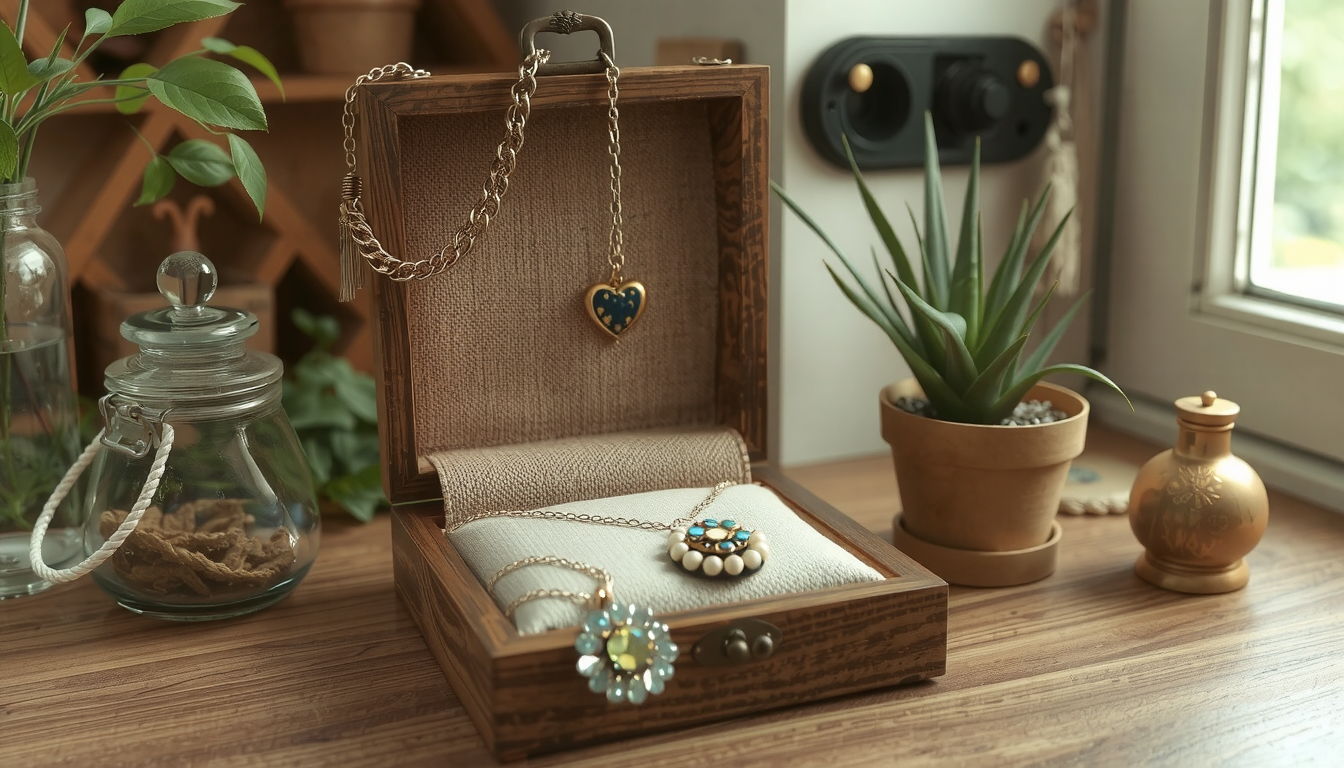 The final details are what make your homemade jewelry box design truly your own. These little touches are what will transform your project from just a handmade piece to a true heirloom.
Hardware and Embellishments
Choose hardware that fits the style of your design. A modern box may use a simple knob. An ornate latch can finish a rustic box. You might want to add small metal feet to the bottom. Wood-burning a monogram on the lid is another option. Or stencils can help you paint a delicate pattern.
Interior Lining Options
Besides the DIY rolls we made, you can line the bottom and sides of your box with self-adhesive felt sheets. This gives a quick and clean finish. For a perfectly fitted look, you can source custom-cut foam. Or even look at professional jewelry box inserts for inspiration on how to create a high-end interior.
Protecting Your Creation and Your Jewelry
For final protection, a coat of polyurethane or wax can be applied to the exterior. This will help with moisture and scratches. For the inside, the glues must be cured absolutely. Moreover, check if the lining materials you use are colorfast and won’t tarnish your metal items.
Frequently Asked Questions about Homemade Jewelry Box Design
What is the best material for a beginner-friendly homemade jewelry box?
For absolute beginners, the best materials are pre-made unfinished wooden boxes from a craft store. Sturdy, attractive cardboard boxes (like gift or shoe boxes) also work well. They require no construction, allowing you to focus entirely on the fun of design and decoration.
How can I create compartments inside my DIY jewelry box?
You can create simple, effective compartments using several methods. For fixed dividers, cut thick cardstock or thin balsa wood to size and glue it in place. For rings and earrings, you can create soft rolls. Wrap velvet or felt around foam or cotton batting and fit them snugly inside a section of the box.
What’s the best way to line a jewelry box to protect my jewelry?
The best lining materials are soft and non-abrasive. Felt and velvet are classic, excellent choices because they prevent scratches. You can buy them in sheets (some are self-adhesive) or as fabric. Make sure any glue you use is applied thinly and dries completely. This avoids transferring chemicals to your jewelry.
Can I make a jewelry box without woodworking tools?
Absolutely! Many beautiful homemade jewelry box designs involve upcycling. You can transform an old hardcover book by hollowing out the pages. Decorate a metal tin. Or refurbish an existing but plain box. These projects focus on creativity in decoration and interior organization rather than construction.
How do I add a personal touch to my jewelry box design?
Personalization is key! Consider adding a wood-burned or painted monogram. Decoupage the lid with a favorite photo or map of a special place. Add custom hardware that reflects your style. Or paint it in colors that match your room’s decor. The possibilities are endless.


