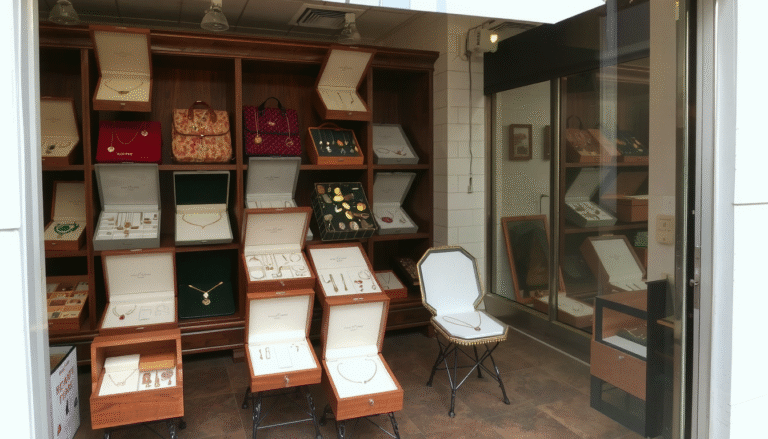
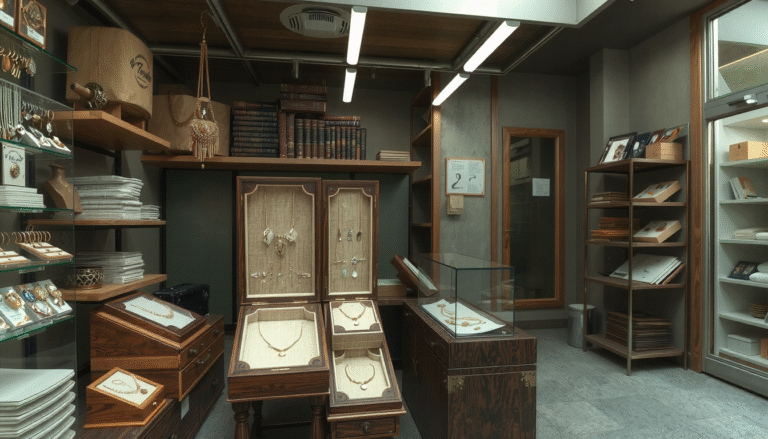
Introduction: Your Journey to a Custom Jewelry Box Begins Here
You’re here because you’re trying to make a special home to showcase your most cherished items. Create your own Jewelry Box is such a rewarding project.
It’s not just about making a container — it’s about making a working piece of art that helps guard and order your collection.
We want to make this project and believe it’s for everyone – whether you are a beginner, on budget or short on tools. This guide will take you through everything, from planning and design, to three ways to do it. You’ll find out how to upcycle an existing box, make one out of cardboard or even build a lasting heirloom from wood. Finally we will look at finishing touches to make your project unique.
Before You Build: Planning for a Perfect Jewelry Box
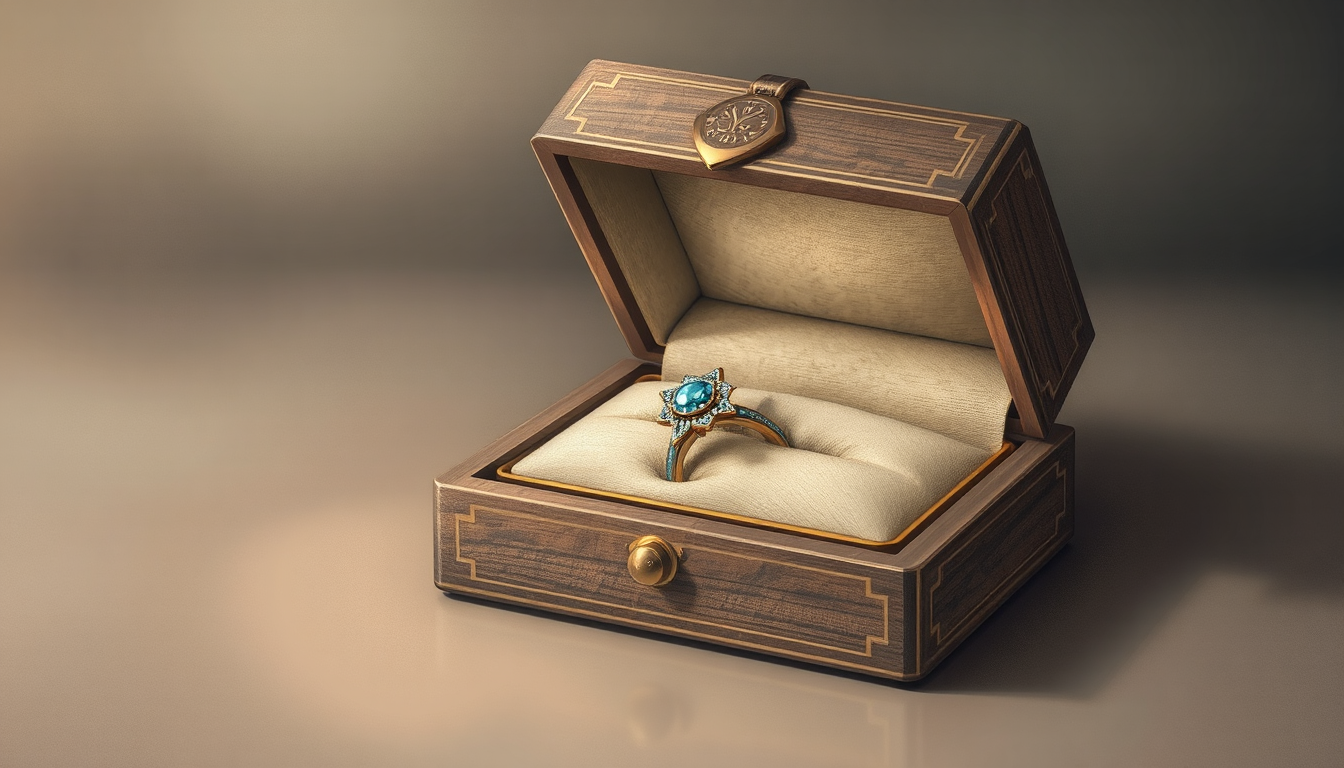
A few minutes of planning will save you hours of frustration later. A great jewelry box needs to be perfectly designed for the collection it will hold.
First, Consider Your Collection: Designing the Interior
The best boxes are designed from the inside out. Before cutting any material, take inventory of what you plan to store inside. Your collection will determine the size, shape, and internal layout of your box.
-
For Rings & Earrings: The best is padded ring rolls. These fabric-and-foam tubes keep rings in place, and stud earrings (they’re bedecked in sapphires, ruby and emeralds, naturally) on display. Small sections with thin spacers are good too.
-
For Necklaces:The ultimate aim is to avoid tangling. Concept for a taller box with a lid or an in-set back panel on the back which can hold necklaces as they hang from hooks. Other good options are long, narrow compartments with vertical dividers.
-
For Bracelets & Watches: You need more room for these. Create larger, open compartment areas to accommodate thick bracelets and watches without making the holder appear crowded. Removable top tray for smaller items is nice, with more room beneath.
Choose Your Method: A Path for Every Crafter
Now that you have a vision for the interior, you can choose the building method that fits your skills, budget, and goals. We’ll cover three great options in detail.
| Method | Difficulty | Cost | Tools Required | Best For |
| Upcycling | Easiest | Low | Minimal (Glue, fabric, scissors) | Beginners, quick results, unique vintage looks |
| Cardboard | Easy | Very Low | Basic craft tools (Craft knife, ruler) | Custom sizes on a budget, kids’ crafts |
| Wood | Intermediate | Moderate | Hand or power tools (Saw, clamps) | Durable heirlooms, fine woodworking practice |
Essential Safety Precautions
Your safety is the biggest priority as well as of any project. Always put it first.
For woodworking, make sure you get a pair of safety glasses to keep your eyes safe from dust and debris. Know how to use power tools safely before moving on. Ventilation is essential when using stains or varnishes.
For anything else you’re crafting, be wary of hot glue guns, which can burn. Always position sharp tools so you are cutting away from your body.
Method 1: The 1-Hour Upcycle: Turn Any Box Into a Jewelry Box
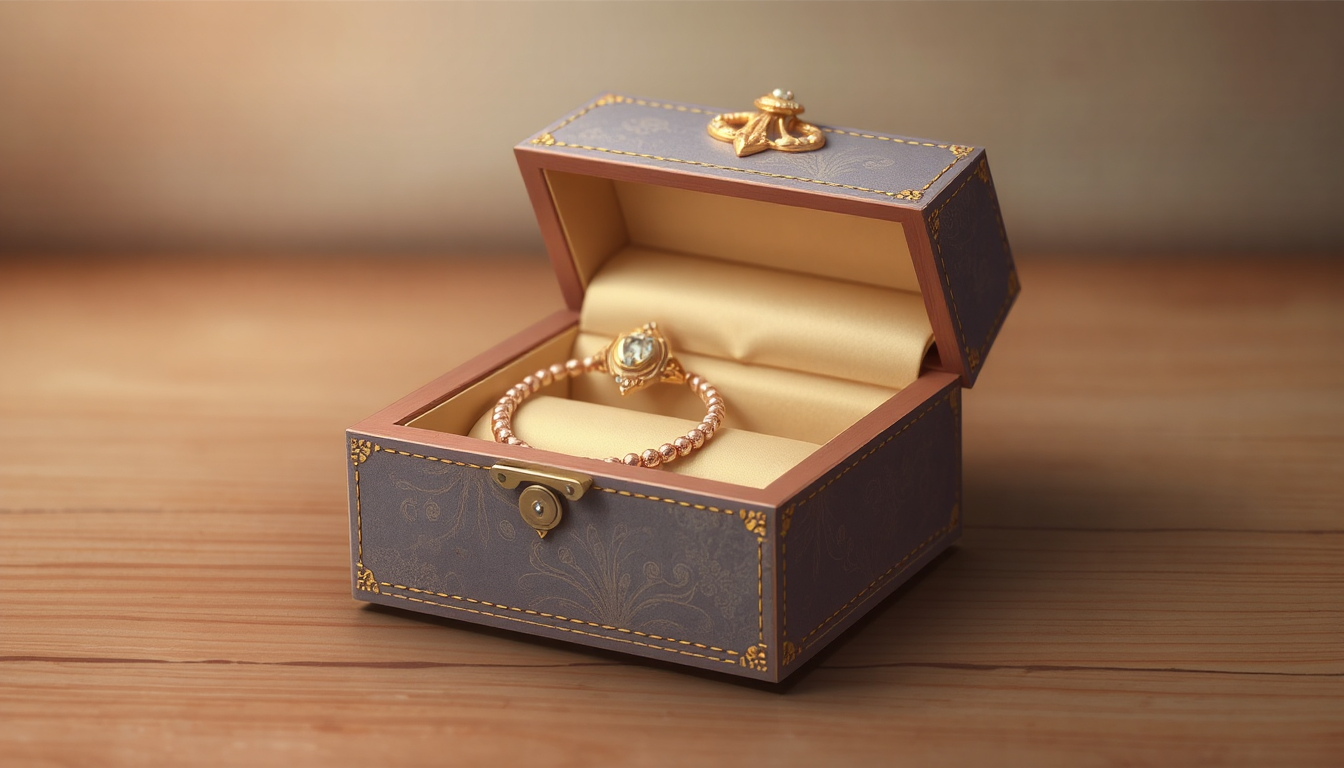
This is the quickest way to get a stunning result. Ideal for newcomers to the hobby, it doesn’t require any modelbuilding skills, just your imagination.
What You’ll Need (Materials & Tools)
-
A sturdy, decorative box with a lid (a wooden cigar box, a vintage tin, or a firm gift box works well).
-
Velvet, felt, or velveteen fabric.
-
Cotton batting or 1/4-inch thick foam sheet.
-
High-quality fabric glue or a hot glue gun.
-
Sharp scissors.
-
A ruler or measuring tape.
Step-by-Step Instructions
-
Prepare Your Box: Make sure it is clean, and empty. Peel away any paper liners, if they come off easily. Inside dimensions (length, width and depth).
-
Create the Ring Rolls: Use the width of your box to cut a strip of cotton batting or foam. Roll it up tight so it makes a snug cylinder inside. Now, cut your velvet into a rectangle that is approximately the length of your batting roll + a bit of overlap (I added an inch).
-
Assemble and Install the Rolls: Wrap the velvet tightly around the batting roll and secure the seam with a thin line of glue. We recommend making the rolls a little bit taller than the box’s depth. They will compress slightly when you insert rings, and this extra height ensures they stay secure.
-
Secure the Rolls: Place a line of glue on the bottom of the box and press your finished rolls in, side-by-side, until the section is full. They should fit tightly against each other.
-
Lining Other Sections: For any other open spaces, try straightforward lines.
We were inspired by this project, which shows how simple it is to turn any decorative box into a jewelry holder and give an old box new life.
Method 2: The Sturdy Cardboard Craft Project
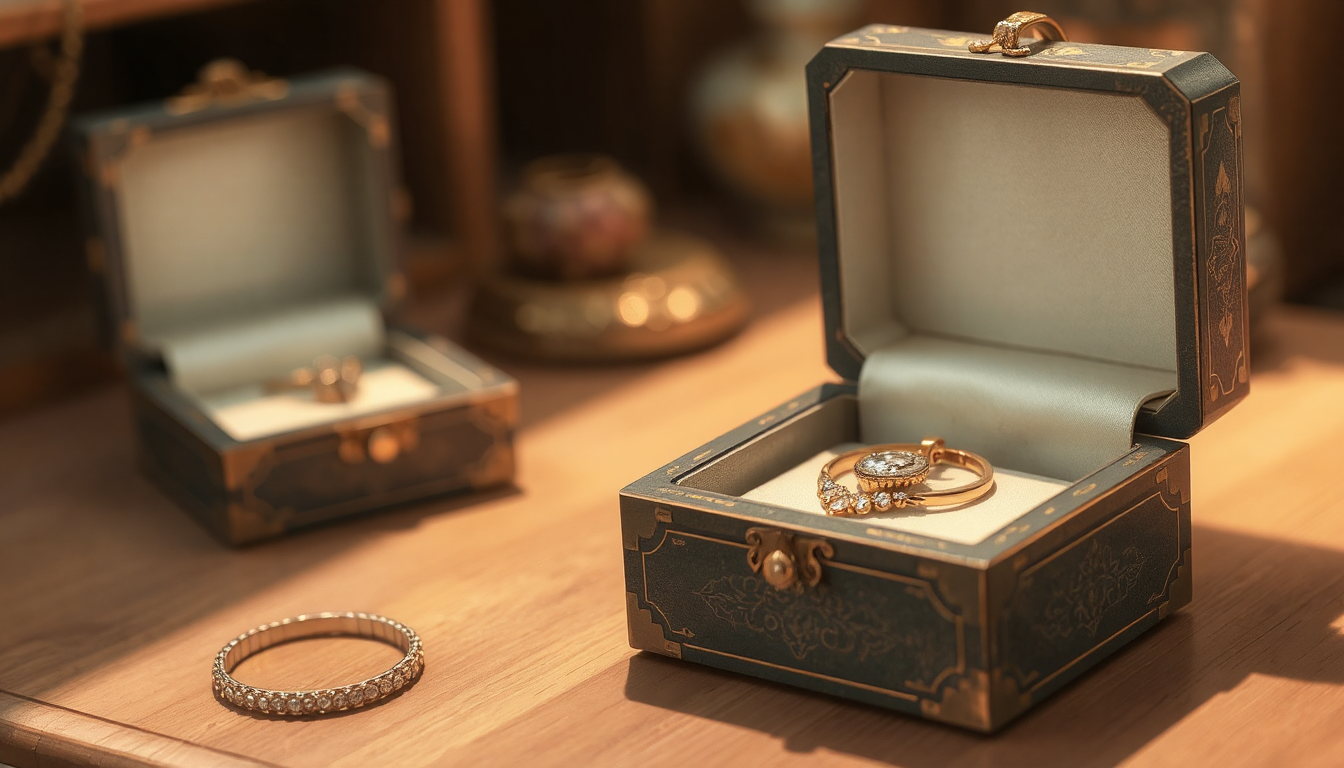
Don’t underestimate cardboard. With the right technique, you can create a surprisingly strong and highly customized jewelry box from scratch. This method is very budget-friendly and lets you build a box of any size you can imagine.
Gathering Your Supplies
-
Thick, sturdy cardboard (shipping boxes work well).
-
A sharp craft knife or box cutter.
-
A metal ruler for straight, safe cuts.
-
A self-healing cutting mat.
-
Strong glue (PVA craft glue or wood glue).
-
Masking tape or painter’s tape.
-
Decorative paper, book cloth, or fabric for covering the box.
Building Your Box: A Step-by-Step Guide
-
Draft Your Plan and Cut: Based on your interior design, draw all your pieces on the cardboard. You’ll need one base piece and four wall pieces. For the lid, you’ll need a top piece and four lip pieces. Make the top piece of the lid about 2-3mm larger on each side than the box base so it fits smoothly.
-
Cut with Precision: Place your cardboard on the cutting mat. Press the metal ruler firmly along your cut line and use your craft knife to make several shallow cuts. Don’t try to cut through thick cardboard in one go as this will tear the material.
-
Assemble the Base: Take your base piece and one wall piece. Apply a thin line of glue along the edge of the base. Press the wall piece onto the outside edge of the base at a 90-degree angle. Use tape on the outside corner to hold it in place while the glue dries. Repeat for all four walls.
-
Construct the Lid: Assemble the lid using the same method you used for the base.
-
Adding Dividers: Once the main box structure is dry and firm, you can install your interior dividers. Measure the inside of your box and cut divider pieces from the same cardboard. Test how they fit, then glue them into place. Once everything is dry, you can cover the entire box, inside and out, with your decorative paper or fabric.
Method 3: The Classic Wooden Jewelry Box
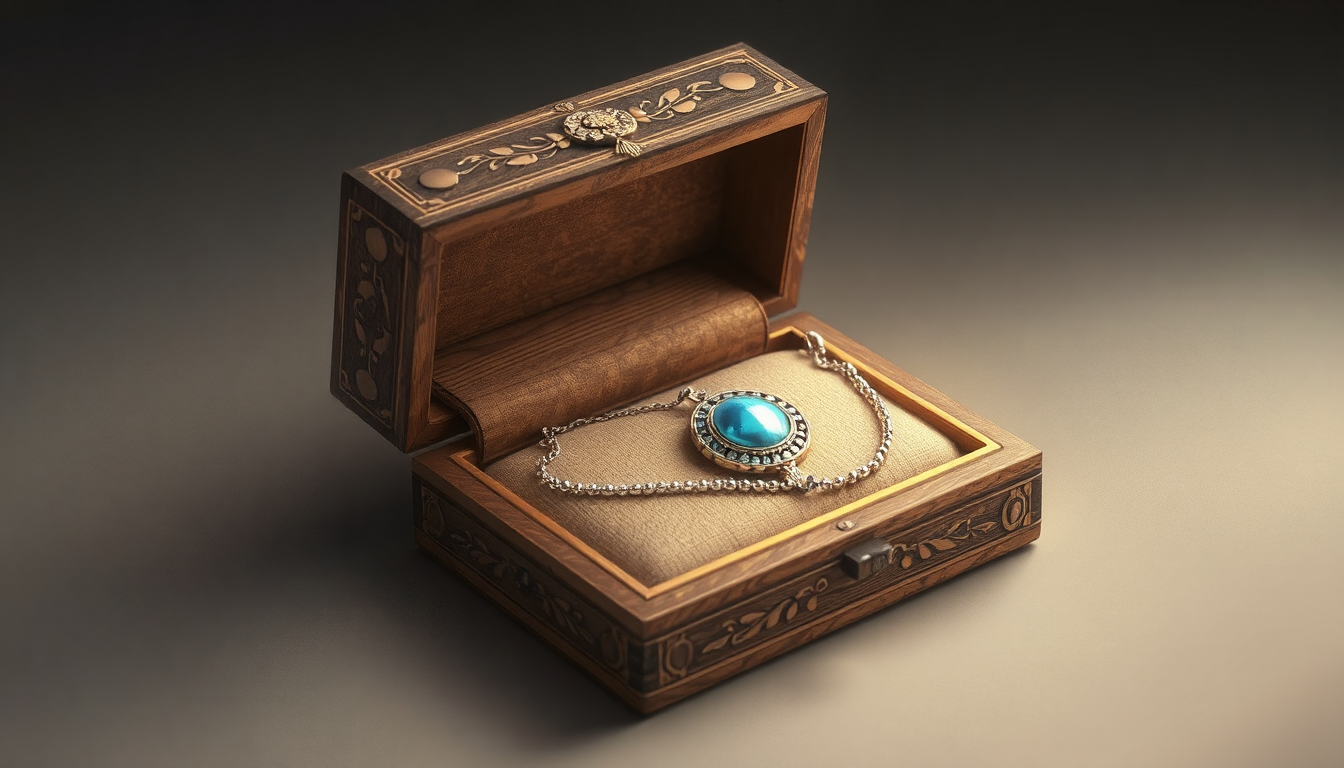
For anyone who truly wants to make an heirloom piece of furniture, the beauty and longevity of wood can’t be beat. This project is very rewarding and makes good practice for basic woodworking cuts.
This part is for someone who is comfortable around hand or power tools. And when you choose your wood, don’t just think about the color. Consider how the grain will look on the sides and lid of your box. Another mark of high-quality work, says Mr. Johnson is a “continuous grain,” which appears to wrap around the corners.
Selecting Your Wood and Tools
-
Wood: Poplar is a good starting wood to work with for beginners. It is inexpensive, easy to work with and takes paint well. Pine is another good option. Looking for a nice touch, then check out Oak, Walnut and Cherry.
-
Tools:
-
A saw for fine cuts (a power miter saw or table saw is best; a hand saw with a miter box can do the job).
-
Good quality wood glue.
-
Clamps (bar clamps, corner clamps, strap clamp if you’ve been practicing your juice).
-
Sandpaper in various grits (120, 180, and 220).
-
A drill for installing hardware.
The Build Process: From Lumber to Box
-
Milling and Cutting: PLan on flattening your lumber to be flat boards with jointed and square edges. Cut your four sides to length. For tight, clean corners, cut a clean 45-degree angle with a miter saw (or a table saw) at each end of the 4 side pieces. Measure and cut the top and bottom panels.
-
Assembly and Glue-Up: Dry fit the unit before using the glue. Assemble the box without any glue to make certain all of your joints are snug and that your angles are as they should be. After you’re satisfied with the fit, apply a thin, even bead of glue along the mitered edges of your sides. Glue the box together, clamp it down tightly, make sure the box is square. Wipe any glue that seeps out with a damp cloth before it dries; you’ll save yourself more sanding than you can imagine.
-
Cutting the Lid Free: This is a classic woodworking technique. Once your glued-up box is completely dry, set your table saw fence to the desired height of your box base (e.g., 2 inches). Carefully run the box through the saw on all four sides to cleanly separate the lid from the body. This method ensures a perfect grain match between the lid and base. Always be extremely careful and use a push stick for this step.
-
Sanding for a Silky Finish: Begin with a coarser sandpaper- say 120 to take out any machinery marks and to flatten any joints. From there, move up to finer grits — first 180, then 220 — to produce a surface that feels silky to the touch.
For specific dimensions and designs, exploring various free jewelry box plans can provide excellent starting points for your project.
Finishing Touches: Elevating Your Creation
The basic building is there, but the magic is in the details. It is these finishing touches that imbue the bra with that ‘wow’ factor and make it truly yours.
Lining the Interior Like a Pro
Soft liner safeguards your jewelry from scratches and adds a touch of luxury. You have several material options:
-
Velvet: The classic, luxurious choice.
-
Felt:Cheap, in all sorts of colors, super cooperative.
-
Linen:Provides a chic and natural look.
Use spray adhesive to apply to wooden or cardboard boxes for a smooth finish. Spray the reverse side of your fabric and the inside of the box. Gently lay material down positioning it to the area to be covered, while peeling off the backing as you lay it down, surpassing as you do this step the soapy water mixture and using a plastic squeegee or roller brush, or a credit card (do not use a wood roller) to smooth out material pressing it from the center to the edges.
Choosing and Installing Hardware
Hardware is the jewelry inside your jewelry box. The details—hinges, clasps, knobs—can be what make the box your style. antique brass hardware vintage lookES and polished nickel or chromehardware modern lookES. Drill pilot holes and screw I use a chainsaw to round my seat flush, but you could use a sander or saw. Always pre-drill your holes to keep the wood from splitting (or you can use screws that do have that feature).
Beyond Paint: Creative Customization Techniques
Consider more than basic stain or paint. Here are some ways to make your box unique:
-
Wood Burning: Personalize a wooden box by burning names, dates, quotes or patterns with a wood burning tool.
-
Decoupage:Cover the outside with decorative papers, maps or even fabric using Mod Podge for a textured look.
-
Milk Paint or Chalk Paint: Both of these paints add a wonderful distressed feel to worn furniture. They’re simple to stick on, and can be lightly sanded around the edges to make them look worn.
-
Felt Feet: Such an easy but polished touch. Adhere four small felt pads to the bottom four corners to protect furniture and make the box feel finished.
FAQ
-
What materials can I use to make a jewelry box at home?
Depending on your level of experience and how durable you want your jewelry box to be, you can craft it out of a recycled box, cardboard or wood. -
How long does it take to make a DIY jewelry box?
It takes about 1 hour to make a basic upcycled jewelry box, where larger wood designs may take hours up to a weekend to complete. -
What’s the easiest way to make a jewelry box for beginners?
The simplest way goes with upcycling the box you already have by integrating it with fabric lining, padding, and inside compartments you design to fit your jewelry. -
How do I create compartments for different types of jewelry?
Divide accessories into ring rolls made with cotton batting covered in velvet, vertical dividers for necklaces that prevent tangles and larger open spaces for bracelets and watches. -
What tools do I need to make a wooden jewelry box?
You’ll need access to a saw to cut wood, wood glue, clamps, sandpaper (120-220 grit) and a drill to install hardware such as hinges and clasps.


