Introduction
You look for jewelry box design plans because you are planning to make something with your own hands. You are trying to create a thing of beauty that’s usable. You are ready to go past generic lists and you want a way to build your very own, highly personal heirloom.
This guide is intended to be your all in one go to guide about the process. We’ll take you through every step, from whittling down your concept to where to find the right blueprint. You will discover the details that separate a good box from a great box.
We aim to make you learn better practices, not copy everything by rote from a list of links. By the finish, you’ll be ready to choose, tweak, or to make up a really personal one that you and your family will cherish.
Step 1: Defining Your Vision – What Makes the Perfect Jewelry Box for You?
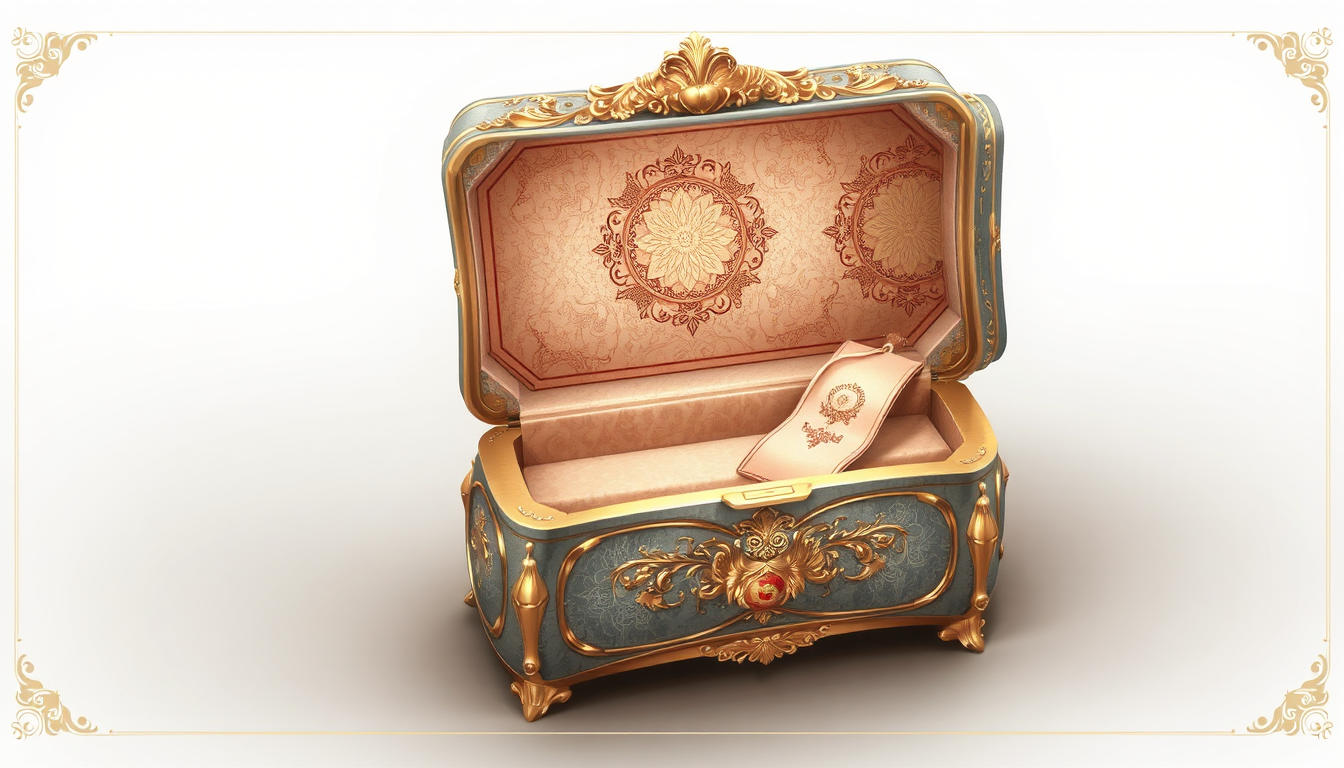
The most important work happens in your mind before a single piece of wood is cut. A good project begins with a clear vision of what you want to achieve. Spend a few minutes answering important questions and this box not only looks amazing, but even functions exactly how it needs to!
This planning stage, the difference between a wooden box and a treasure chest, and one that’s just for you. It prevents you from making the most basic mistakes, like building a box that’s too small for a favorite watch. You’ll also dodge selecting a design which doesn’t suit your skills or tools.
Key Questions to Ask Before You Start
Thoughtful planning is everything in woodworking. Use these prompts to clarify your vision and guide your search for the ideal jewelry box plan.
-
Who is it for? Is this something you are doing for you, your boyfriend/girlfriend, or a family member? Consider how their style is like – modern, classic, rustic or minimums? The look should reflect the recipient.
-
What will it hold? A small ring and earring collection requires a very different interior than one for bulky bracelets and necklaces. Think about dividers or ring rolls or compartments.
-
What is your skill level? You know it’s true, so be honest with yourself. Are you the brave weekend warrior armed only with simple hand tools, or an experienced woodworker capable of making joints more complicated than you’d care to describe? This is the single biggest driver in selecting a plan you can get through.
-
What tools do you have?Your workshop limits your options. Do you only have hand tools? Or perhaps you own a table saw, router, planer, and maybe a CNC machine? Even the best plan in the world is worthless if you don’t have the proper tools.
| Pre-Design Checklist | Consideration | My Answer (Notes) |
| Recipient | Who is the box for and what is their style? | |
| Contents | What specific jewelry items will it store? | |
| Skill Level | Beginner, Intermediate, or Advanced? | |
| Tool Access | Hand tools, power tools, specialized equipment? |
Step 2: A Curated Guide to Jewelry Box Plans for Every Woodworker
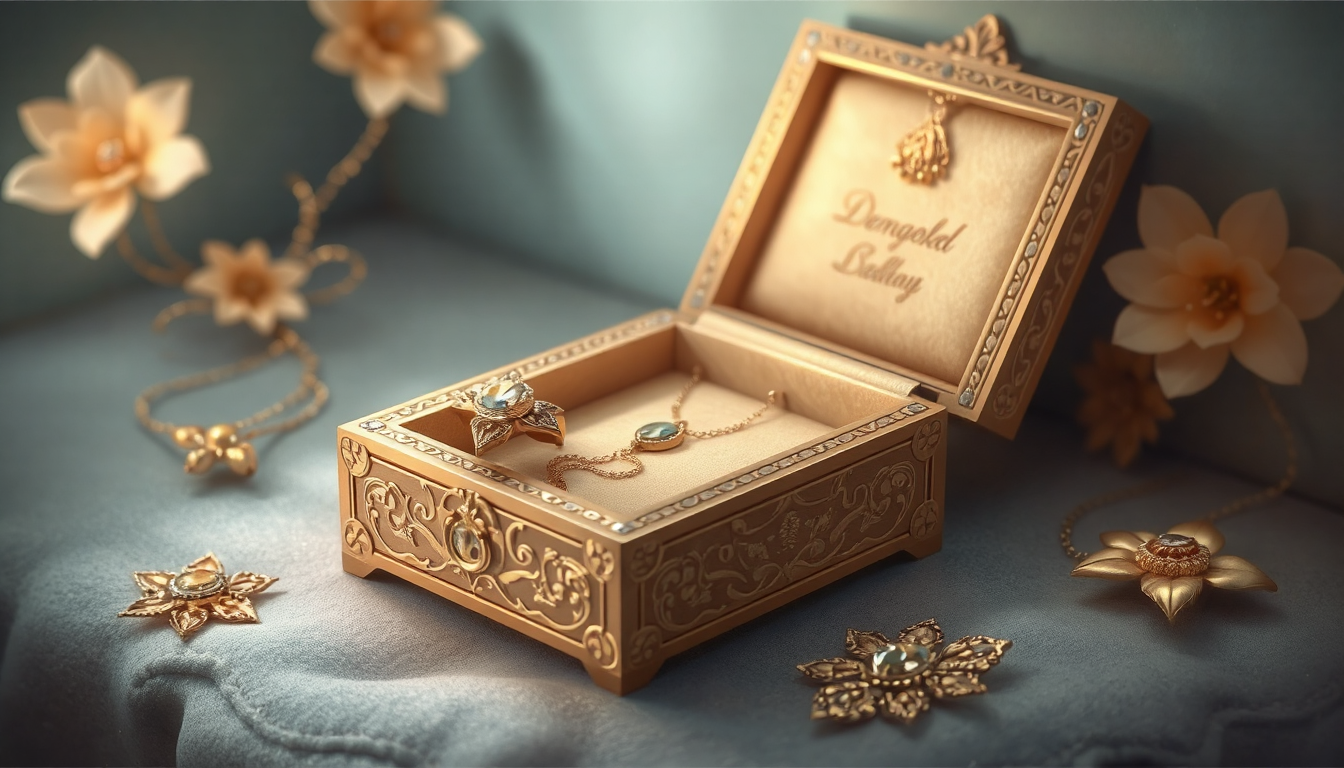
With your vision clear, it’s time to find the right blueprint for your project. The internet has too many options, which can be overwhelming. We’ve organized this section by skill level to help you find a project you can handle.
For the Beginner: Simple and Rewarding First Projects
Beginner projects create a solid foundation of skills and confidence. Interested in learning a few simple construction techniques without investing a lot in fancy tools?
They’re structural yet simple in box form, employing straightforward joints or nothing more complex than mitered corners. Most of these you can do with a hand saw, some sandpaper, some wood glue and a couple of clamps.
These projects teach you the importance of accurate measurements and clean assembly. These free beginner-friendly jewelry box plans are a great starting point, with clear instructions and material lists.
For a project with pictures, the Family Handyman’s step-by-step guide shows a classic design with excellent photos for each step.
For the Intermediate Woodworker: Adding Complexity and Style
When you’re confident with the basics, you can experiment with more complicated and fancy details. Advanced projects will use the more advanced techniques to bring out the beauty in your work.
You’ll be moving on to more advanced construction methods – we’re talking about miters that have been reinforced with splines, and elementary joinery for stronger, cleaner joints. These plans usually rely on having a table saw and router to make precision cuts.
This is where you can add features like lift-out trays, dividers, and more complex shapes. If you’re ready for a challenge, Woodsmith Plans offers a range of designs that teach techniques like scrollwork, steam bending, and unique shapes.
For the Advanced Crafter: Heirloom-Quality Designs
High-end plans are for woodworkers who believe that box-making is an art. These kinds of projects, however, need precision, patience and an eye for details.
These designs also include more complicated joinery such as hand-cut dovetails, or properly spaced box joints. And these ties are not only very strong but some of the most beautiful design features.
You could also consider decorative motifs such as marquetry, venework, or fitting fancy hardware. These boxes can be actual heirlooms that will demonstrate the talent and artistry of a woodworker.
Step 3: Beyond the Blueprint – How to Personalize Your Jewelry Box Plan
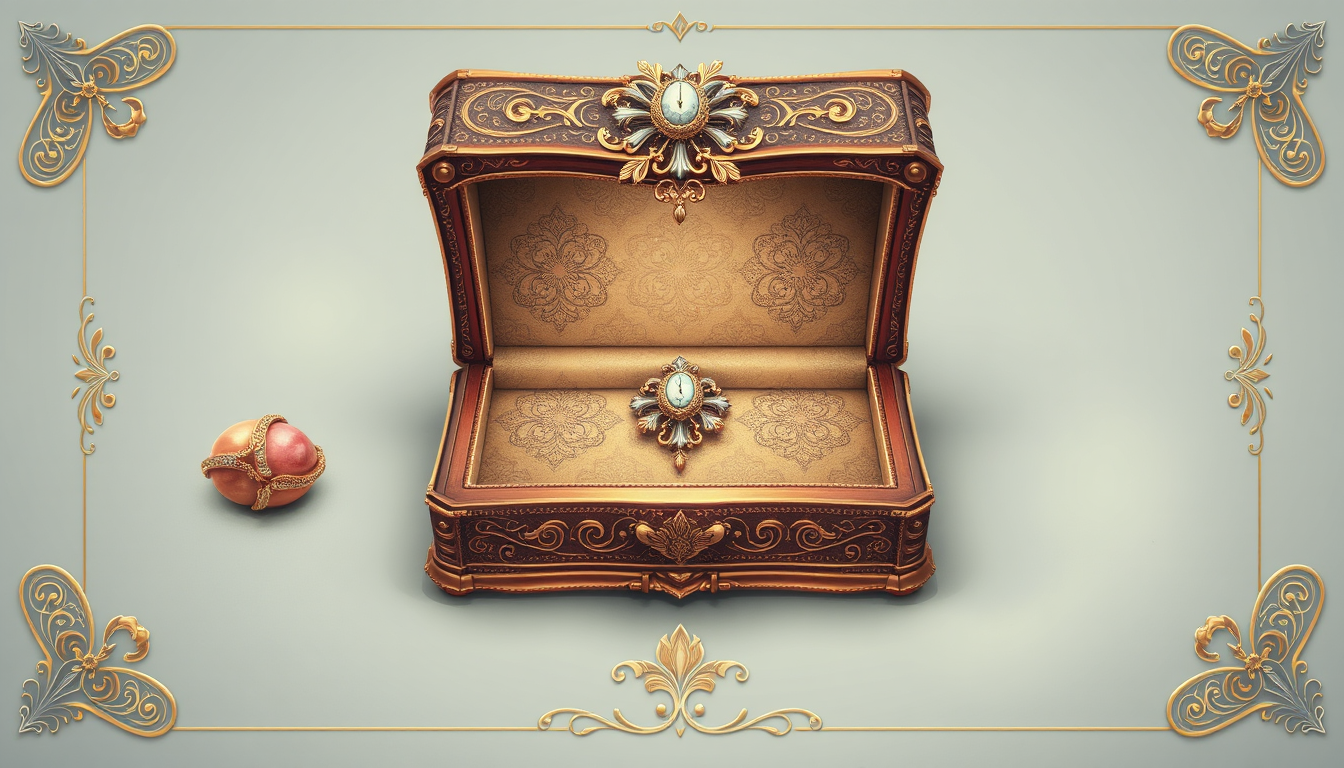
A list of plans is only a starting point, not a set of directives. The actual magic is when you put your personal spin on a design. Your own modification turn a simple wood project into something wonderful.
It’s your opportunity to design every aspect of the box for both its user and contents. Don’t shy away from experimenting with something new. A short time ago, we modified a regular box plan to incorporate a secret storage compartment for valuables. We created a false bottom – very simply done and made so much more of the item.
Simple Customizations with Big Impact
You do not have to be a designer to design your own plan. Such a few simple tweaks could make such a difference to your project!
-
Changing Dimensions: The easiest adjustment is to scale up or scale down a plan. If you want a taller or wider box, simply be sure to increase all related parts accordingly to maintain a balanced design.
-
Strategic Wood Selection: You can change the whole character of a design with one of the simplest of all kumiko-making techniques. Contrasting woods, such as maple for the box and walnut for the lid, give a strong and modern look. Even a plain box in special wood, such as birdseye maple, suddenly becomes impressive.
-
Hardware as Jewelry:Never consider hardware as an afterthought in design and planning. Knobs, pulls and hinges have a job to do, but they’re design elements, too. A humble box can look old-fashioned or very sexually modern, based only upon different looking kinds of hardware. Search for special pieces to make your box individual.
Advanced Modifications
For those with more experience, bigger modifications can add incredible function and personality.
-
Designing Custom Inserts: Don’t settle for an empty box interior. Create custom dividers lined with fabric or flocking powder. Make special holders for rings, watch cushions, or deep sections for necklaces to prevent tangling.
-
Adding a Lift-Out Tray: A lift-out tray creates a nice layer of organization. The idea is simple: build a smaller, shallow tray that fits inside the main box, sitting on small supports glued to the interior walls.
-
Incorporating a Secret Compartment: A hidden feature adds an element of surprise and delight. This can be as simple as the false bottom mentioned earlier or a small drawer hidden within the box’s structure.
The Art of the Box: Essential Design Principles
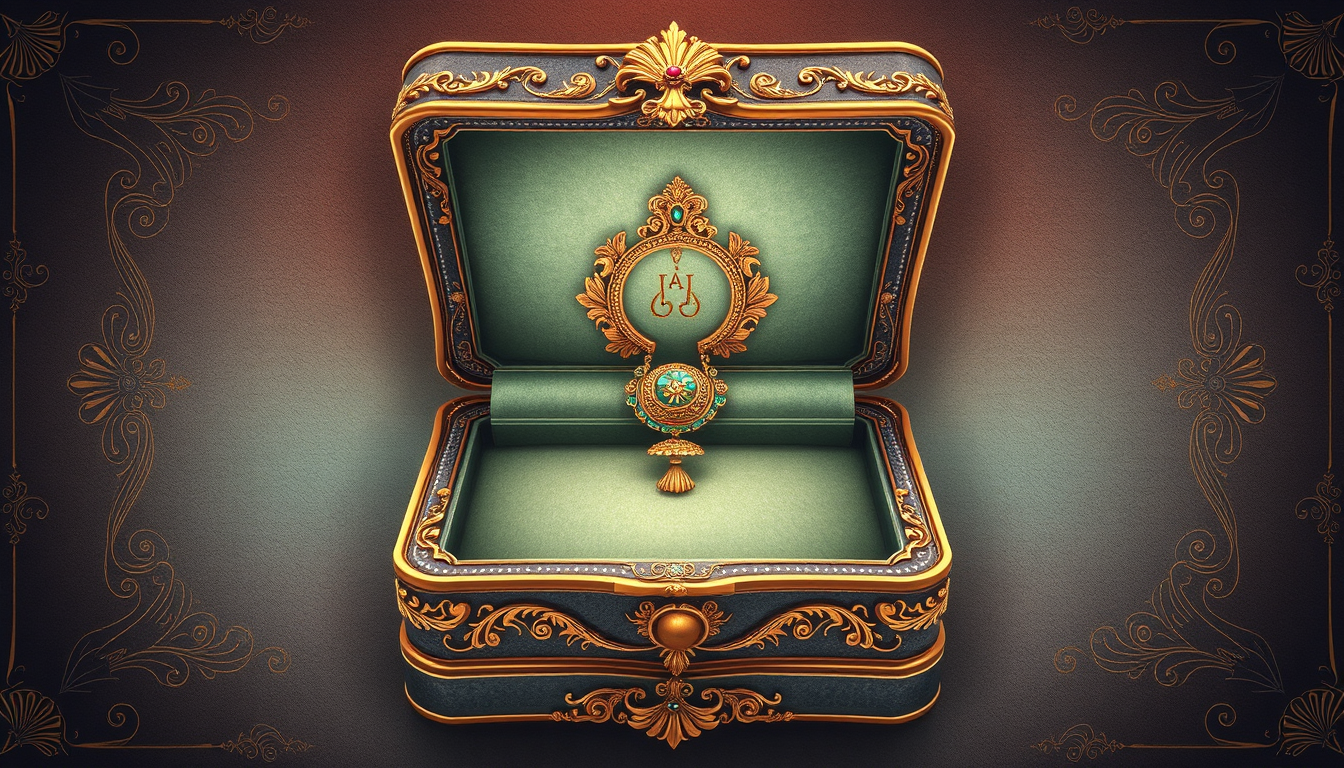
Building a box that works is one achievement. Creating one that looks balanced, feels right, and brings joy to use requires understanding basic design principles. This knowledge separates average woodworking from great design.
High-quality, heirloom boxes appeal to our senses in many ways – through sight, touch, and even sound.
Key Principles for a Timeless Design
-
Proportion and Balance: What makes a box look “good,” and another one look “weird”? It is more often a matter of proportion. The “Golden Ratio” (roughly 1:1.618) is a good rule of thumb for arriving at pleasing proportions in height, width and depth.
-
Wood Grain as a Feature:There is no need to miss all of that lovely wood grain. A master move is to make the pattern flow seamless from top to bottom around the mitered corners in a “waterfall“ grain. This, however, is something that needs to be thought of when you are cutting pieces out of a single board.
-
The Tactile Experience: A great jewelry box should feel good to touch. This means careful sanding for a glass-smooth finish. It also includes the satisfying weight of the lid, smooth-moving hinges, and the quiet sound it makes when closed.
-
Designing for the User: The box must serve its owner well. As reviewers at The New York Times’ Wirecutter note, the best jewelry boxes have well-planned compartments and quality linings that protect valuables. They highlight fabric-lined compartments, ring rolls, and secure locks as important features that keep jewelry safe and organized.
From Plan to Product: Tips for a Flawless Finish
You’ve done the planning and design work, and now it’s time to build. The final stages of assembly and finishing require patience and attention to detail. These steps turn your hard work into a flawless final product.
Our Top Tips for Success
-
Measure Twice, Cut Once: All I can say is there’s a reason this and the old adage are a thing. Rushing stops leaves errors, holes and frustration. Always double check your measurements before making a cut.
-
The Importance of the Dry Fit: Never apply glue until you’ve done a complete test assembly. Put the entire box together without glue, using tape or clamps to hold it. This lets you check for tight joints and proper alignment. This simple step has saved us from many problems.
-
Sanding is Non-Negotiable: For a professional, smooth surface, you must sand thoroughly. It’s easier to sand the inside faces of your pieces before you assemble them. Start with medium grit sandpaper (like 120), then move to finer grits (180, then 220) to remove scratches from earlier sanding.
-
Choosing the Right Finish: The finish protects the wood and brings out its beauty. Shellac gives a warm, traditional look. Lacquer provides a hard, durable coating. Oil finishes soak into the wood for a natural feel. For more information on finishing techniques, resources like Popular Woodworking offer expert advice for any project.
Conclusion
You began with some purpose for this journey. So you now have a complete roadmap— everything from clarifying your vision to knowing the design principles, to building and finishing your box. The idea of a jewelry chest design planning is just the start. And the true value comes from the thought, effort and personal flourishes you contribute.
Now it’s time to pick your plan and build something remarkably special.
FAQ
-
What tools do I need to build a jewelry box from design plans?
Simple projects can be done using hand tools (saw, sandpaper, wood glue, clamps.) For intermediate and more advanced designs, power tools such as table saws and routers will be necessary. -
How do I choose the right jewelry box design plan for my skill level?
For a beginner, focus on the simplest box structure with simple joints, intermediates can delve into things like splines and dados, while an advanced woodworker can challenge themselves with things like dovetails, and elaborate marquetry inlay designs. -
What are the best woods to use for jewelry box design plans?
Walnut, maple (trimmed maples such as birdseye), cherry, and other materials have all been used and veneers of contrasting woods also perform well aesthetically. -
How can I personalize standard jewelry box design plans?
Adjust sizes, choose from 10 different woods, add unique hardware, devise custom inserts, implement sections of lift-out trays, or make secret compartments. -
What’s the most important finishing technique for jewelry boxes?
There is a lot of progressive sanding (120 to 220) required before you start the glue up (a thin veneer on the face of the boards), followed by a finish such as shellac (tradtitional), lacquer (durable) or oil (natural) to protect and bring out the beauty of the wood.


