Are you still torn about the thought on how do you completely make a jewelry box? You have reached the right place. Building your personal jewelry box is an enjoyable undertaking. It is the choice for you to keep your personal valuables or for offering as a protected gift.

This guide will teach you everything about A to Z of your project. Starting from how to planning your design to the last touch you will learn it all. We will investigate various means to erect it. Impressive or amateur, the project can be solved according to the tool and skill you have. You can construct a lovely jewelry box even if you woodworker is good or a beginner. Let’s get started.
First Things First: Use the Right Plan for Your Jewelry Box
Great project planning is essential in building great furniture. Before you cut out any materials from a plan, perhaps, you need to consider the design first. You can do it by asking some questions which will let you have a box that will both look good and be proper lightweight. A project that is well-planned is more fun to do and is easier to do.
Design Inquiry: Key Problems You Should Solve
The main function of thinking about these factors first is to ensure the jewelry box is, in fact, your exact personal need. A little preliminary planning will spare you a great deal of later headaches.
- Who does it concern? Is it for you or is it meant to be a special gift for someone? The style might change depending on the personality of the person.
- What it will contain? A box for storing rings and ear studs should have other kinds of spaces compared to one for long necklaces or big bracelets. Draw a map of the accessories you want to stow.
- What size and shape? Think about the place where the box will be. Note the space you have on a dresser or shelf so that it will fit.
- What features do you need? Open space only or do you wish special ones, like extra sections? Board dividers, trays that slide in, roll rings, or hooks for necklaces are some items to think about.
- What is your taste? Do you like the clean and modern look? Are you into a rustic box made from reclaimed wood? Or maybe you like a classic model, elegant and simple?
Both Paths: Materials and Construction Methods
You can try out many methods in making a jewelry box. Your choice of the best method relies on your skill, budget, and available tools. You, in fact, need not set up an entire workshop to create something extraordinary.
The following is a table to present the pros and cons of the most frequently chosen methods. This will also give you an easier, more efficient selection. There are also different free jewelry box plans accessible online which have numerous styles of wood and other materials.
| Material/Method | Pros | Cons | Best For… |
|---|---|---|---|
| Classic Woodworking (Hardwood, Plywood) | Beautiful, very strong, can last for many years. | Needs more tools and skills. Can cost more money. | People who want to create a high-quality, lasting piece. |
| Simple Crafting (Cardboard, Balsa Wood) | Low cost, no power tools needed, great for beginners. | Not as strong or long-lasting as wood. | Quick projects, kids’ crafts, or trying out a design idea. |
| Upcycling (Old Boxes, Books, Tins) | Good for the environment, fast, and very creative. | You are limited by the size and shape of the object. | Anyone looking for a unique, quick, and low-cost project. |

How to Make a Simple Wooden Jewelry Box: The Procedure
When it comes to the question concerning how to make a jewelry box, many people think of woodworking. A wood box is a traditional project that is fun to do and instructive. This guide will help you assemble a simple but good-looking wooden box.
Step 1: Have Everything You Need
Having everything at hand in the whole process is what best smoothens the way. For a basic box, you will need:
- Wood: A board of 1/2-inch or 3/4-inch thick wood. Poplar, oak, or cherry are great choices.
- Saw: A table saw is best for accuracy. But a miter saw or even a hand saw with a miter box will work.
- Wood Glue: A quality wood glue is needed for strong joints.
- Clamps: A band clamp or several corner clamps are ideal for holding the box together while the glue dries.
- Sander or Sandpaper: You will need sandpaper in different grits, like 120 and 220.
- Measuring Tape and Pencil: For accurate marking.
Step 2: Cut Your Pieces with Exactness
Exactness is the key to a box that fits together well. You will need to cut six pieces: four sides, a top, and a bottom.
First, cut your four side pieces. The most common joint for a simple box is a miter joint. Each end is cut at a 45-degree angle. It is a good practice to cut a test piece of the spent first piece. This is to ensure that your saw is perfectly set to 45 degrees. It is critical that the opposing sides are EXACTLY the same length. Measure and cut your first side. Then use it as a guide to mark and cut the opposite side. You will do this for the pairs of sides.
Next, cut the top and bottom panels. These are normally made out of thinner 1/4-inch plywood or solid wood that matches with the side ones. They have to get into the grooves cut into the side pieces and fit nicely.
Step 3: Assembling the Box Body

It is now time to put the box together with glue. A great hack is to lay all four side pieces horizontally. Put painter’s tape over the joints on the outside. This will hinge them.
Then flip the pieces over and apply all the mitered edges with a thin, even layer of wood glue. Then, the only thing you need to do is “fold” the box. The tape will help you fold all four corners and keep them lined up. Place top and bottom panels in their grooves. With a corner clamp or a band clamp, you will squeeze the piece together dynamically. If there is any extra glue that pushed out of the joint, then wipe it with a damp cloth. Let the glue dry completely for a number of hours or overnight.
Step 4: Cutting the Lid Free
One of the best ways of making a jewelry box is to simply form a closed box and then cut the lid free. This way, the lid and body will definitely be perfectly matched.
Set your saw fence at around 3/4-inch or 1-inch. This will be the lid height. Carefully raise the blade just high enough to cut down through the box wall. Cut the two shorter sides first of the box and then cut the two longer sides to free the lid completely. This guide will show the method for doing this safely. Always use caution and proper safety gear when using a table saw.
Step 5: Making Smoothing Easy through Sanding
Sanding well is a very good game changer. Instead of a rough project that is not good, there will be a piece that feels smooth to the touch and is professional.
Start with a low-grit sandpaper of about 120-grit. This is because it will smooth out the uneven joints and also eliminate marks. After you have reached the coarser grit (220-grit), the surface will be super smooth. Always, to avoid scratches, sand with the grain of the wood. Please spend time on this part for getting the best results.
The Last Touch: Pro Techniques for Lining and Finishing
The last touches are the things that match your project from “homemade” to “handmade.” A finish, which is a coating, protects the wood while linings, which are foiling, protect the jewelry. These steps are imperative when creating a jewelry box you want to last for good.

Choosing and Applying a Finish
The finish is essential as it both enhances the beauty of the wood and protects it from moisture and wear. Here are a few elementary options:
- Oil Finishes: Products such as Tung oil or Danish oil are amongst the simplest to use. It is simply wipe them on with a cloth. They give a rich, natural character to the wood.
- Varnish or Polyurethane: A protective film is the tough one that creates a layer over the wood. These are great for a box that will be heavily used. It is best to apply thin layers with a brush.
- Paint: Paint thus offers you a variety of options. It is good practice to always apply a primer first to get better coverage and durability.
How to Line Your Jewelry Box for a Luxurious Feel
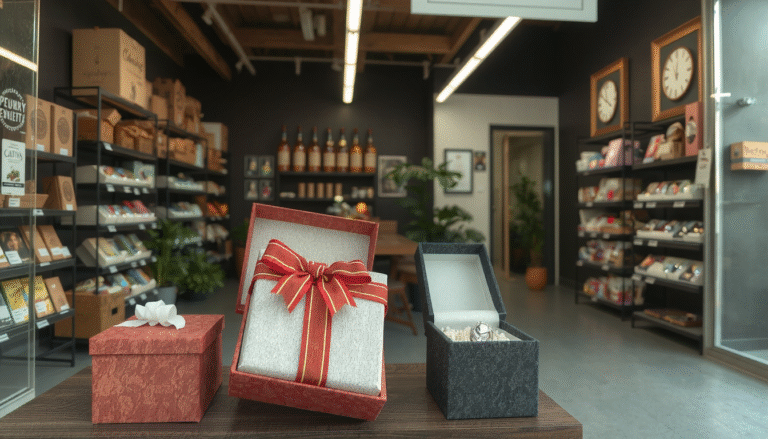
A soft line on the box adds value with class and protects your delicate jewelry from scratches. Popular materials are felt, suede, and silk.
Here is a pro tip to making a clean, perfect fit. Instead of trying to glue the fabric straight onto the box’s insides, don’t. You need to cut out some pieces from thin cardboard or mat board slightly smaller than the bottom and side inside dimensions of your box.
Tighten the fabric around the cardboard’s template properly. Use an adhesive spray or craft glue to hold it down the back. Once they are wrapped, you can simply glue the finished panels into place inside the box. In this way, you will have sharp corners and a professional appearance. In addition to this, the choice of quality materials is crucial to making it feel really exclusive. Those who are making a few boxes can find luxury fabrics from velvet jewelry boxes wholesale suppliers.
Beyond DIY: When to Consider a Professional
The process of how you make a jewelry box yourself is rewarding but some projects require a different approach. Perhaps, you need to get many similar boxes for special events. Maybe, you want to have a complex design but you lack the time.
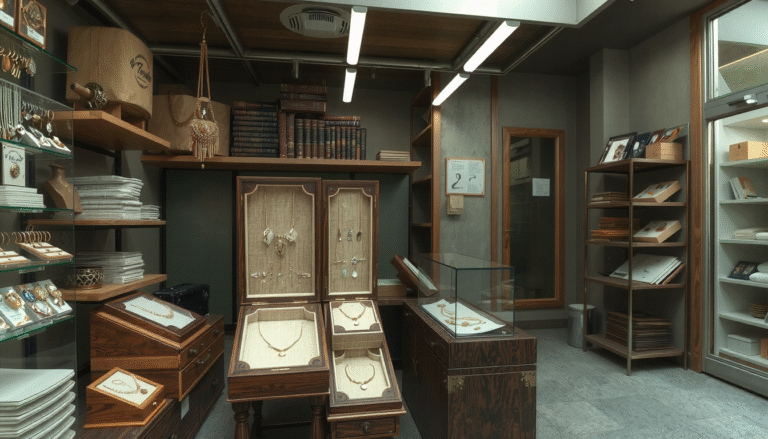
This is where you should work with a professional jewelry box manufacturer as the best solution. They have the machinery and expertise to create uniform, high-quality pieces at scale. For your needs, our internet showroom Jewelry Box Supplier Ltd is a good place to find examples of high-quality units made from fine materials.
FAQ: Your Jewelry Box Questions Answered
Here are answers to some common questions that come up when learning how to make a jewelry box.
What is the best wood for a beginner to make a jewelry box?
Pine is an inexpensive initial choice as it is easy to cut. But as it is a soft wood that dent easily, you may not want it. A better option for beginners is poplar. It is a hardwood, yet it is still soft enough that you can work with it easily. It is also quite a good material for painting. Oak is very stylish but can be hard to cut properly.
How do you make jewelry box dividers?
The best way to make dividers is to cut thin strips of wood. Use about 1/4-inch or 1/8-inch thick pieces that fit snugly inside your box. To create interlocking dividers, you can cut a slot in the center of each piece where they will cross. This is called a “half-lap” joint. The two pieces will then slot together to form a grid.
Do I need expensive power tools to make a jewelry box?
No, you do not. Yes, power tools like table saws and routers make the job easier and quicker. But you can still easily create a stunning box with hand tools. The only tools you need are a few basic ones like a hand saw, a miter box for setting angles accurately, sandpaper, and wood glue. The best tools to have are patience and careful measurement.
How can I add a personal touch to my jewelry box?
A DIY project is entirely yours and thus it can incorporate elements that are purely personal. It is possible to burn a tool in order to cut a design or name. You can go for peculiar decorative hardware like a special latch and hinge. Painting a pattern of your taste or lining a box with a special material adds a nice personal touch. You could even use the fabric from a shirt that you no longer wear.
How do you install small hinges on a jewelry box?
To properly install small box hinges, you should make a shallow recess for each leaf of the hinge. This is called a mortise. It will let the hinge lie flat with the wood surface. Carve the wood using the proper method, which is a sharp chisel, to accomplish this job. A sharp point like an awl is used for marking your screw holes. After that, drill small pilot holes. Installing pilot holes is critical to ensuring the wood does not split when driving in the tiny screws.
Your Beautiful, Handcrafted Jewelry Box Awaits!
You now have a complete roadmap for how to make a jewelry box. We have covered everything in the process, from the first planning stages to the final finishing touches. There is nothing more satisfying than the sheer pleasure of crafting something with your own hands.
You can opt to make a classic wooden box or recycle an old tin. Whatever the case, the outcome will be a unique item. Enjoy the process, take your time, and be proud of what you create. Your beautiful, handcrafted jewelry box is awaiting your touch.