The feeling of making something that is both beautiful and functional with your own hands is just unparalleled. A handmade wooden jewelry box is more than being just a storage material. It’s a personal mark, a potential heirloom, and your first step towards perfection in craftsmanship.
This guide is everything you will need on your way to becoming a woodworker. We provide a step-by-step guide from the first thought of creating something beautiful to the final polish.
We will tackle the planning stage and material choice. It includes building your project step by step from the choice of materials to the addition of your own features. You will be amazed at how easy it is to add custom touches that make your project truly one of a kind.
Before You Start: Project Planning
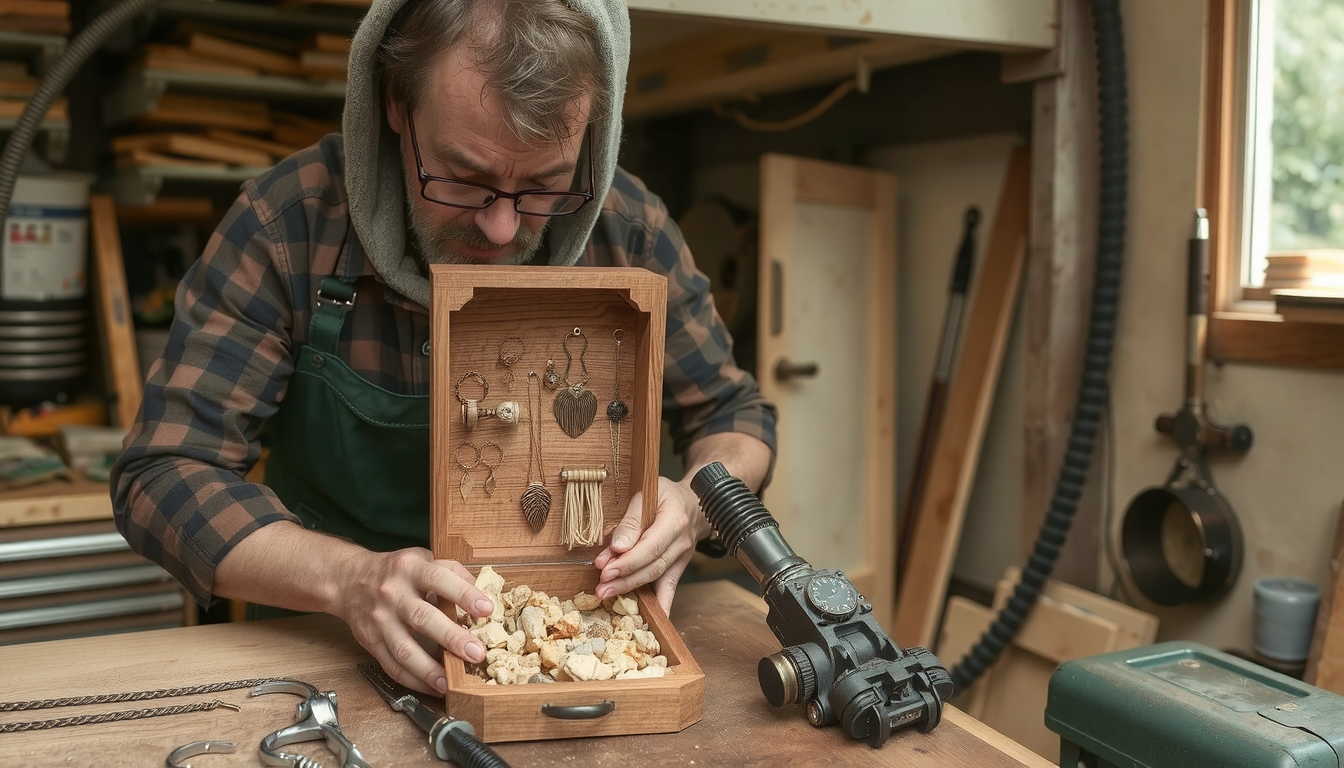 A good plan is the first step for any successful woodworking project. The act of organizing your tools, materials, and design not only smooths the process but also ensures a better product at the end. This initial step is not only an error-prevention system but it also helps to build your confidence long before you make any cuts.
The Basic Tools You Need
You don’t need a fully fitted professional workshop to kick off your project. With only basic hand tools, it is still possible to build a box that is truly a work of art. For sure, power tools can be an advantage but you sure do not need them. Below are the tools we recommend, divided into categories of essential ones and helpful additions.
| The Bare Essentials | Helpful Power Tools |
|---|---|
| Tape Measure & Pencil | Table Saw |
| Combination Square | Miter Saw |
| Handsaw (or Miter Box Saw) | Orbital Sander |
| Wood Glue | Router |
| Clamps (Corner or Band) | |
| Sandpaper (various grits) |
Materials Gathering
With all the tools in place you will still have to purchase some basic materials to start making your wood jewelry box.
- Wood: The star of the show. We will cover selection in detail next.
- Wood Glue: A high-quality PVA glue is very important in order to achieve strong joints.
- Sandpaper: Grits that are used are usually 120, 180, and 220.
- Finish: Options are tung oil, Danish oil, or polyurethane which are also very good.
- Hardware: Material that goes with your hinge and clasp.
- Optional Lining: Felt, velvet, or flocking powder.
Making an Essential Sketch
You don’t have to be an architect to design a jewelry box. An essential hand sketch with dimensions will be enough. First of all, consider what the box will be used for. Will it need a lift-out tray for smaller items? What about the displaying spot?
The answers to these questions will help determine the size and the features of the box. For those who prefer a proven layout, exploring various wooden jewelry box plans can provide excellent inspiration. You’ll find ready-to-use dimensions for your project.
Choosing Your Way: Wood and Joinery
The wood and joinery choices you make will not only be reflective of the appearance of your box but they will also determine the level of your building skills. The finishes of the projects you choose can match your aesthetics and expertise. We will help you make informed decisions.
How to Choose the Right Wood
Everything starting from workability to the final picture is influenced by the wood you select. The first thing to look for is the durability, next is the wood grain pattern, and finally comes the cost. You can use the following guide to choose the right materials while building a jewelry box.
| Wood Type | Grain/Color | Workability | Cost | Best For |
|---|---|---|---|---|
| Pine | Light, visible knots | Easy | $ | First-time projects, rustic look |
| Poplar | Light, faint green tint | Very Easy | $ | Projects you intend to paint |
| Oak | Strong grain, classic look | Moderate | $$ | Sturdy, traditional boxes |
| Maple | Subtle grain, very light | Moderate-Hard | $$ | Modern look, very durable |
| Walnut | Rich, dark, beautiful | Easy-Moderate | $$$ | Heirloom quality, high contrast |
| Cherry | Reddish-brown, ages well | Easy-Moderate | $$$ | Classic, elegant pieces |
Box Joinery 101: A Beginner’s Overview
Joinery is about the way the box sides connect. This is essential for both beauty and strength. Some joints are indeed intricate but there are multiple strong options suited for a beginner or intermediate woodworker.
| Joint Type | Difficulty | Tools Needed | Appearance | Strength |
|---|---|---|---|---|
| Butt Joint | Very Easy | Saw, glue | Simple, visible end grain | Weak (needs reinforcement) |
| Miter Joint | Easy-Moderate | Miter saw/box | Clean, no end grain | Moderate |
| Rabbet Joint | Moderate | Table saw/router | Strong, concealed joint | Good |
| Dovetail Joint | Hard | Hand tools/jig | Decorative, classic | Very Strong |
In this guide, we will be focusing on the miter joint. It presents a clean and elegant look that can be achieved with hand and power tools alike.
Building a Wooden Jewelry Box: Step-by-Step
Now we come to the core of the project: the transformation of raw timber into a sleek and elegant box. Thus we will be building a simple and stylish box with the mitered corners added on. In this case, precision is the name of the game. Always remember the woodworker’s maxim: “measure twice, cut once.”
Step 1: Cutting and Milling Your Parts
Get the wood cut to the final length according to your plan before anything else. For this project, you will need four side pieces (two long and two short) plus two panels for the top and bottom. It is important to ensure that all pieces are flat, square, and have the exact same width. This consistency is vital for the joints to fit snugly.
Step 2: Cutting the Miter Joints
Set your miter saw or miter box to a perfect 45-degree angle. This angle cut goes on both ends of each of the four side pieces. With the angled cuts facing inward, they will form a right angle when mitered together.
An expert’s suggestion is to make a prototype cut on a piece of scrap wood before you measure it precisely. Firstly, assemble two test units and use a square to check if the connection is perfectly 90 degrees. You can adjust the saw until it is right before you cut your real pieces.
Step 3: Cutting the Grooves for Top and Bottom
A fine way to attach the top and bottom is to install them in the grooves that are cut to the side pieces. A shallow groove of about 1/4-inch deep that is run on the inside face of all four side pieces can be cut using a table saw or a router.
A groove for the bottom panel is close to the bottom edge. The second is near the top edge for the lid panel. Not only will this create a much stronger box by concealing the edges of the panels but it will also look more professional.
Step 4: Dry Fit and Glue-Up
Before any glue is applied, you can assemble the box without it first. This is called a “dry fit”. Slide the top and bottom panels into the grooves and bring the miter sides together. Check if all joints are tight and the box is square.
Once you are satisfied with the fit, it’s time for the glue-up. Apply a uniform thin layer of wood glue on each of the eight mitered faces. Then assemble the box and use a band clamp to hold it together firmly. It is good practice to wipe any extra glue that may have come out while assembling with a damp cloth before it hardens up. This assembly method is the core of many projects like this simple jewelry box tutorial.
Step 5: Separating the Lid from the Box
To achieve a perfectly matching lid, it is best to create a box by enclosing it and then cutting the lid out. Right after the glue is fully cured, set your table saw’s fence to determine the height of the lid.
Be careful to run the box through the saw and separate the top section on all four sides. This process requires full attention and abidance by safety measures. Always keep your hands out of the path of the blade. As a result, the top and bottom of the box will share the same exact grain pattern and dimensions.
The Last Touch: Sanding and Finishing
Finish is often the mark that differentiates a “homemade” project from a “handmade” masterpiece. Proper sanding and a high-quality finish provide great protection to the wood. They also highlight the wood’s beauty.
The Technique of Sanding
Sanding is not something you should do all at once; you will want to start with rough paper and proceed to finer grades as you progress. Initial sanding is done with medium grit, for instance 120-grit, till the tool marks are removed and the joints are leveled. Following this, move to 180-grit and finally 220-grit for a silky-smooth surface.
In order to achieve an uncommonly smooth finish, we employ a method referred to as “raising the grain”. After you are done sanding with your final grit, use a damp cloth to lightly wipe the box. This will make the wood fibers to puff up and stand. Once dry, sand lightly again with the 220-grit paper just enough to knock them back. This will help you avoid the surface feeling fuzzy after the finish is applied.
Selecting and Applying a Finish
The finish you select serves the purpose of protecting the wood and at the same time enhancing its looks. A few good options for a jewelry box are:
- Oil Finishes (Tung, Danish): These are easiest to apply with a rag, and they are penetrating the wood. Thus, they give a natural, matte finish that brings value to the wood grain.
- Varnish/Polyurethane: They form a protective layer on the surface that is long-lasting and causes scratches. They are also available in a range of sheens, from matte to high-gloss.
- Shellac: A vintage product that dries quickly and gives a warm, lovely glow. It is typically used as a sealer under other finishes.
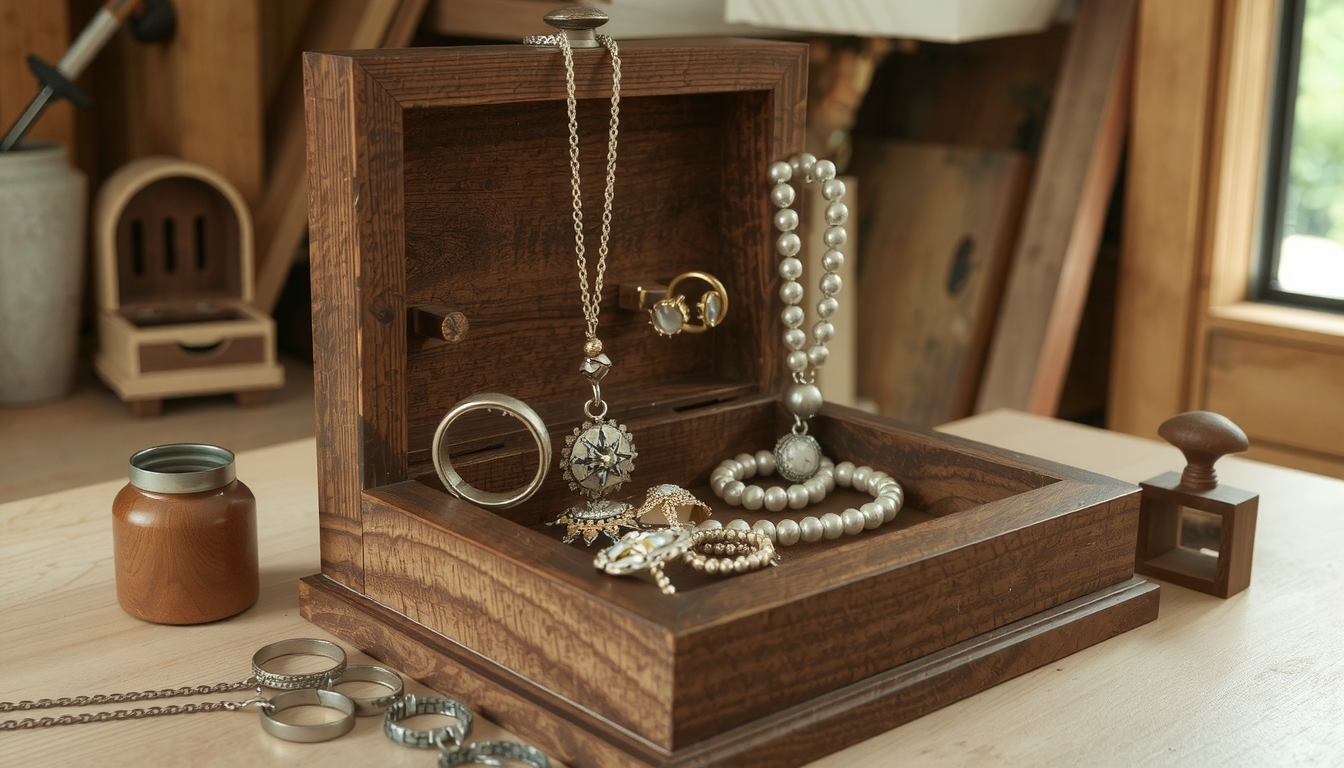
A good practice is to apply thin coats. Always follow the manufacturer’s guidelines for drying and application instructions.
The Box is Just the Beginning: Customization
You can now add the accessories that will elevate your box from being just a basic wooden box to a treasured possession after completing the building process. It is these features that make the making of a wooden jewelry box such a fulfilling process.
Adding Dividers and a Lift-Out Tray
Thin strips that are the same wood or contrasting wood can be used to make the simple dividers. Cut them to fit tightly inside the box and create compartments. You may also make a shallow tray resting on the ledges of the box or on the dividers themselves.
Interior Lining
A line is a soft material that prevents injury to jewelry. Self-adhesive felt or velvet sheets are an easy to install and effective option. For a perfect application, we first create a template of the surfaces with paper. After creating a template to cut the fabric, we can apply a light coat of spray adhesive to attach it. The result will be a clean and wrinkle-free installation.
Hardware Upgrade
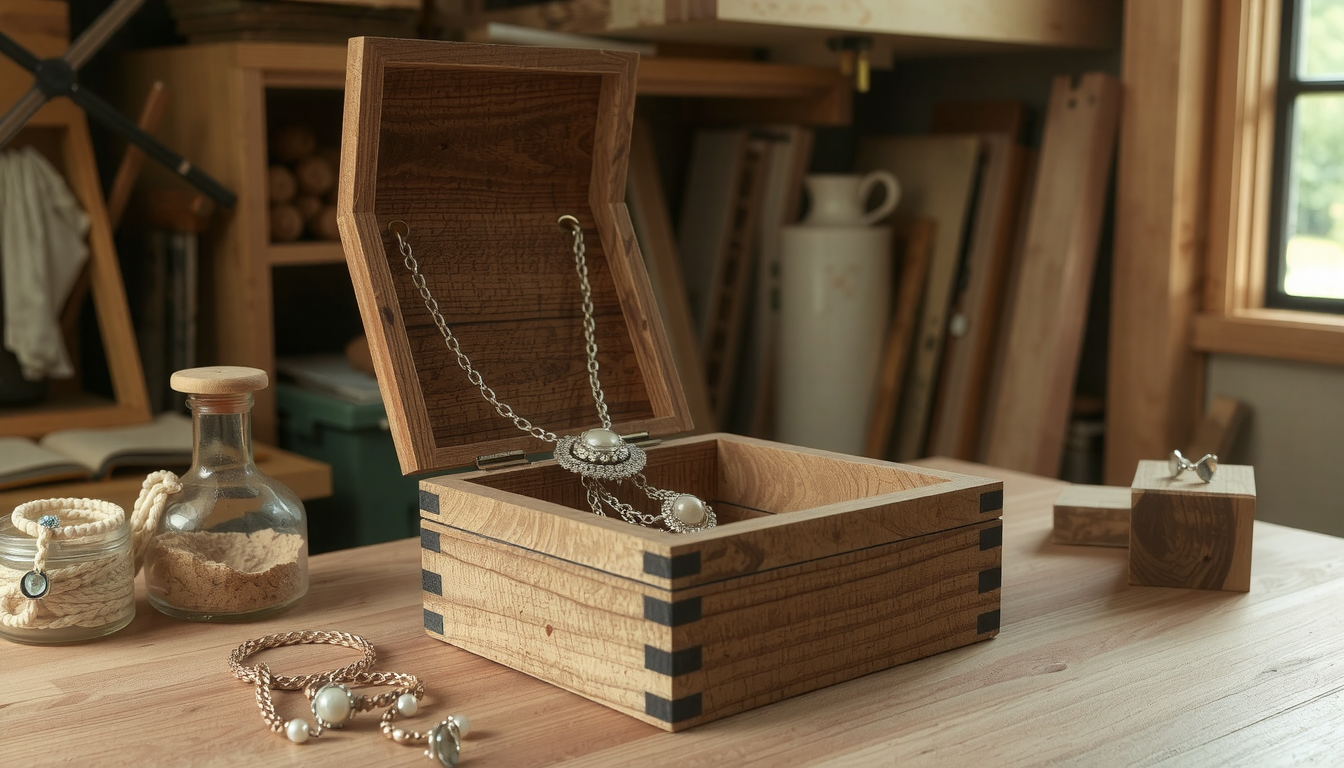 The right hardware can act as the jewelry for your jewelry box. You can change the feel and look by using high-quality brass or nickel hinges and the matching clasp. Small mortised hinges are a great solution for a classic, flush-mounted look. Decorative no-mortise hinges simplify installation. For a wide selection of specialty hardware and other unique components to elevate your project, browsing a dedicated supplier can offer great inspiration.
Decorating the Exterior
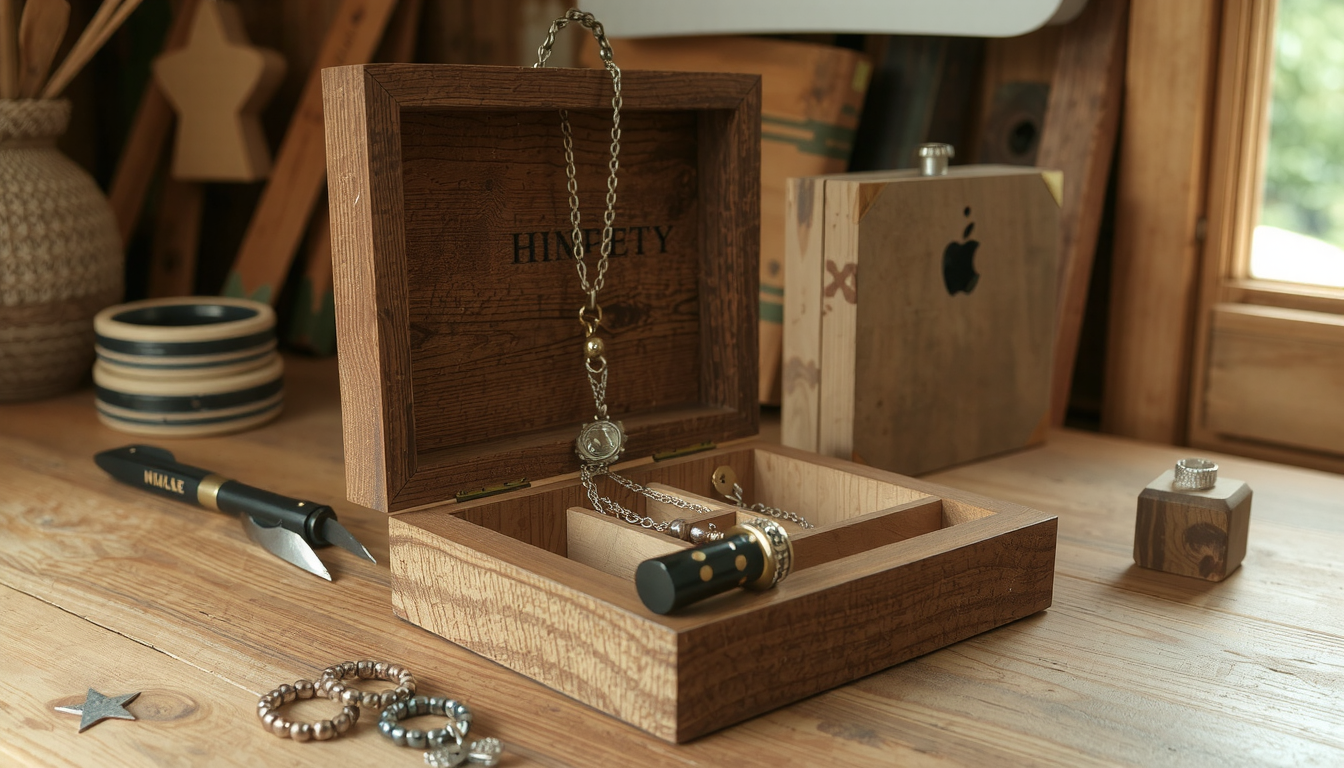
You do not need to be afraid of being personal with the box’s exterior. Wood-burned initials are a very simple and efficient way to customize your item. Contrasting wood splines can be used to reinforce and decorate joints simultaneously. Shape and even carve the lid, and you will not only have a simple box but you will also be an artist. These techniques can be your first step toward creating more complex designs like this modern jewelry box.
Your Handicraft Treasure
Now you are all set with the full procedure of how to build a wood jewelry box. From a simple piece of wood, you have now created a beautiful, functional item by following all the steps: planning, cutting, joining, and finishing.
You are now a proud owner of a truly remarkable product. The commitment and the effort you made resulted in a product that will be loved for many years. This project demonstrates the strength of the handmade product.
Frequently Asked Questions (FAQ)
Which wood is the best for a beginner for a jewelry box?
Poplar is a good choice as it is budget-friendly. It is soft and easy to work with, particularly if you are going to paint the box. Cherry, which is a natural wood, is unexpectedly easy to work with for a hardwood. It appears great with just an oil finish.
Are power tools required for making a wood jewelry box?
Not at all. You can make a beautiful box using only hand tools. A miter box and a sharp saw can help you make perfect cuts so you won’t have problems with joints and edges. You also need a good square, a block plane for fine fitting, and a sander for smooth edges and corners.
My miter joints have a gap. How can I fix this?
A small gap can often be filled with a mixture of wood glue and fine sawdust from the same project wood. For a better fix next time, ensure your saw blade is set to a perfect 45-degree angle. Use a reliable square and make test cuts on scrap wood first.
What is the easiest way to line the inside of the box?
The easiest method is to use self-adhesive velvet or felt sheets. These are available at most craft stores. You can cut them to size with a craft knife and simply peel and stick them to the bottom and sides of the interior for a clean, soft lining.
How long will it take to build a basic jewelry box?
For a beginner, a simple box is a perfect weekend project. Plan for a few hours for cutting and assembly on the first day. The second day will be for sanding and applying the first coat of finish. You’ll need additional time between finish coats for drying.


